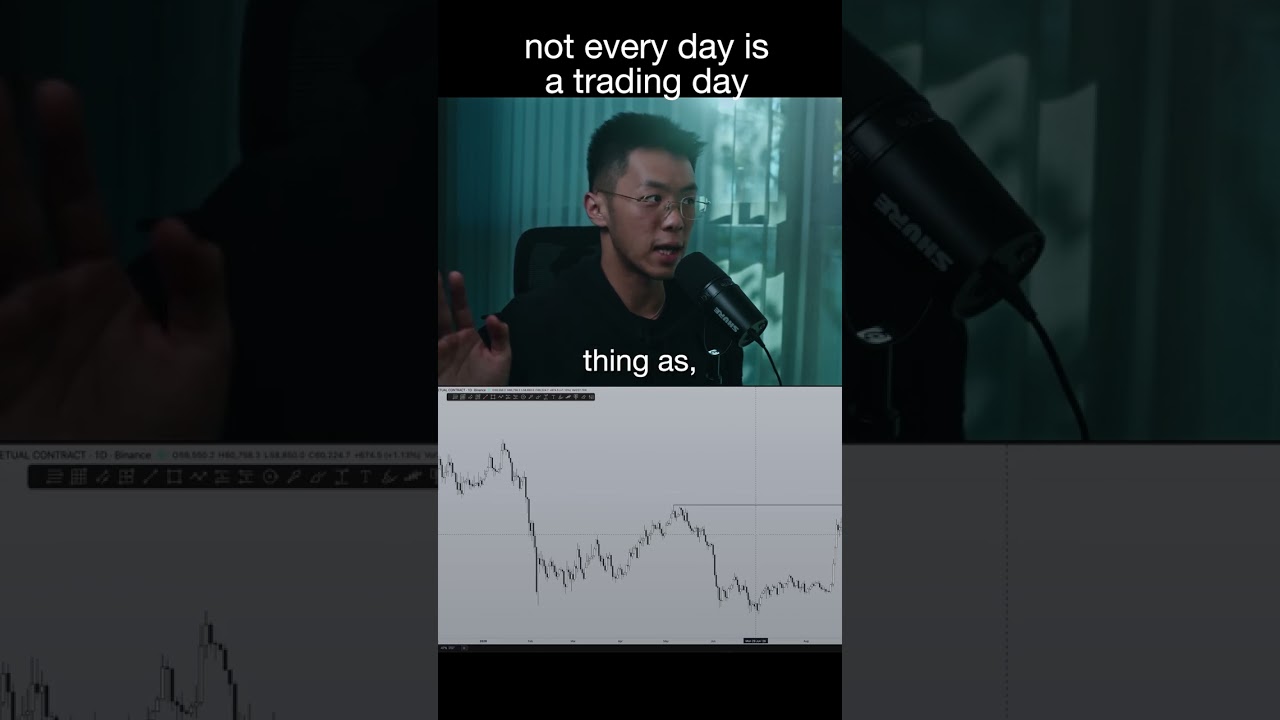
In this video the presenter conducts a multi‑timeframe technical analysis of MATIC/Polygon. Starting on the daily chart, he identifies a distribution pattern that feeds into a break of market structure and a nascent head‑and‑shoulders formation, suggesting a bearish bias. He marks daily supply (order block) and demand zones, draws Fibonacci retracements and highlights the 0.5 level, the 0.618 level and the “golden pocket” as areas of value. The speaker explains the premium/discount concept, where price above the 0.5 fib is a premium (short‑friendly) and below is a discount (long‑friendly), and how market‑making algorithms push price back toward equilibrium. Moving to the 4‑hour chart, he shows a recent break of a high that aligns with the 0.5 fib, confirming a short opportunity, and points out an order block that coincides with the 0.618 fib. He recommends setting alerts (not limits) near these zones to capture short entries, with expected targets at prior equal lows. The same logic is reiterated on the 1‑hour chart, confirming the consistency of the structure. Throughout, the presenter emphasizes using higher‑timeframe context to define trade direction and lower‑timeframe zones for entry, while managing risk through alerts and awareness of liquidity traps.
Chapters
Okay, I'm just gonna run through the process. Like, not even— I don't even need a timeframe. So immediately from what I can see, you just tapped into a daily supply zone and then you did a 3 drives pattern into the supply zone. So that is a distribution pattern. And in the process, you have also broken structure over here, right? This is a break of market structure. So at the moment, you are retracing back up to form— if you guys can picture this, you know, this is sort of like the head, that's the shoulder, and right now you're going to form that other one right there. And that's the way— that's the way I'm looking at markets at the moment. Like, immediately this strikes me as that. So for MATIC, I'm going to be looking for some kind of a retracement, that like retracement area for me to get into trade, like get into a short. Uh, you could say that the 0.5 is a really good area to get into, but otherwise the golden pocket is always the best. So now that we understand on the daily we are probably looking bearish compared to bullish, like sure, it might break this structure like right now, it might do that, but based on immediate daily structure, it can be safe to assume that after distribution here And you've got a break of structure, and currently you're getting some kind of a heads and shoulders formation, the probability of price going like heading downwards is higher. So this is how I look at it. And then let me just mark out some like key levels on the daily chart before I go into a lower timeframe. So over here you have relatively equal lows on the daily. If you draw a fib here to there, you can see that there is a lot of value, like there is a lot of support in terms of the golden pocket. So if it goes into say this area, this is, what you call a demand zone. In fact, let me just write it out. Daily, daily demand zone. So this is an area where we can look towards. 0.5, definitely going to provide some, provide a target. This one is the key level that it's probably going to target. Like if it gets rejected here, the first level it's gonna take out is here. In the process, it's also going to take out this level. So that's the daily key level. And I'm expecting some kind of a bounce after it takes out the key level. Treat it as liquidity, right? It's just liquidity. So it just so happens that that low there, is right below these equal lows here. So when the price takes this level out, people are gonna be like, okay, you took this level out. But what the market makers are gonna do is they're gonna wick it just below this level because there is liquidity there, right? So they're gonna make it seem like they're taking out this level when in fact they're just targeting that level. Like mark my words, that's probably what's gonna happen after it gets rejected. Okay, so now we will also mark out this level right here as daily key level to confirm bullish structure, which means if price breaks this level, then you know you're bullish. This is, Daily supply, and over here, this previous high here is the level that price will target if bullish. You can also say that this is an order block, right? So that's daily, right? We understand that this is probably just a retrace to first to short and go lower. So now we can go into the four hourly and try to map things out a little bit clearer. Immediately, you can see that the four hourly chart has just taken out this high, which means. If you wanted to short, this would be a good level to short. Now, if I go do this, you can see that this high just happens to be above the 0.5 fib. In any given range, there is anything above the 0.5 fib, which is basically here, is known as a premium, which means if prices stay within that range, then this area is where you look to sell. And over here is known as a discount, anything below the 0.5, that's where you look to buy in a range. And the way I— the reason why I describe it that way is because these algorithms are programmed to keep the market in equilibrium. So equilibrium basically just means that, um, you know, it doesn't want to be in a premium for too long without bringing it back into the mid-range. Similarly, it doesn't want to be in a discount for too long without bringing it back into the mid-range. So usually a really good place to start, like a really good place to look for key levels, is within a single range. You want to look for the 0.5. Most often you will find a swing high or a swing low directly above or below the 0.5. Below for the case of longs, and above for the case of shorts, as you can see right there. So if we looked at this chart just like 15 minutes earlier, we could have caught this short right here, and this would be a perfectly valid short. And most of the time, gonna get, you know, quite a nice retrace. But is there any other levels that I might wanna look at when it comes to, you know, shorting? And immediately my eyes are brought to this supply zone here. In fact, probably not even supply. I can narrow it down to just this order block. I would even say I would set an alert heading into this order block. When it comes into here, I'm gonna look to short. And it just so happens that this order block lines up with, lines up with the 0.618. So roughly around this area, I'm gonna look to short. Of course, set alerts, not limits, 'cause there is a chance that it might go for the relatively equal highs above here as well. But you get the idea. All right, now that we've identified areas of value where we can go in, which is right here, right here, or right here, we just simply set limits and we just wait. I mean, you could enter here if you want to, but based on the higher timeframe, we already know what this— if you short here, we already know where it's going to target, can it? Which is, at the very least, I would say it's a relatively equal lows over there. Go into the 1-hourly, should be a similar story. Yep, exactly similar story. There's nothing that I would really change about this. So yeah, that was a mapping out market structure and key levels for MATIC. Was that insightful to any of you?