How to teach yourself UX Design (no bootcamps, no courses)

Andres Gonzalez outlines seven steps to teach yourself UX design without bootcamps: interview experienced designers, reverse-engineer portfolios, build a real project from a personal frustration, learn Figma or Adobe XD, collect resources like Apple HIG and Material Design, post work on Dribbble and Behance, and expect six months to a year before landing a job.
Chapters
Meet Dan. Dan, the UX designer. Well, not really. Not yet. He's learned a thing or two on YouTube and he's decided he wants to learn UX design and become a UX designer. But he doesn't have the money to spend on a fancy bootcamp or college degree. He doesn't know any UX designers. He doesn't have a portfolio and he doesn't really know where to start. In today's video, we'll go through 7 simple steps that will help you and Dan become a self-taught, self-made UX designer. All you have to do is like this video. Seriously, that's it. So before Before we get started, we gotta define what being self-taught means. It means learning through your own initiatives rather than through formal instruction or training. You will ultimately decide how, when, and what you learn. And to be honest, being self-taught can be kind of risky. You can simply end up wasting tons of time watching random YouTube videos like this one. But hopefully in this video, I'll guide you on the right path so you won't waste much time. All right, so step 1, informational interviews with UX or product designers. When I say informational interviews, I mean an informal conversation you have with someone to learn about their career, their background, and ultimately build a relationship with them. Goal is not to ask for a job or an opportunity to work at their company. The goal is to know what you don't know, or in other words, to begin understanding what you need to learn to become a successful UX or product designer. And that's half the battle. Imagine talking to a senior product designer at your dream company. Imagine learning the exact skill set needed to work as a UX designer at that company specifically. Imagine getting the inside scoop on the interviewing process. But most importantly, imagine building a friendship with this senior product designer. When you look back at your career, the most important thing is not the projects or the companies that you've worked at, but the human beings that you've connected with and all the users, a.k.a. people, that you've helped through your work. This by far is one of the most important steps of your self-taught journey because these relationships only compound over time. Start this as early as you can. But I know what you're thinking. I don't know anyone who's a UX or product designer. Who am I going to interview? Well, not yet. Check this out. I'm about to share a LinkedIn outreach template that has helped me connect and build relationships with product designers at Google, TikTok, LinkedIn, I searched for product designer, filtered for people, then filtered by some sort of mutual connection that I can mention in a message. For me, I searched for anyone who went to my university, San Jose State University, but this can be different for you. Then I clicked on as many profiles as I could, especially at companies I'd love to work for. Then I connected, added a note that said something along the lines of, hey, first name, I'm glad to see a fellow SJSU alumni at current company. I'm super impressed by your career journey and I'd love to learn more about your experience at current company. I'm trying to I'd love to learn from the best. Let me know if you would be open for a 15 to 30 minute chat sometime next week. Cheers, Andres Gonzalez Gonzalez. Can this message be refined? Yes, but it's a start and it's worked wonders for me so far. And I hope this template works for you. So use it wisely. Also, if you're Latino like me, there are awesome websites like LatinxWhoDesign.com. So go out there and build those relationships. Step 2: Learn what good UX design portfolios actually look like. It's important that when you learn UX design that you understand the end result of your work. So by reverse engineering UX design portfolios from designers who work at your favorite companies, you'll understand exactly what you're working towards. Similar to step 1, you can search for UX product designers at your favorite company, and they usually have their portfolios available on their profiles. I would open them up, then save or bookmark them for later. This will come in handy when it's time to build your own portfolio. But what does a good UX design portfolio even look like? That's a great question. Maybe for another video. But here are some quick qualities of a good UX portfolio that I've personally seen. A strong outline of user research, a validated problem statement, clear outline of the specific contribution made by that designer, an explanation of why certain design decisions were made, an outline of limitations and project challenges, sharing what went wrong during the project, sharing what went right, user testing and user surveys, and finally, business impact outcomes. How did your designs help the business? Step 3: Start a self-initiative. Initiated UX design project of your own. Now that you have some idea of what a good UX design case study actually looks like, you'll be better prepared to start a project of your own. I'm personally a strong believer in the learn-by-doing philosophy. There are things you'll learn by doing your own projects that an online course might not teach you. But what type of UX design project should you start anyway? Well, think about the last time you've used an app, website, or software product that frustrated you. Why did it frustrate you? Was it a bad design? If so, is it possible that other users feel the same way? Maybe you can interview people who use the app or website and try to find out if there are others who share your frustration. And if interviewing people might not be possible, you can always Google the app or website name and outline your frustration as a question. Then you might find a forum of users that have had the same frustrations as you. This is user research. Then you can use this research to redesign and reimagine how the app or website could solve this user pain point, a.k.a. your frustration. I would strongly recommend designing a prototype. Bonus points if you then share your prototype with users and get their feedback. And bonus, bonus points if you improve your designs based on their feedback. Now imagine creating a case study on that project redesign and sending the link to that prospective company design manager or recruiter. Who knows what type of opportunities that might lead to? But the goal of this step is simply to think about and choose what type of UX design project you'd like to start. You should give yourself a good timeline. Quality quality is better than quantity here. I recommend 1 to 3 months. Then outline specific milestones and due dates. By the end of month 1, maybe you want to finish all your user research. Month 2, maybe you want to finish that design and prototype. In month 3, maybe you want to get user feedback and update that prototype. All right, these are some fire tips. You gotta like the video, show some love, and help get these tips out to other aspiring designers just like you. Step 4: Choose and learn a design tool. Cool. Now that you've connected with some UX or product designers and you've chosen a UX design project to start, you're ready to make a decision on what design tool you'd like to use. I personally use Adobe XD, however I've heard great things about Figma. Either way, as a UX or product designer, you're going to have to learn many tools, and so the tool is not as important as the design thinking. Don't overthink this. If you're a current UX or product designer though, I'd love to hear from you. Are you team Adobe or team Figma? Let me know. Step 5: Find and save UX design resources. It's important to start building your library of UX design resources as soon as possible. This will speed up your workflows and save you so much time long term. So here are some resources to get you started. Apple's Human Interface Guidelines. Apple sets a great standard for how software should work. They have a beautifully organized guide to help you design better on mobile. Don't sleep on this one. Google's Material Design. Google also has a great guide for how software should work. If you're designing for Android applications specifically, you'll want to read this one. Page Flows. I love Page Flows. This one isn't free, but I think it's super worth it. It's a place where you can learn the design patterns and user flows of your favorite products like Spotify, Slack, or Notion. It's especially useful when you're still unfamiliar with how some of these products should work. So when you're doing something like a competitive analysis or research, this comes in handy. And saves you tons of time. So if you're interested in using PageFlows, I actually have a coupon code in the description down below that you can use when signing up for your account. YouTube channels. All right. I have to give some love to the YouTube channels that have helped me throughout my UX design journey. You got to subscribe to The Futur, AJ Smart, Femke, Misko, Rachel Howe, VA Experience, Jesse Showalter, and there's so much others that will help you learn UX design for free. So the next resource I know a lot of you will love are template libraries. Now templates are really great for speeding up your user interface design. Figma has an amazing library of community resources that you've got to check out, but there's also some paid resources as well on Creative Market, ThemeForest.net, and UI8.net. Check them out. Definitely helpful. Step 6: Start publishing your work and your journey on places like Dribbble or Behance. Although it might feel scary and overwhelming in the beginning, publishing your work online will bring you so much opportunities. You'll learn and get inspired by other designers. And one day, if you share your work consistently, you might even get your first paying client project. Imagine that. And if you're scared, do it scared. And if you're overwhelmed, do it while overwhelmed. And if no one has told you this, I will. Your work is worth sharing. Your story is worth sharing. You are capable of being the UX designer you want to be. Step 7: Don't lose hope. Keep going. I don't want to sugarcoat this for you. This might take you a long time before you get any client work or get a UX design job. It might take you 6 months, it might take you a year. If you really want to become a UX or product designer, don't give up. Don't lose hope. Just keep at it day by day. And if no one believes in you, I believe in you. You can do it, friend. So I'm planning to create and share a free PDF of the 7 steps this video. So if you're interested in having it as a reference in your UX design self-taught journey, sign up using the link in the description down below. Until next time, adiós.
More from Andres

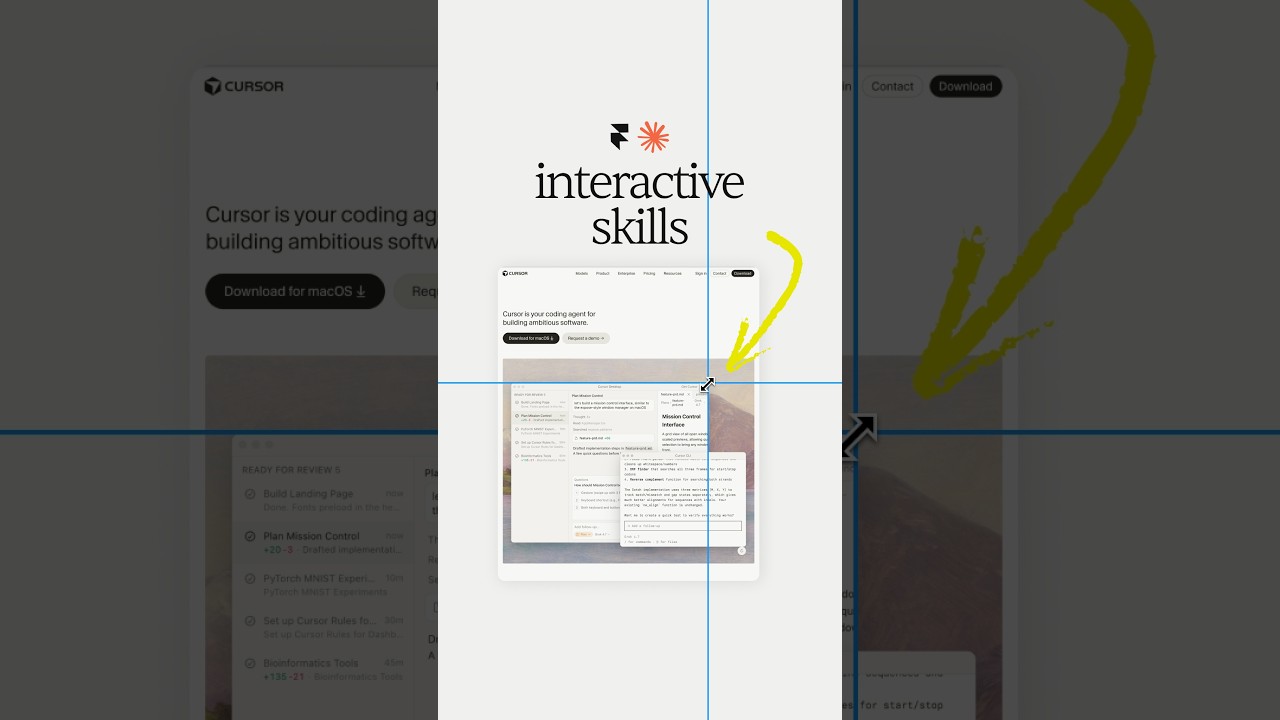

Claude Design, meet Aqua Chat (anyone else obsessed with Aqua UI 👀) #claude #design @claude #ad
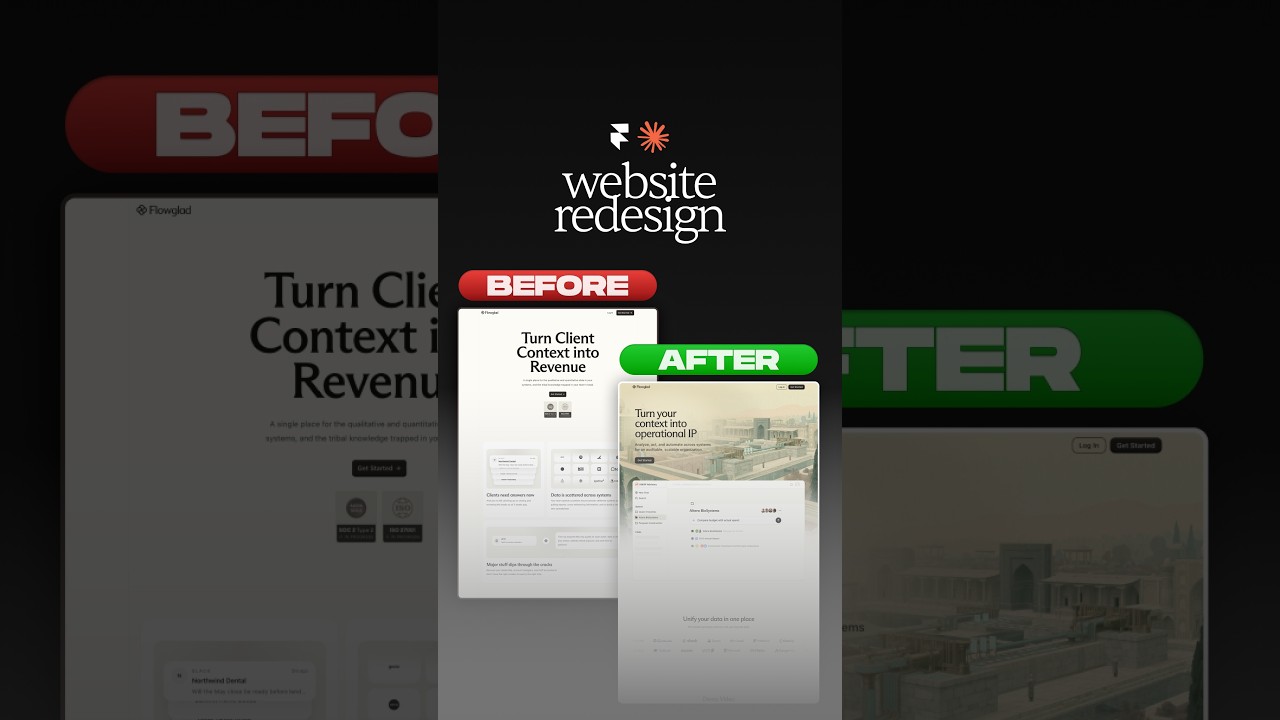
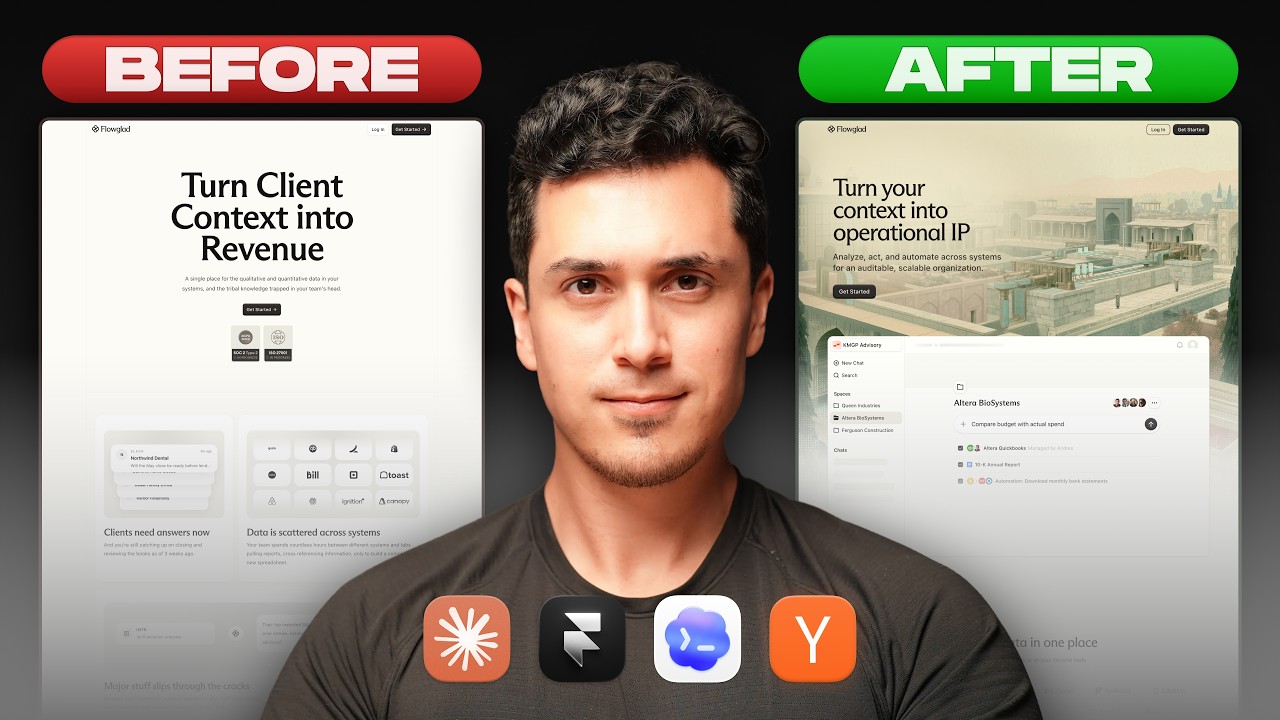
Website redesign for the coolest Y-Combinator startup everrrrr 😏#framer #webdesign #ad
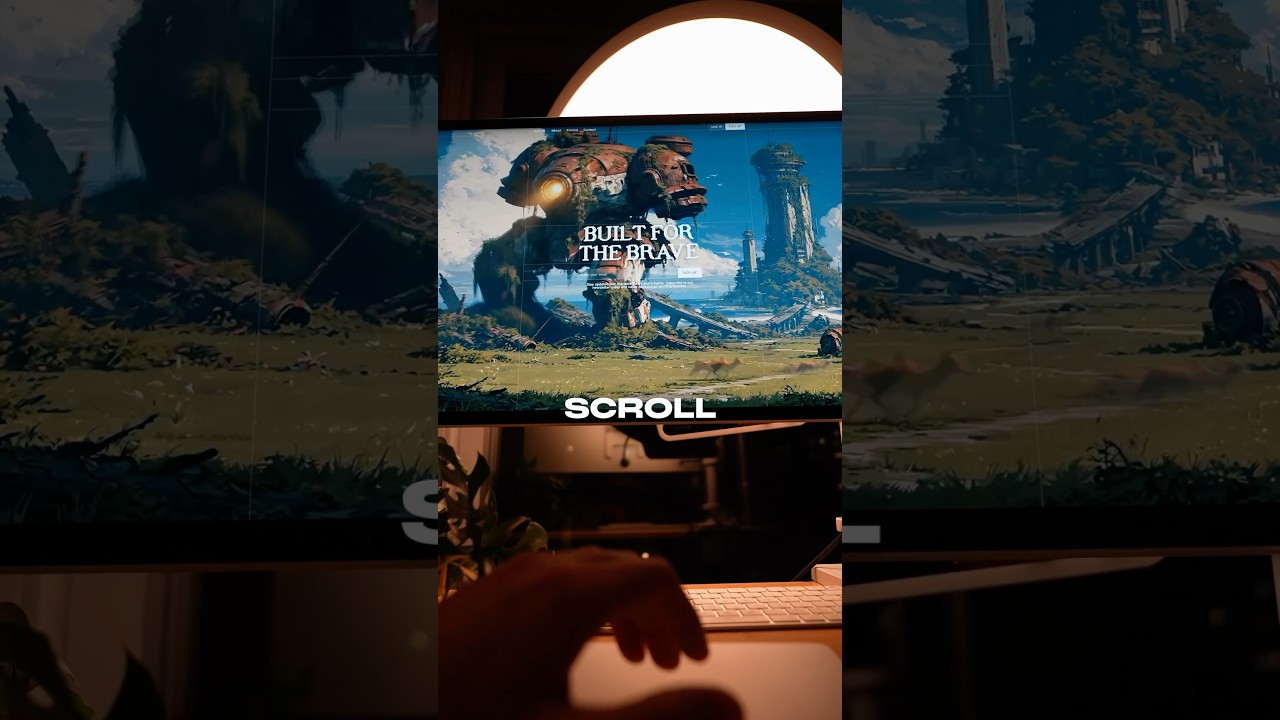


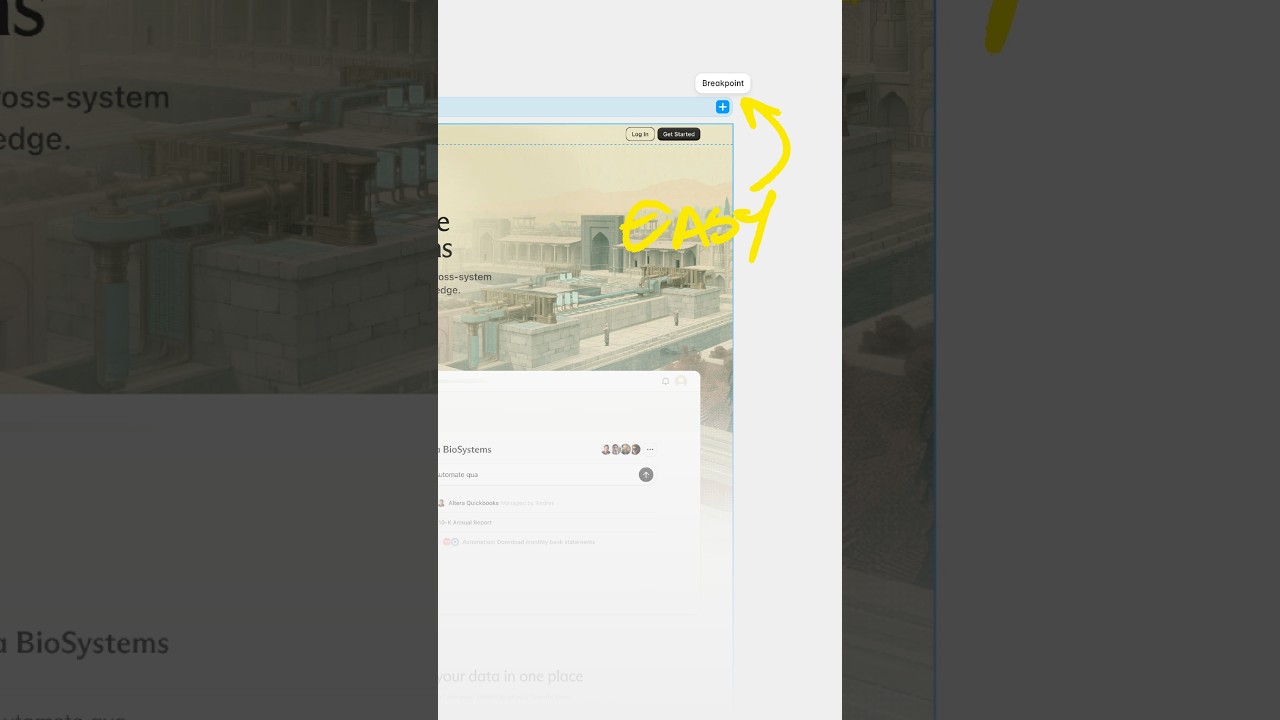
Break barriers by letting Framer agents' break points 😏 #webdesign #framer #framerpartner