Vibe Coding Guide for Designers
Andres Gonzalez, a designer at fintech startup Flowglad, shares nine months of experience converting Figma designs to production code using AI. He champions Cursor as the best tool, aligns his component library with Tailwind CSS and Figma, and outlines two workflows: a fast "Flash" method for simple components and a detailed "Batman" workflow for complex ones that includes AI code review.
Chapters
If you're a designer like me who cares about craft, you're probably sick of all the AI slop, ugly interface, blue-purple gradient ass designs that are out there. And don't worry, I'm about to save you some serious time here because I just spent the past 9 months vibe coding, spending countless hours trying to get AI to turn my designs into pixel-perfect code. And I'm finally ready to share everything that I've learned from a designer's perspective. If you don't know who I am, my mom calls me Andres, but you can call me Batman. Founding designer at a fintech startup called Flowglad. So I've been doing this as my actual job. I pushed over 115,000 lines of production-grade code, and I'm currently in the middle of a massive redesign. Now I'll be talking about the tools that I've used, the different workflows that I've tried, how I've set up my Figma file to get the best results, and tons of tips in between. And all of this is for free because I'm Batman, obviously. So let's talk about Figma Make. You're probably creating sexy designs in Figma and wondering what's the best way to convert my designs into code using AI. You have a couple different options, and I'll share which method I personally like best, but the easiest and simplest option is right-clicking on your designs in Figma and just clicking Send to Figma Make, their very own AI coding tool. But there are some problems with this. See, it's great for creating quick prototypes, interactive games, and simple websites you can actually publish super fast. And yes, you can even click on elements and edit them directly, which is super nice. However, if you want to customize existing components on a larger production codebase, there isn't a straightforward way to do that. See, there is a GitHub integration, but it's only a one one-way connection for new repositories. I still use Figma Make, but mainly for testing out ideas, not pushing out production code components. If you want to get a good idea of what you can build with Figma Make, check out their gallery page. Tons of cool examples there. Let's talk about Lovable, one of the most popular vibe coding tools. But as of the making of this video, you can't natively connect Figma to Lovable, so you won't be able to get those pixel-perfect implementations of your designs. Yes, you can upload a screenshot of your designs, but we all know how that works. It's kind of a deal breaker for me. And Lovable, at least when they started, was notorious for creating those purple and blue gradient-like design. But enough about that, we're designers. What about the vibe coding tools that can connect to Figma? With V0, you can connect to Figma. You can copy a link from your selection and V0 will read the exact color variables, fonts, images, and if you're using auto layout, you'll get an even better result. Bolt, another vibe coding tool, can also do this, and Replit as well. These are all tools that are worth trying out if you want to turn your designs into code-level experiments. However, if you want to turn your designs into production-grade code, like me, you'll want to use a completely different tech stack, which brings me to Cursor. Woo woo woo! So let's talk about Cursor, the tool that I've been personally using the most. See, Cursor is an AI-powered code editor. It connects directly to GitHub repositories, which will give you access to all existing code components, logic, and functionality. It's definitely more complex if you haven't coded before, but it's way more powerful because it was initially created for software engineers. But design is slowly making its way into the platform, especially since they launched their new visual editor, which allows you to edit code with this familiar design panel. Or you can select on an element and have AI make those changes for you. And here's the best part— you can actually connect Figma to Cursor using Figma's MCP server. Once connected, You can copy the link from your Figma designs and paste it into Cursor. Then it can extract all sorts of precise design details like colors, font spacing, auto layout, and more. It's phenomenal. It works great when prompted correctly. However, if you think that just connecting Figma MCP to Cursor is going to solve all your problems, sorry, bruh, you're in for a tough time. See, the most important aspect about my tech stack is getting parity between code components and my design components in Figma. One of the first things I did at Flowglad was migrate our entire component library to ShadCN and use a Figma file that already had those ShadCN components built in. This action alone set the foundation for getting a high-quality implementation of my designs. This design file has the same color variables and global CSS in my codebase. This design file has the same core components that already exist in my codebase. This design file uses Tailwind CSS variables that match the Tailwind classes in my codebase. After all this time, I realized this parity was an essential part of getting my designs pixel perfect in code. And I'll share a link of the paid version of the Figma file I use and a free version. And special shout out to Dessen, a really cool AI tool that you should keep your eye on, which will basically reveal all the code components that you have and use your existing design system to be able to prototype different things. Back to Cursor and code parity. This code parity wasn't enough if I didn't match it with a proper workflow. So I'll be talking about that next. So while I'm a big fan of using really complex, powerful AI coding tools, I'm also a big fan of keeping things super simple when creating my portfolio, which is why I've built mine on Framer. Framer is a no-code website builder designed for creatives with taste, and you can see that with Framer's gallery page. It's filled with really cool designs and interactions that make me want to trash my portfolio and start start over, and you can use their AI workshop tool and create all sorts of cool interactive components onto your site. It's actually insane what people have built already. Check it out using the link down below. So let's talk about the Flash workflow, meant to be fast, obviously. Let's say I wanted to create a new card-based component I had already designed in Figma. I'll copy and paste the link and prompt Cursor to create a markdown file of all the design details extracted using the Figma MCP server. Then I'll refer back to that markdown and prompt it to create that component. And just like that, I've converted designs into pixel-perfect code. However, sometimes this workflow won't work for more complicated things like creating this date picker component because it has nested components and more complex logic that will likely create bugs if I just try to one-shot this. So you should probably hear about the Batman workflow. See, the Batman workflow workflow is deeply strategic, investigative, and precise. It often involves some degree of research and planning with AI. It's often best suited for when your designs involve deeper logic and potential backend work. In this case, let's talk about implementing this calendar picker I've designed. Before I start blind, all guns blazing using Figma MCP, I gotta think about this. I asked Cursor to do some research first and investigate what graph component library we're using and if our code base is set up to handle new logic. This is the research step. I discovered that we're using the Tremor component library and they've had some variations of this date range picker already, which is great news because after the research step then comes the planning step. I asked Cursor to read through this game plan template that Aguri has put together, then create a new game plan. And in this markdown file I also added design context using Figma MCP server. And then I also added a code example for code context linking to Tremors and date range picker component. The better and more specific this game plan document is, the more pixel perfect and bug free my implementation will be. If you take anything away from this video, it's basically how you can extract context from your designs and your codebase onto a markdown file and then use that markdown file or this game plan as a launching off point to get precise AI implementation. That's really the secret sauce. This often gets me the best results. Not perfect, but good. And sometimes to fill in the gaps, I'll open the Chrome Inspector tool to inspect how the date range picker component is configured. And then I could just copy and paste the HTML elements and ask it to change specific things within that component if needed. The copying and pasting of HTML has also been pretty useful in this like fine-tuning step of the, of the process. Once I'm done, then it's the approval step. I'll ask Cursor to create a pull request with my code changes. And we're also using some AI code reviewing tools like CodeRabbit, Kubiq that will help basically review if I've made any sort of any mistakes or any bugs. So I know I've covered a lot in this video and I'm planning on making a Cursor tutorial for designers where I go through this workflow a little bit in more detail step by step. So you'll probably want to subscribe and turn on notifications so you get alerted when that comes out. For now, you can watch this video next. May God bless you. Batman out.
More from Andres


Claude Design, meet Aqua Chat (anyone else obsessed with Aqua UI 👀) #claude #design @claude #ad
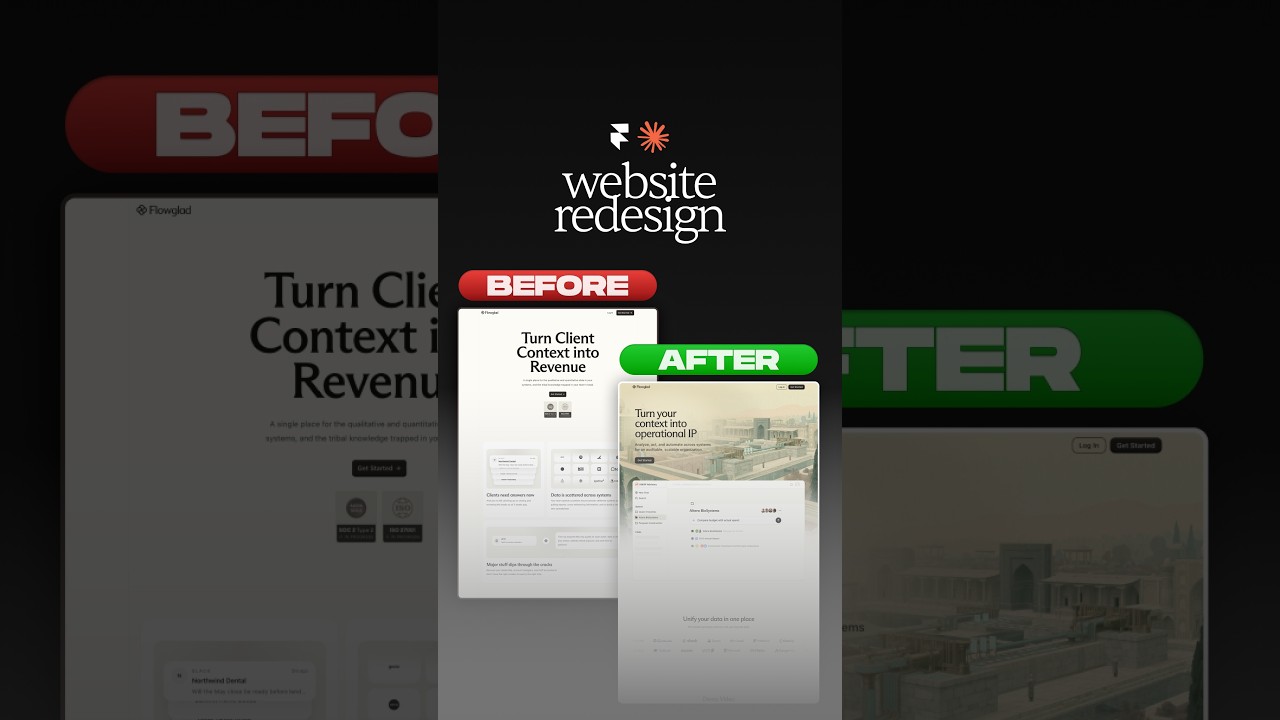
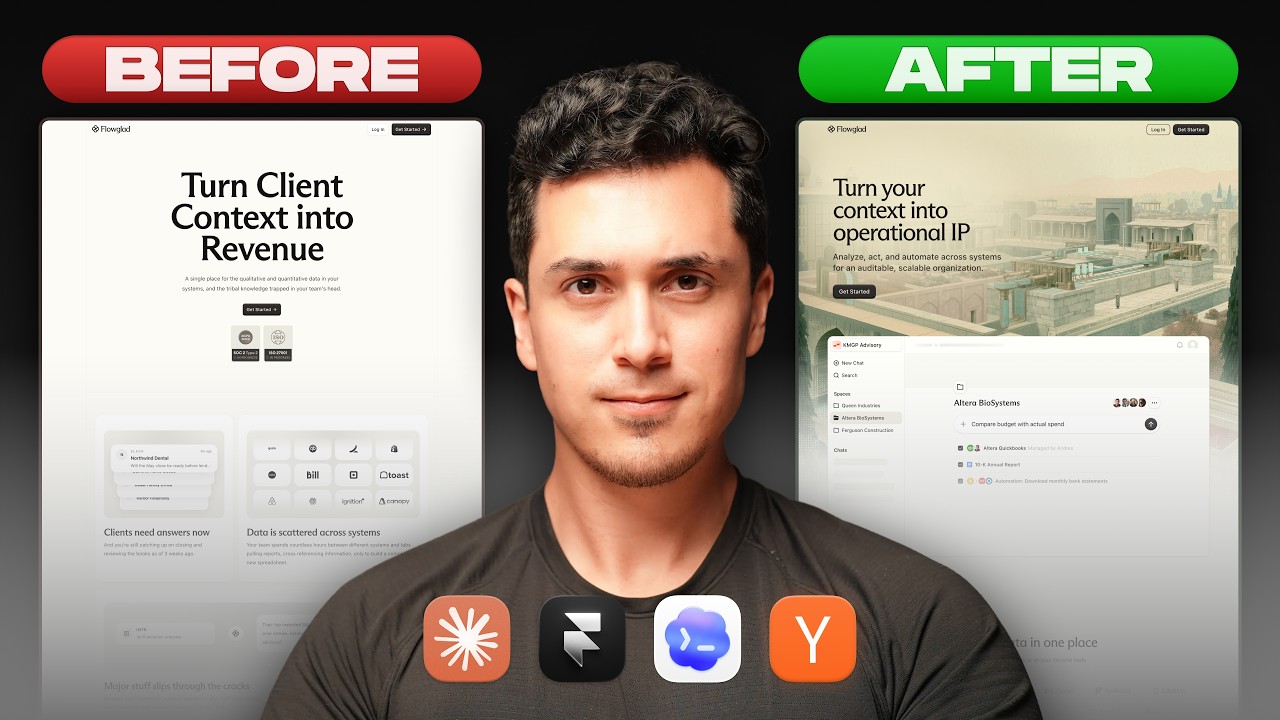
Website redesign for the coolest Y-Combinator startup everrrrr 😏#framer #webdesign #ad


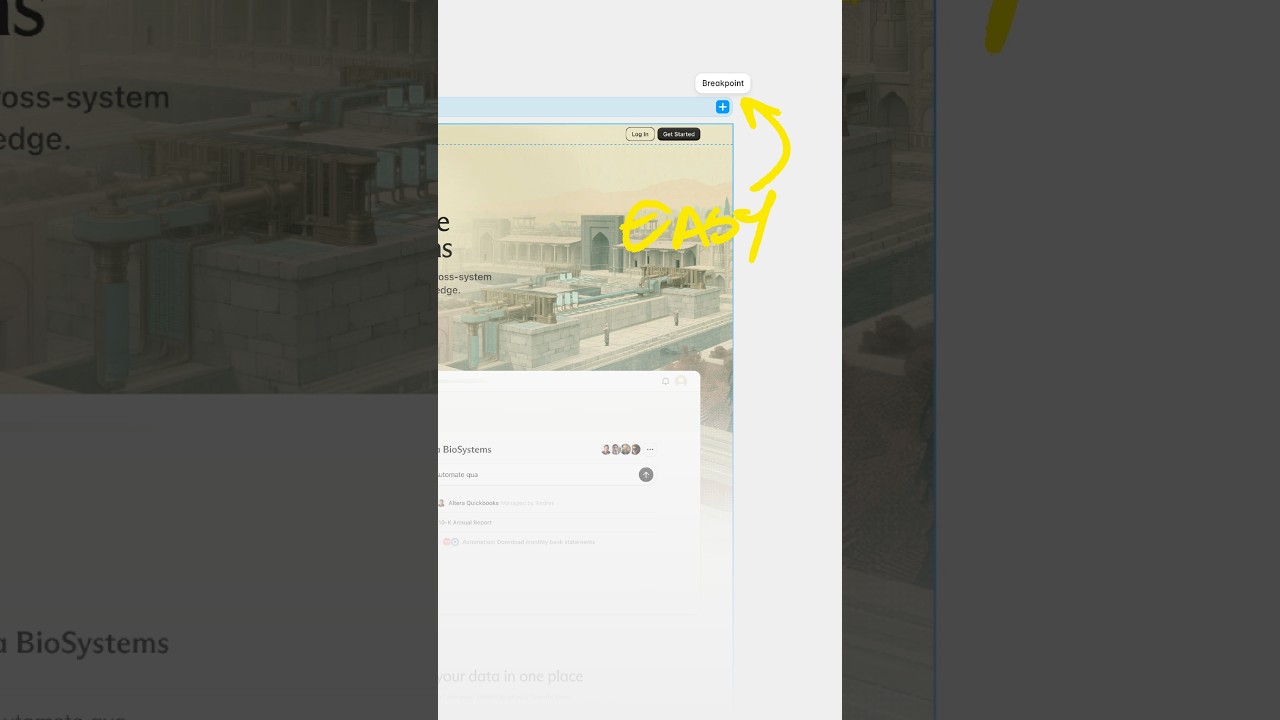
Break barriers by letting Framer agents' break points 😏 #webdesign #framer #framerpartner