5 EASY Steps to Plant A Fall Garden (The BEST Time To Grow🤫)
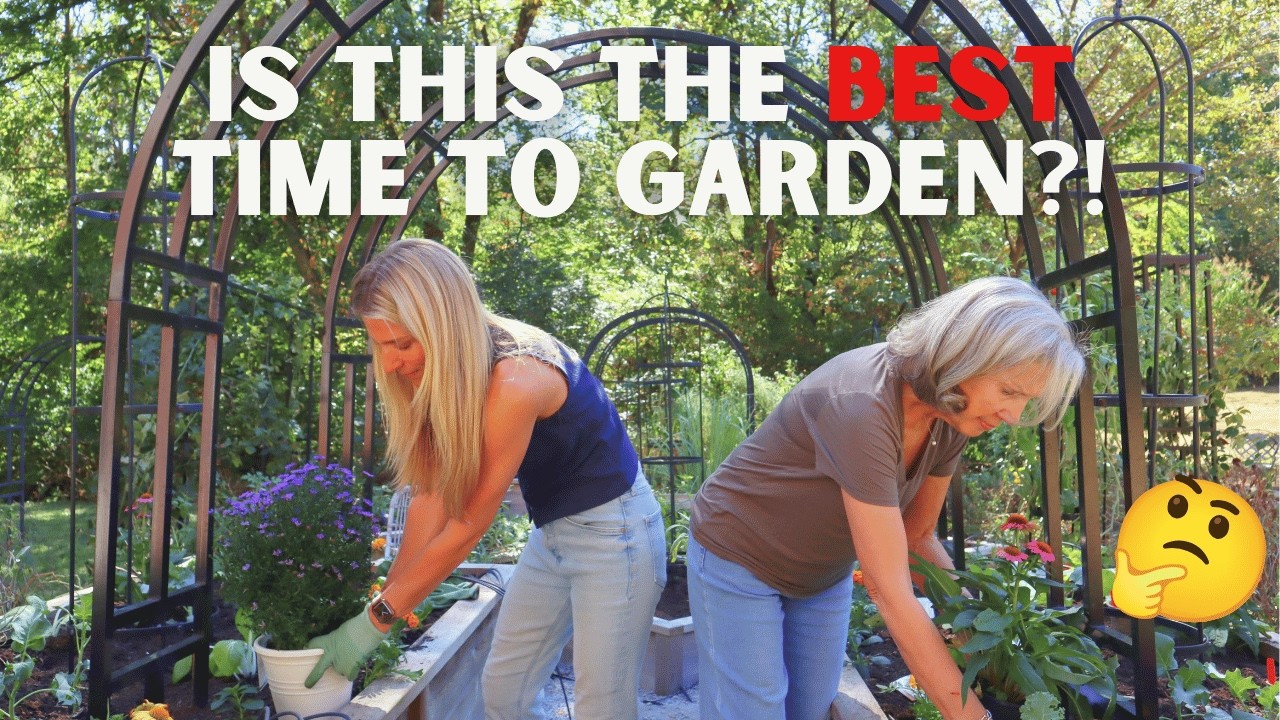
Nicole Johnsey Burke and her mother walk through five steps to plant a fall garden: clear beds, amend soil, arrange plants using the "plate planting" method with large crops in the center, plant transplants, then sow seeds. Fall gardening means cooler temps, less watering, and fewer pests.
Chapters
My first few years of gardening, I always quit right at the end of August, but then my mom called and she said, oh, but you're forgetting the garlic and the spinach and all the other greens. So that season I planted up my garden for the fall and I fell absolutely in love. Growing in the fall is the best season to garden. So today my mom and I, we're going to show you 5 steps to plant up your garden for fall so you don't miss it either. Now, Mom and I, we are Southern gardeners, right, Mom?
Absolutely.
She's from Mississippi and I Did my first garden in Texas, and now I'm in Tennessee. And so there are a lot of reasons why gardening in the fall is so much easier, especially if you're in either a mild climate or a warm climate. The first is it's not as hot.
Yeah, the summer has been brutal.
The summer here was in the 90s, and even just last week it was just scorching. We've all been joking that we've been living on the surface of the sun, and it's just, let's just be honest, it's hard to want to garden when it's Yeah, I'll lose mine this year. Yeah, my mom told me she's kind of done in July. She's like, she's done all her gardening by then. So I think naturally our bodies just prefer to live in 75 degrees and so do the plants. Most of the plants that we like to grow, they actually don't really like it that hot either. So it's not as hot for the plants or for you.
The second reason is water.
So during the summer months, I don't know, did you water your garden a lot? 3 times a week.
Yeah. And I just kind of stopped. Nothing was really growing and I just felt like I was having to water too much. So I quit. But in the fall, you usually get more rainfall. And even if you don't, the evaporation rate really slows down. So the water that you do put into your garden, it stays much more than when you're in the middle of summer. The next is pest pressure.
Did you get pests in your garden this summer? Yeah, this is my second summer. Yeah. So I did get freaked out by the Tomato hornworms.
That's right. She had tomato hornworms.
Which, that's the first experience I've ever had with that.
Yeah.
But the herbs kept most of the other pests at bay.
In general, pests come out to play in the middle of the summer. So if that's not your thing, we have a whole video actually, if you want to watch that I filmed in my mom's garden about protecting it from pests. You can watch that later. But fall is just a much better time for less pests. The last reason is there's so many great things to grow in the fall. that are good for your body that kind of align with cold and flu season. So just like my mom noted at the beginning, garlic, spinach, leafy greens, root crops— they're all so good for us, and they come right at a time that our bodies need them the most. So with that, let's get started.
Step number 1 is to clear your bed. So any plant that you can clear without pulling out from the roots, you want to do that just to preserve all that great soil that you've been building. And then anything that needs to get pulled up by the root, like this Any kind of thing that has too big of a root system, so typically peppers, tomatoes, anything in the Solanaceae family, I generally pull up all the way from the root, but something like this marigold, I'll just cut it at the base. And then also you want to find your treasures, so this marigold has all these little blooms that have like gone to seed, so you want to save these. Make a pile of like keep, compost, and trash. So really 3 piles that you want to have here. So like this basil is pretty much done, but it does have these beautiful flowers and seed pods, so I'm going to cut it at the base. I can bring this in to dry, and I can even make some pesto or whatever I want with that basil, so I'll put that in my keep pile. This pepper that's kind of worthless, it's going in the compost pile, and then anything that's got signs of disease or a lot of pests, then I would just put it in the trash pile. So we're going to do this with the basil. The marigold, we don't have a lot left because honestly it was a rough few months here, and I just kind of let the garden go. But you can see all these cool marigold heads. That's all of next year's seeds right there. So this is going to go in my keep pile.
And as soon as you get the whole surface of The garden soil clear, then you just want to do a little bit of aeration, not a lot.
We are not wanting to turn the soil over too much because there are layers, there's life under there, and so I like to use this little cultivator tool, and I'll just do a little bit of turning of the soil.
You can see my soil needs some reworking, which we'll cover in step number 2. It's dry, it's brittle, it has lost a lot of its life. There's good life down there.
Oh, there's a worm!
So that's a good sign.
There's still life in here. It's going to need a little bit of help before we move into the next season, so we'll clear it out, and then we're ready for step 2.
Now we're just going to add a little bit of compost on top. I like to say if you need more than 6 inches of soil, then I would use my 103 blend, and that is a mix of compost, sand, and topsoil.
I have a whole guide to my soil blend underneath this video.
So that's what I would do if I'm adding more than about 6 inches of soil to the bed, but if you're doing anything less than that, which our goal generally is about 3 inches in the bed, then I would just do a compost. My favorite is a leaf mold compost to put on top. You can also do mushroom, but I'm going to be honest, this past year we did a mushroom compost in a couple of our gardens and in mine, and the quality was really bad.
So it can be hard to know exactly what you're getting sometimes. So just be sure—
I would always buy just one bag to test it before you get a lot, and of course you can use your own compost too. So you can absolutely add this compost just around the base if you have perennial plants like herbs or flowers. Like we've got this sage here, you can just add it right around the edges, and then as soon as you get all the compost in your bed and level, then you're ready for step number 3.
Step number 3 is to lay out your plants. Now we created a planting plan maker. I haven't showed you this yet.
Oh, uh-uh.
But on our website now, you can actually create your own Planting plans, which is really cool, and it's using my plate planting method, which is the idea of planting in circles and that each plant takes up either a full dinner plate size or 4 salad plates or a bunch of little dip plates. So we'll talk through how that works, but if you want to check out our plate planting maker, then we'll link it right below this video. So right in the middle, the biggest ones, these are typically fruiting crops, and in the fall season, if you're moving into a time when things are cooling down and the highs are between 45 and 75, Your fruit plants are going to be things like broccoli, cauliflower, cabbages, so these are going to go right down the middle of the bed. If you don't know what you should plant in the fall season based on your climate, go watch our October planting guide, and that'll help you kind of categorize yourself. But we're going to take these larger plants, and we're going to give them each about 1 square foot in the garden, and I'm just going to line them up going down the middle. Now, I also added one of our obelisk trellises here, Because I'm going to be using that for peas, which is also in the fruiting family when it comes to things that grow when there's a chance of frost. So laying out your big plants first gives you a little bit of frame, and these are going to take up the most amount of space. The next thing you want to do is lay out your medium-sized plants. Now typically I talk about that being— you referenced this at the beginning— which is garlic. I don't have my seed garlic here yet. It will be here next week, but I would absolutely lay out, and I will leave space for garlic to go right along this broccoli. They are great companion plants because the garlic puts off a scent that protects your greens. But another medium-sized plant, and this actually isn't roots, these are biennial greens, kale and Swiss chard. You want to put that maybe right behind the aster? Yeah, just like right here in the corner. So I like to do these in the corners. They're really pretty greens, and they get really big, and they don't mind frost.
So I like to kind of put these on a row of their own, and they're what I call medium-sized plants.
So we'll have some kale, And some Swiss chard and a lime there, and then you'll have your leafy greens, so small greens, and those are going to be planted in another step, so we're not ready for that just yet. Another medium-sized plant I like to do in the fall, and you got me these plants, which I'm so thankful for, is some bok choy. This is another kind of medium-sized green. I'm going to put it right here. This is a nice center spot where I'm going to have things growing on my trellis like peas, so I'm going to put the bok choy right here in the middle. You can put that one right there, and then I'll put 2 right here. Those will get Pretty nice and large, and you can harvest from them as you go. So we'll do our last part will be leafy greens by seed, so we'll get to that in step number 5. But another thing I love to lay out are some flowers and herbs.
I've already put some marigolds, some mums, and asters around the edges.
We're going to also add some snapdragons. Snapdragons are great for a frost-filled time. This is exactly how I like my snapdragons to look when I buy them— no bloom at all.
These are perfect.
They're going to last a very long time in the garden, And then the last thing that I would add is some herbs— parsley, dill, and cilantro. These are ideal herbs for this time, and I'm going to just put this right here on the edge so I can come in, cut some parsley anytime I need it for dinner. So now we've got all of our plants laid out, and we're ready for the next step. Step 4 is to plant. I like to use a spade that can get down about 4 or so inches because a lot of plants that you buy are about that deep. You want to dig a hole that is about twice as wide and the same depth. You don't want to bury these plants too deep. I I like to support them around the neck, but some of these vegetable plants especially can suffocate if you bury them too deep.
Putting them just deep enough, and again, you want to have a hole that's twice as wide and the same depth as the plant.
So I like to do the big plants first and then the medium-sized plants and any of your roots and herbs. Sometimes you can see I already came in here And did some of my more ornamental flowers. I was honestly so burnt out from the summer that I went and bought myself some flowers just to cheer myself up, so I already stuck these in here. But herbs and flowers can kind of go first if you need to, and then we just go from biggest to smallest. Now, as soon as you get everything planted into their rows and you know for sure that all the plants are in, then all that you've got left to do is your seeds and your garlic, by the way. And then I'll along with some seeds, and I'll show you how to do that. Step number 5, the final step, is to plant with seeds. You want to have all your plants in place; otherwise, you'll disturb the seeds as you go along. So any kind of legume, if you're doing beans in like a warmer climate, or peas is what I'm doing because I'll be entering the cool season. I like to use a little dibber, and I just put holes about 2 inches or so deep and then just drop the seeds right down into those holes. So we're doing peas first. Those are our big ones, and I'll do those along the Nicole Arch and then also on the obelisk. Now the next thing you would plant by seed would be your root crops, so beets, carrots, radishes, and of course garlic. We have a whole video on how to plant it, so I'll link that below. For radishes, I think we have a video for that too, but you're just going to take the seeds. I also like to use my dibber for this.
I'm going to save some space to have some leafy greens, but I'm going to do a line right here. And I am just going to place some radish seeds right along this little trough, and you want to spread them— I like to say 2 fingers for radishes, 3 fingers for carrots, 4 fingers for beets. That's the kind of width you want between your seeds, and then I just barely cover them up and keep going down this row. Radishes are such a great little crop to fill in the blanks because they grow really fast. You'll get a harvest in about 30 to 45 days, and they kind of also break up your soil, so it's just like a win-win, and they're so pretty. Even if you don't like the taste, you should try pickling them.
I love pickling them. All right, the last thing that you would plant by seed— you've got your peas, then your root crops, and then any kind of greens. So I've got spinach, I've got lettuce spring mix, and then I've also got arugula. If you want to feel like you're a great gardener, grow arugula. It is so easy to grow from seeds. And so consistent. I find sometimes my spinach does well, sometimes my lettuces do well. My arugula always does well. Unfortunately, it's not my favorite green, but it loves to grow in my garden. So I'm just going to loosen this soil and kind of make like 3 little lines with my cultivator, and then I am going to spread this lettuce again, similar to the radishes where it's like 1 or 2 every few inches. I always find my lettuce drops a little too fast, and then I have to come back and thin it, which is a real pain, but that's it. So those 3 things are things you want to plant by seed: lettuce, any kind of leafy greens, your root crops, and then your peas, and then you are all set. Now I made a video all about how I put all these plants together in every single bed that I plant. Mom, you think that the way I plant is kind of crazy, right?
Yeah, it is. But that's, that's the way it goes.
So I made a whole video to show you how to plant this way so that you'll get more production, more beauty, less pests, and less watering. And you can watch the whole process of how to plant my way.
Yes.
Right here.
It makes a lot of sense.
More from Nicole
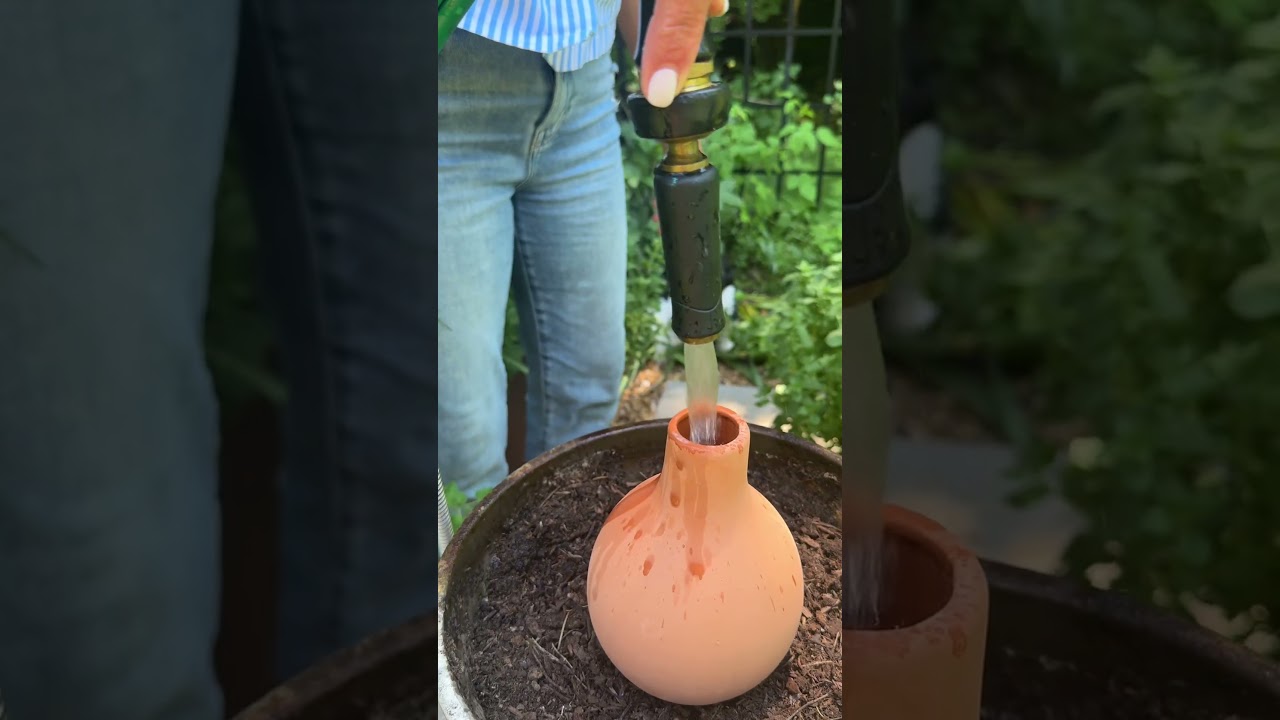
Propagation is the secret to turn 1 oregano plant into 100 that’ll last forever! #garden #herbs
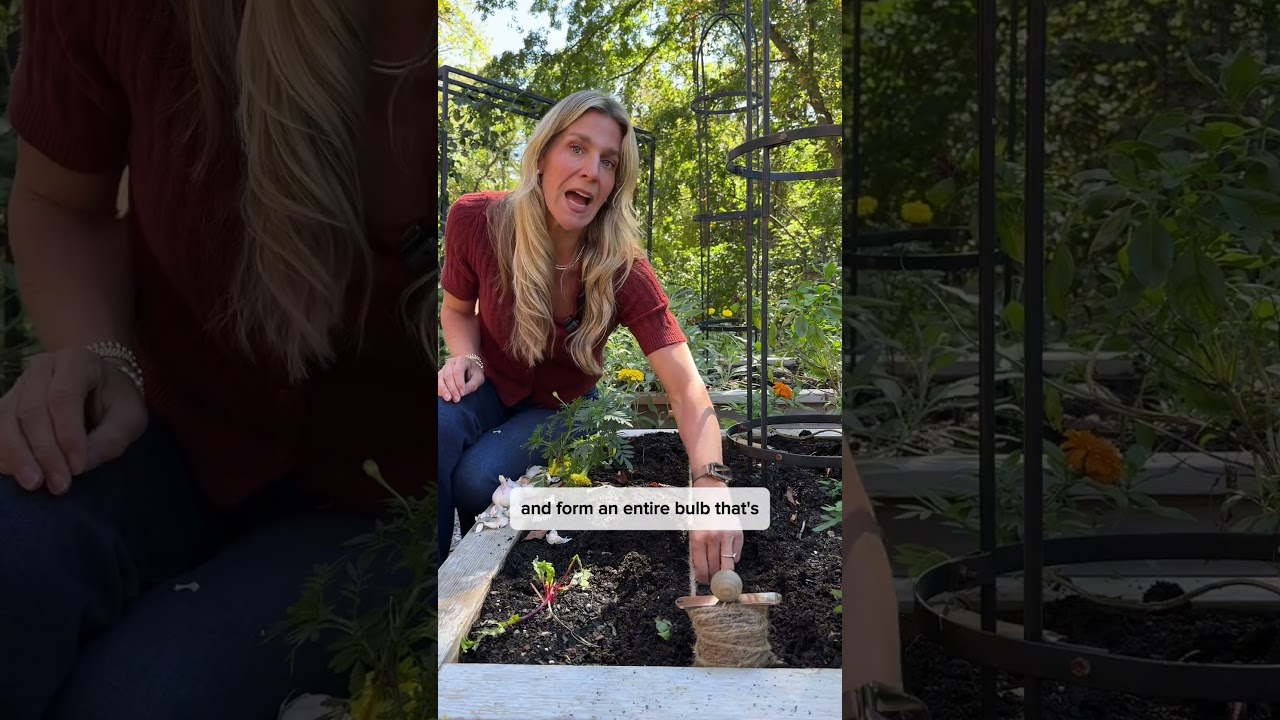
Plant some garlic this fall and you’ll never run out. Just follow these steps #garlic #gardening

Head to Gardenary.com to try out my FREE custom planting plan creator #garden #gardendesign #plants

Frost is coming so harvest all your tomatoes and make this soup🍅#garden #recipe #tomatosoup #tomato
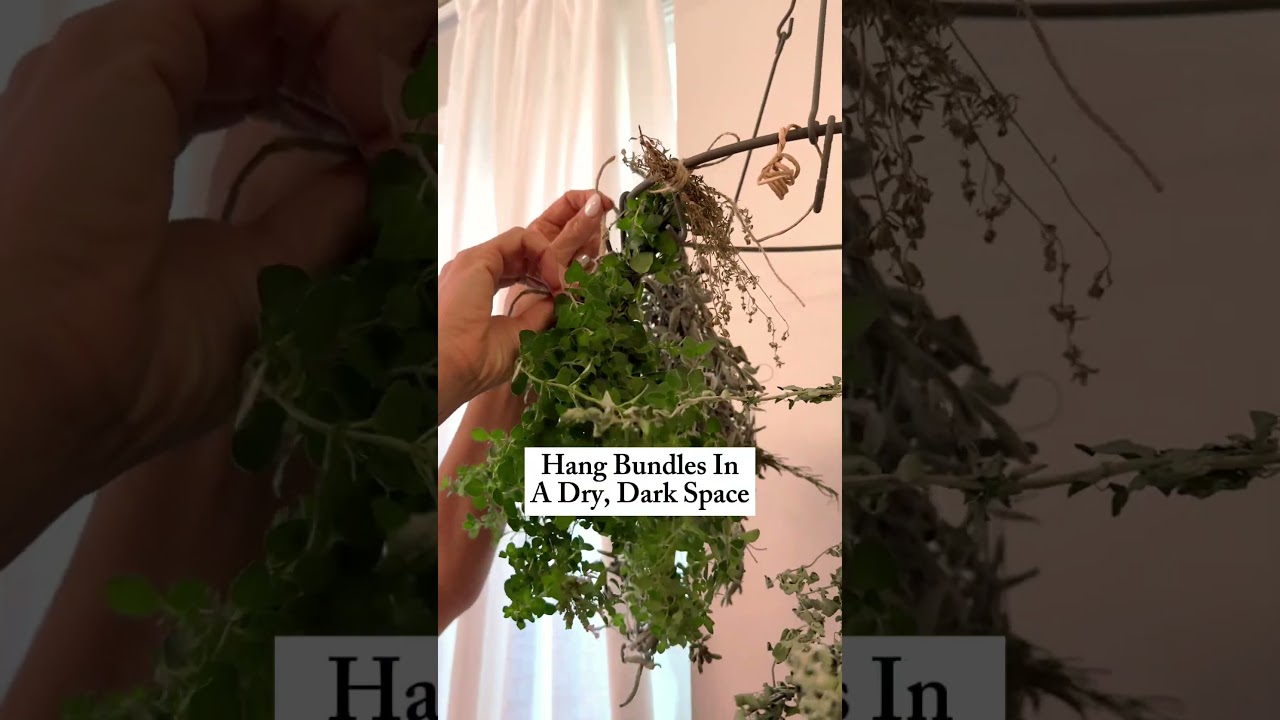
Say bye to grocery store herbs this winter if you harvest and dry some of your own👀#garden #herbs
Can you grow your own Ube?! Let’s see if I grew anything besides purple vines🍠#garden #ube #plants
If your garden didn’t turn out how you wanted, it’s time for a fresh start😌#garden #fallgarden

Turns out you don’t have to sit at a desk all day…you can stay in the garden☀️#garden #meme #9to5

Do NOT buy soil with artificial fertilizers if you want a natural, organic garden😬#garden #soil

I wasn’t meant to send emails or work 9 to 5, I’m meant to stay in the garden all day🌿#garden #meme
Don’t just put soil in your raised beds, layers are the key to better growth👀#garden #soil #leaves