
Transform Your Sleep with the Chilipad Dock Pro: Unboxing and Review
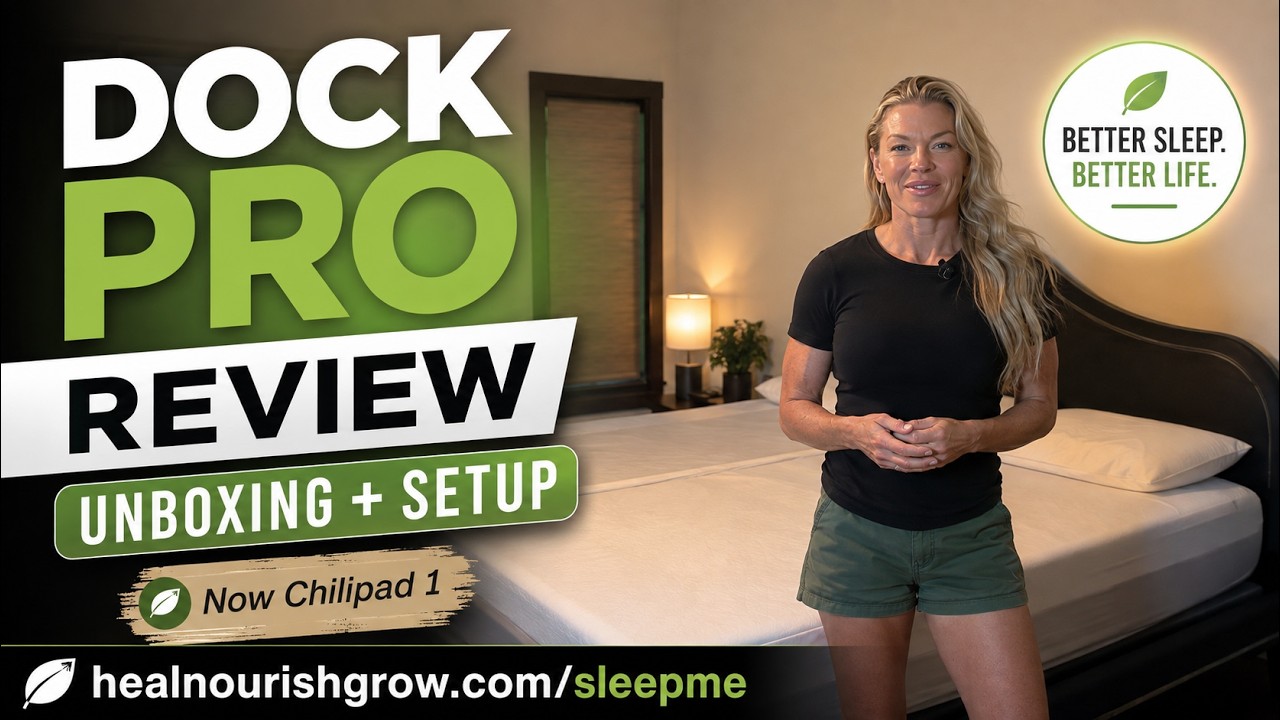
Cheryl McColgan unboxes and reviews the ChiliPAD Dock Pro, a dual-side temperature control system for mattresses. Setup takes 20-30 minutes and lets each sleeper set their own temperature via app. She highlights quieter operation, easier cleaning, and a bent hose design compared to her older HulaPad.
Chapters
Hey everyone, I'm Cheryl McColgan, founder of Peel, Nourish, Grow, and today I'm joining you from an unusual location. I am in my bedroom because I got an exciting delivery that has to do with this today, and that is the new ChiliPAD Dock unit. And actually, I said new, it's new to me. It's actually been out for a little bit at this point, but as you can see on the other side of the bed, I have the old HulaPad, and if you look back in my previous videos, I did an unboxing and a review of this. I've had it for 4 years. Obviously it's something that I use every single night when I go to sleep, and it has been just a game changer for if you're a hot sleeper or if you are in menopause like I was starting to be when I first got the unit. Um, it just makes it so much easier to sleep at night. So what I thought I'd do is go ahead and do the unboxing so we can see how easy slash difficult slash whatever it is to get on the bed and get put together. And so I'll just walk you through that and share this with you so that you know how to put it together whenever it arrives at your house. So, um, like I said, I've been using it for 4 years, and whenever I go away uh, somewhere where I have to sleep at a hotel or something, I definitely always notice it. Um, you— it really just improves your sleep so very much that I really miss it when I don't have it. So this is the first box, and as you can see, that was all that was in the first box. And comes in this nice travel bag. You could travel with it if you wanted to. Um, that would be a little more challenging, but actually when we did our bag Van Tour thing, um, that was something where we were kind of living in a suburban and renting Airbnbs for a little while. We definitely brought it with us and I used it while we were away. So this is the pad that's going to go on the bed, and then it's got a pocket in front where it has the tubing, and that's the same as the old unit. So I'll go ahead and kind of show you that on the one that's already set up. And then it just had another piece of Styrofoam, so we're good to go on getting that out. But let me just show you here what this one looks like. So this is just the half pad for the bed, and as you can see, it's just got straps, lays on top of— this is the This is just a mattress protector, um, and it just— then you put the sheets right on top of it. Uh, and so got the pad off, and you can see here is the cord that I just showed you when I took out of that, so that it's got the water that flows through it, and that's how it stays cold.. And then for me, I ended up putting a, um, safety pin into the cord because we have a Sleep Number bed. And so this model, it was difficult to work around the Sleep Number pad. Um, so that was my solution, basically. I MacGyvered it. You're probably too young for that reference if you're on YouTube, but anyway, and now you just take— so it just goes, the cord kind of comes up through the back, and then I'll show you what this old unit looks like. So one end of the cord goes into each— one goes into the pad, one goes into the unit. So that's the thing that I just took out of the new one. And then it just plugs in. And this is the old unit, so that's what that looked like. The level of noise with this one was not anything crazy. It never bothered me, actually. It's just like really nice white noise that you can have in the background, and it complements our air filter that's white noise. So that really— that part never bothered me. So now let's see what's in the other box here before we move on. Okay, it's a box inside of a box. I might have been off camera for that, but you probably didn't care anyway, right? There's this unboxing stuff for this type of thing I feel like is not as, um, fun and exciting as like makeup or things that are easy to get out of the box. So we've got the quick start guide, safety information, and so these should be the dock where you put in the water and actually attach the cords to it. Got your, um, power cord. We've got the something that's helping with the cleaning, which is nice. That is one difference about this unit is that it's designed a little differently than, um, the previous one to be easier to clean, which I really like the idea of that. And then This other box is just the exact same thing except for the other side, because this is the we unit. There's the me and there's the we. And so the we— both sides of the bed get to have the temperature control, which is really nice because like I said, for years I've been living with just my side of the bed being cooled, which is fine and really great for me since I was having hot flashes and, uh, I was— I would sweat so much that I'd be fluffing the sheets and doing all that while Peter's on the other side. Meanwhile, he's freezing because we're trying to, you know, find a way to balance it and make sure that we could both sleep. So what's really nice about having both sides at the same time is you can each control it. Um, you can set it to wake up, uh, to a warmer bed. So it just like wakes you up very gently. With some increased temperature. So that is very cool part of it. And then this box has its own power cord and everything as well. Okay, so now that we've got all of that out of the box, these are going to live obviously under your bed, hopefully. So depending on what kind of bed you have, you may or may not be able to do that, but it can also just be right by the side. And I don't think I mean, these are very, you know, it's a nice design. It's not unattractive. So I think even if you had to have it to the side of your bed, that's gonna be totally fine. Get my Manta sleep mask off of there. If you haven't used them, I'm obsessed. I love them. It's like such a good sleep mask. Basically, this is all designed to have the best sleep possible. And this chili pad though is like really the super key component of the really good sleep. So I'm super excited to be upgrading to this We unit and also again to have it just, um, have the upgraded features where it's easy to clean and all that. And then I don't think I'm gonna have an issue this time with the Sleep Number part. So, um, now of course I could look at the directions, but it should be fairly self-explanatory. And I also just want to see if it's saying anything about top or bottom on here. Okay, there is a big tag right here. And it does say, oops, wrong side up, so it helps you distinguish the fact which side should be up. This says this side up, so that's nice. And then it's got the holes where the cords come in, so that goes to the top. Obviously you can already see that The fabric of this is vastly different from the older model. This looks so much more comfortable and aesthetic. The previous one, obviously it worked really well, but it definitely had— you can see the cords a bit, and you could also feel them a little bit, which never really bothered me. But this one, I'm already noticing it's just you can't even really feel anything at all. All right, so now this is a pretty simple thing. You just attach the cord there to the top, and I'm pretty sure on this one I thought this was also a good design feature because they made both ends be exactly the same, so you don't really have to worry about which end goes where, although this one does have a bent connection. So I'm assuming that this is the one that goes at the top of the bed, and so it can kind of come down easier. That is a, a good change. I don't think the old one had that. I could look, but I think the old one was exactly the same on both ends. Yeah, so you can see this one, old one, had the same. I think this is a nice little small upgrade feature, which I probably should, before I get it all set up, just check and make sure that that is actually what they were thinking they want you to do. That's what makes sense to me. No, actually the bent end. Okay, it's designed with the bent end because the way it goes into the dock. So I just want to make sure it does say connect the straight end of the hose to the pad, so that's what we'll do. So I'm sure this will make much more sense when you actually have it in place. Okay, so you can hear the click, and you do want to make sure that that happens so that you don't have any water coming out of the system. And it's— I don't know, you might even be able to hear it. Let me do that again because I have the mic on my shirt here. So really nice click in place, and then the cord is just going to go down the back here. And oh, okay, just had to get it underneath of the We call that thing the flat thing that holds your mattress up. That thing, right? Okay, so that side is done. You just want to arrange it obviously so that things lay flat, and that actually does make more sense to me now that I've got that in place because it Um, you know, the flat piece just goes kind of there behind the bed. So just adjusting this a bit now to get everything lined up, make sure that it's on the mattress really well. Excuse me, you really want it to be just underneath of your sheet. For maximum effectiveness. Okay, so that is all finished now, and I'm going to grab the camera so that we can look at this more closely together. All right, so here's the Dock unit. This is where the water goes. Again, this is— this design is making this a lot more amenable to being a really nicely clean system. And then here's the back of the unit where you can see where we're going to put the power cord and the water attachment. So we'll do that now. Obviously you're loving my camera work, right? Okay, so just wanted to get the cord all so that wasn't all curved up. But now putting the cord on the back here, that clicked in place there nice and easy. And then we have the power cord, so that goes here. And then I'm going to go ahead and get this plugged in and set on the floor. And this is nice that it comes right out so we can just Oh, it's got— this is nice— got a lock feature on it, so you have to turn that first. And I have my distilled water here, so I'll get this plugged in, uh, get the water in place, and then we'll turn it on. Okay, got that plugged in and turned on, and it immediately started pulling the water into the pad. And, um, so it has the up and down buttons here and the power button, and it's already saying that the water is out. And that makes sense because you've got to probably fill it a couple of times before you're, um, going to have enough that fills up the mattress. Again, we could have looked at the directions here, but This is more of an adventure. It's a little hard for me to see that. Now you can hear it, it's getting started again. So what happens eventually is you can see the Bluetooth thing is flashing, and so you'll attach it to your Bluetooth on your phone, and then that's how you can easily control it. Right now it's saying hi, but eventually you're going to set it to— I don't know if you can see that on here, but right now it's saying like 115 or something.. And so again, more water. This is just to get it set up. Once you actually have it up and running, you're just gonna refill occasionally. But for this initial setup, you're gonna need to fill it a few times. And actually, I think I'll just leave this lid off just for this moment until it goes through this whole process of getting the water into the pad. So I think this is the third time now that I've filled the reservoir, so we'll see how many it takes to get it ready to go. And yeah, same water again. So again, you can set it on here, but what's really nice about the app is that on the app you can tell it what time you want it to cool down. Do you want it to wake you by slightly warming up? Do you want to just keep it cold all night? There might be new features on the app with this unit that I'm not aware about yet, so I'll talk about that when I get the app set up. But so far you can see, I noticed when I, um, took the recording off that it took about 15 minutes for me to get it on here, just because, you know, I'm talking the whole time. So it's a really super quick setup. And then, as you can see, once you get the unit plugged in, it's maybe another additional 5 to 10 minutes before you can actually start using it. But it looks like we're getting close here to having the bed actually filled. And I'll top this off, and then we can get the other side set up. So total setup time, 20 to 30 minutes, and you're good to go. Okay, here are my thoughts so far. Setup was super easy, um, easy to put it on the bed. It's just like putting on a fitted sheet. That was no problem. Hoses are easy to deal with. You click it so that you know that it's sealed. Um, you can hear it barely, maybe in the background. I mean, it's far quieter than the old unit, so I really appreciate that about this one, even though, like I said, it never really bothered me. If you're somebody that doesn't like white noise or you're worried about it being too noisy in the bedroom, I mean, you can barely hear it at all, and that's quite a difference from the old unit. Um, yeah, so if you're looking for better sleep and isn't really, right? Even if you're not menopausal, even if you don't have hot flashes, it gets you warmer or colder, which is nice. So whoever's on whatever side of the bed, you can customize it to your own liking. Like I said, they do have the single unit also. So if it's just like me for years, like I said, I had that one. It was because I was having all these night sweats and hot flashes, really needed on just my side of the bed. But if you can make the investment, it is nice for both people to have it because having your room be the proper temperature is one of the best ways that you can get better sleep. And it And it can be hard, right? Because this bedroom in this house, it's upstairs. We're thinking that the insulation must not be very good because now we've spent 2 summers here and the upstairs just stays so hot. And you know, it's been in the 90s here in the Midwest. This is July of 2025 if you're watching this in the future. Um, but it's been super hot, so it's really warm up here. And at night, if you're too hot, it's impossible to sleep. So if I wouldn't have had the Ooler on the bed the last couple weeks, I would've been extra miserable. Um, it helps cool you down, or like I said, if in the winter you can use it to make the bed a little warmer. It's nice because you can program times for the bed to get warmer and cooler, so it knows when you're going to bed, it makes it automatically cooler, or you warm it up a little when you get in, so it's really easy to get in nice and toasty, and then you turn it down. So there's just so many options. Um, highly recommend, cannot say enough good things about it. Um, my experience with this company, with their customer service in the past, has been very good. I did have an issue with my original unit that I bought, but it's under warranty. They repaired it. Like I said, I've had it for 4 years. It's been great. Um, and also if you use my code, you get a discount, obviously. So it is an investment, but it's investment in your health and your sleep. And I don't really think there's anything better that you can spend your money on. So that is huge. Um, it's also HSA eligible if you have that health spending account. Um, and you're gonna save money by using my code. So it's healnourishgrow.com/ sleepme, I believe is what it is, healnourishrow.com/sleepme. And that'll be also in the links below, obviously, but use that to get a nice discount. So now we're gonna go and I'm gonna set up the app so you can see the final setup. But right now it's already running cuz like I said, it has the controls on the unit, but there's a lot more options in the app where we can schedule things. So you just have to attach via Bluetooth. So let's do that now.
Okay, so got the app downloaded and you just have to create an account if you don't already have one. Now We're going to discover the devices here, and it gives you a few tips about what you're supposed to do. And then now we'll try to pair it. So one thing you want to make sure is that you're attached to a 2.4 GHz network. David Hertz network because I tried it initially on our 5G and that did not work. So now I'm just trying to see if we've got this connected here. And I'm watching the unit because what I discovered on the first time around is that it, um, it's going to ask you now to name, and so I didn't know which side was which initially, so now we want to make sure that we get each one right because you have to claim it so that you can control your side of the bed easily. And hopefully I got them right. So now you want to set up the other dock.
So the key was to not have them both plugged in at the same time.
So now I'm just going to the other side.
More from Cheryl








30 Day Challenge Series, Day 30: Choose Your Three Habits to Continue for 90 Days

30 Day Challenge Series, Day 28: Schedule Connection (Put It on the Calendar)