Joe Houghton shows how to add a thin grey border to a Lightroom photo in Photoshop. Export to Photoshop with Cmd/Ctrl + E, select all, use Edit > Stroke with 1 pixel width and mid-grey color set to Inside, then save. The framed image returns to Lightroom as a TIFF.
Chapters
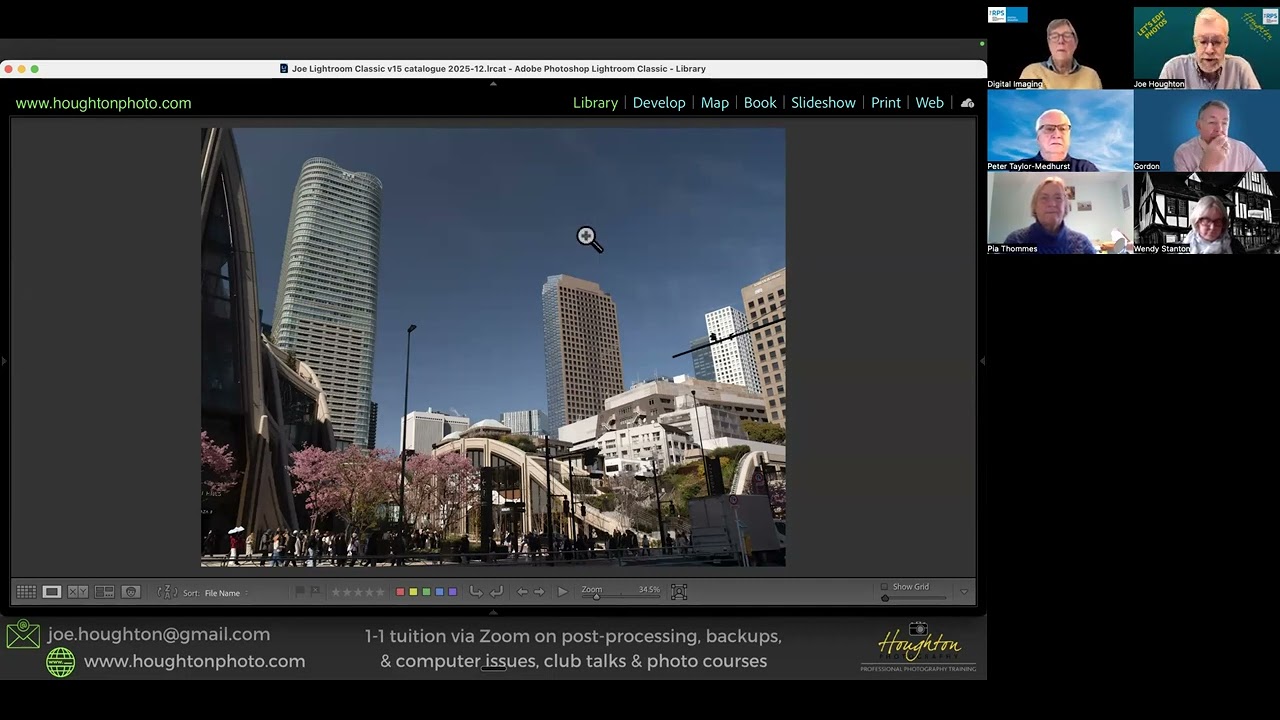
Okay, in this very short tutorial I'm going to show you how to take an image in Lightroom, export it to Photoshop, and then put a 1-pixel grey border around the image. Maybe you're submitting it to a club night or something and you just, just want a nice easy border around an image. So I'm assuming that you've got Lightroom and that you've got Photoshop, and I'll walk you through the steps. So pick an image. So typically you're going to be in grid view in Lightroom. Pick the image that you want to edit and make your edits and get it all ready as you like. So I've got this one that I'm quite happy with at the moment. So then go up to Photo, Edit In. And then Edit in Photoshop CC. Command+E on a Mac, Control+E on the Windows machine is the shortcut for that, and that will fire up Photoshop. There we are, so now we're in Photoshop. So just to put a border on this and then get it saved, okay, so the first thing we need to do is select the whole picture. So we can go up to the top menu bar, and we can click Select and Select All, or the shortcut there is Command+A or Control+A on a Windows machine. And now you'll see the marching ants surrounding the edges of the picture. Okay, the next step is to add our 1-pixel line around the picture. So again, if we go up to Edit and then down, about halfway down, we should find the Stroke option, and I don't know what the shortcut key is for this, if there is one, but so Edit and Stroke, and then we get the Stroke dialog box up, and this is where you can put in the different attributes of the line that you want. So for this kind of an image, certainly if I'm putting it into Club or whatever, I would typically just set a 1 pixel width, just so that it's a very thin line around. If you click into the box here next to colour, you get the colour picker, so you can just, you know, drag around this set of— you can drag around this set of colours to choose the colour that you want. So I would typically, you know, go with some kind of a mid-grey Something like that perhaps. Click on OK so you can see the colour that it's going to be. Now, inside, centre, or outside. If you have sized your picture already in Lightroom to say 1920 pixels wide, which is what a lot of clubs use as their default maximum setting for submissions, then you need to make sure that the location of the stroke doesn't make the picture any bigger. So if you make the stroke 1 pixel inside the picture, it won't grow the picture. If you make it outside the picture, then you'll end up with a picture which is 1920 pixels and then another 1 pixel either side for the background, for the line around it. So make sure that location is set to inside. Blending mode can be normal and opacity 100%, that's fine. And just click on OK. So now the line has actually been applied. You can't see it at the moment because the marching ants are 1 pixel wide and they're hiding, hiding it. So if we now deselect everything, so the easiest way is to go up to the Select and just do Deselect, or Command+D or Control+D, and now you will see that down on the edges of the picture we have a grey a grey line across. So to save that, you just go back up and you do a File and then Save, and then that will save that image back where you wanted it. Or if you want to save it with a different name, you know, you might kind of want to put frame— framed after it, or put it in another folder or whatever, then you can obviously do Save As and put it in whatever folder and change the name. But I'm just going to save that. So if I save that and I then just close on here and shut down Photoshop, and then here we are back in Lightroom, and there's the image now showing with the framing. So there's our original image without the frame, and you can see no frame, and then the new TIFF image that Photoshop has exported back into the same folder with the frame. It's as easy as that. So I hope that was a useful little tutorial, and have fun putting frames on your images.