In this short tutorial, Joe Houghton demonstrates a little‑known method for creating a duplicate of an original RAW (or DNG) file in Adobe Lightroom. Since Lightroom lacks a dedicated “Copy Image” command, he shows how to use the Export dialog to copy the original file unchanged. The workflow includes selecting a RAW/DNG, opening Export, choosing a specific destination folder (e.g., a “Salon Masters” folder for salon submissions), setting the Export format to “Original File,” optionally renaming, and enabling “Show in Finder/Explorer” to verify the copy. The result is a faithful duplicate of the source file placed in a user‑chosen location, useful for organizing originals for client or salon requests.
Chapters
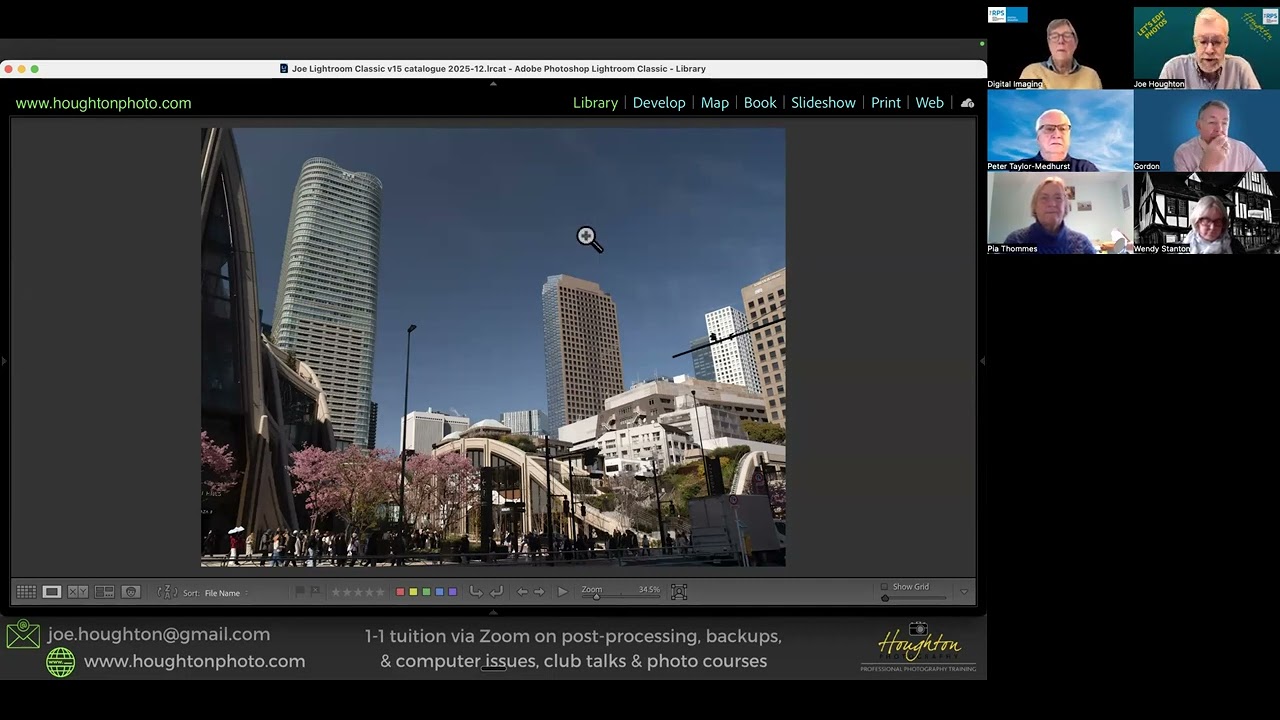
Hi, this is Joe Houghton and this is Lightroom Bites number 5. In this video I'm going to show you something pretty simple, but it's hidden away and not a lot of people know you can do this: how to just copy an image in Lightroom. There is no copy image option in Lightroom. It's something that confuses a lot of people And sometimes I like to have a second copy of my original RAW file in a separate place. I have a folder called Salon Masters which I put a copy of the original RAW file in for any of the images that I'm going to submit to a salon, because sometimes, you know, a salon could ask to see the original RAW file, so I want those all together in one place where I can find them. So How do I do that? Well, let's just pick a RAW file. So here's a RAW file, a DNG, okay, of these buildings. And to make a copy of that, I go down to Export, and I'm now in the normal Export dialog. Where do you want to put your copied image? A specific folder? The same folder as the original photo? That's not a good idea because we're making a copy of it. So let's say a specific folder. And then if you want to choose a folder from your Finder or your Windows Explorer, here we are, and I'm in my Print Photos folder there. And if I sort by name, I could go down here, and I've got various folders set up: Salons 1024, 1920, Salon Masters. So let's, let's put this image into Salon Masters. There we are. Choose. So now it's going to go into that folder. I don't need to rename my file, but I could if I wanted to. But the key thing here is this dropdown here. Now, most of the time when you're outputting images in Lightroom, you're probably going to either be outputting them to JPEG or maybe TIFF or PNG, copies of your edited image that then you're going to send into club or to a salon or whatever. But what we want to do is just make a copy of our original image, so we choose Original File. Okay, so that's not going to change the file at all, it's just going to take the original file and it's going to duplicate it into wherever you told it to put the file. And then down at the bottom in Post Processing, I'd normally say after the export just show me in Finder so So I can just be certain that that file has actually appeared where I want it to be. And it's as simple as that. So now I hit the Export button. And now up there it was quickly exporting, and in a second we will get Finder coming up, and there is my file in the Salon Masters folder. We're done. Thanks for watching.