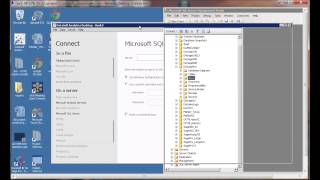
Walk through connecting a reporting tool to Microsoft SQL Server using Windows authentication. Copy your server name from SQL Server Management Studio, pick your database and table, then start building reports. Works for live connections or data extracts.
Brought to you by Data Cells, Business intelligence and analytics for small and mid sized companies like yours. Today's exciting episode Connecting to Data.
In order to begin making reports like this one, I need to start with a data source, a data connection. Click on the Data View menu and connect to data. I'm going to use Microsoft SQL Server today, but there's other options available. They will ask for a server name. Since we usually use Windows authentication, we do not need to put in a username and password. But on other systems you may need to do that in order to get this server name. I have the Microsoft SQL Server Management Studio open and I'm going to connect to the server. It displays the server names of available SQL servers. I then right mouse click to copy it. Or I could do a control C. I'll cancel out of that. I could right mouse click again to paste. Or I could do a control V on the keyboard. Once I have that, I connect. I am now connected to the data source, but I need to choose the database and from there the particular view or table that I'm going to use. You can have multiple data sources or data views in this one source and it can also be a live connection or an extract. More on that later. For now, go to worksheet and now you're ready to begin making reports.
Stay tuned for our next exciting episode. Till then, thanks for watching.