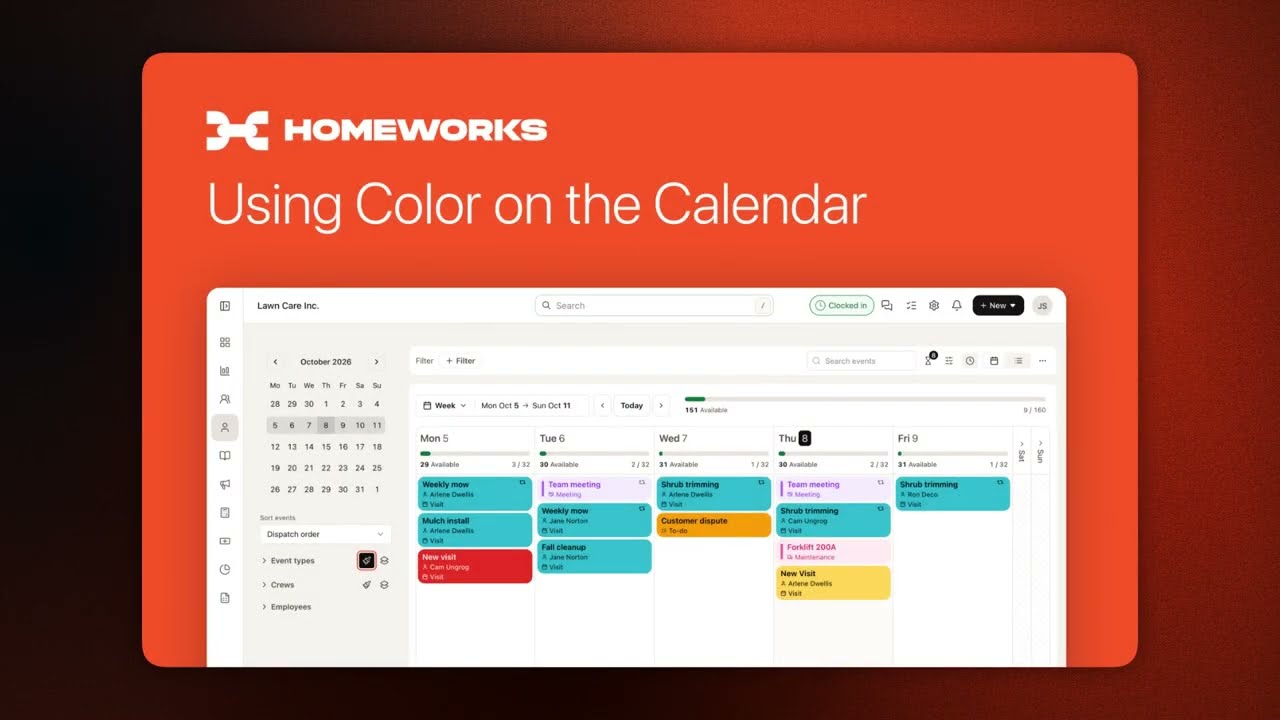
In this product tour, presenter Mike Andes walks through the newly rebuilt Homeworks calendar, highlighting three guiding principles—flexibility, efficiency, and granular budgeted‑hours insight. He demonstrates the new collapsible sidebar, date navigation, and sortable event list (by time, dispatch, revenue, budgeted hours, customer, alphabetical, status). Quick filters let users slice events by type, crew, or employee, while color‑coding and grouping can be applied to event types, crews, or employees. View controls support month, week, day, and list layouts, with optional day‑range selection and a filter bar offering search and additional criteria. The waitlist panel shows out‑of‑range items, supports drag‑and‑drop to schedule, and can be filtered. Event cards can reveal detailed fields (phone, notes, photos) and budgeted‑hours toggles. Selecting an event opens a side panel for status changes, crew/employee assignment, tags, and budgeted‑hours editing; bulk actions enable status changes, rescheduling, or completion across multiple events, including recurring‑event handling. Multi‑day events can be created by dragging across days, and a context menu provides quick single‑event actions. A capacity meter visualizes weekly budgeted hours, breaking down by crew and employee, and allows per‑day capacity adjustments (e.g., setting an employee’s hours to zero). All features are mirrored in the mobile app.
Chapters
Hi, today I'm excited to share our reimagined Homeworks calendar. We've rebuilt the calendar from the ground up. Our goal with this update is to give you and your team a clearer, faster, and more powerful way to plan and manage your scheduled work. The 3 principles of this update are more flexibility, including filtering, coloring, grouping, and view options; more efficiency, including getting to event details faster and taking actions on those events more directly; And more meaningful, granular budgeted hours information. This includes detailed breakdowns on employees and crew capacity, as well as the ability to adjust employee capacity for the day. Let's get started. On the left-hand side, you'll notice that there's this new sidebar that you can expand and collapse. At the top, we have a standard calendar that you can move forward and back and jump to a specific date if you click. We have the ability to sort events. By default, it's event time, but you can switch those to dispatch, revenue, budgeted hours, customer, alphabetical, and the status of the event. Below that, we have quick filters for event types, crews, and employees. You can turn on the different filters for those events and see them appear or disappear from your calendar view. Same for employee as well. We also have the ability to color by event type. This is on by default, and what that means is events will be the color that is selected for that particular event type. You can adjust that. So for visits, if I want to turn it into this different color, you can see that update right on the calendar. So let's go make that a blue, and then that saves there. One thing to note, if you have a custom color on the event when you created the event, that'll override the event type coloring on the calendar. You also have the ability to group by event type. So if you wanted to see how many visits you had for a day versus a to-do or maintenance or meeting, you can group the individual events in that manner. Those same controls exist for crews. So if I have a North crew and a South crew, I can color by the crews, by that crew color that's assigned in the crew settings. So my North color is this lighter color and this darker blue is for the South crew. No crew assignment gets gray. If I do group by, I can group by North crew or South crew, so I can really slice up my view controls by color and groupings, which works best for my workflow. Additionally, for employees, you can just show or hide those different employees. On the actual calendar, you can adjust the different views. For the month or for the day or for the week. You can also select a different date range based on the scope, so I can select a week or a month or a day ahead or behind. I can go forward or back or jump to today. Above this view, I have a filter bar. If I open up this filter, I have additional filters that I can apply to narrow my view or select a specific event on the calendar. I can collapse this to make more space. And as we go here, we have search, which is going to narrow the results on the calendar. We have the waitlist. I go ahead and click this. This brings up this panel on the sidebar here, which is the waitlist. I have one event. The start date is August 10th and The end date is August 31st. Because my view is within that range, I can see this waitlist item. If I go back one week, that waitlist item disappears, but we do let you know that you do have some waitlist items that are outside of the range, and you can view those if you want. From here, I can drag this item onto the calendar, or I can take an existing event and drop that into the waitlist. I can add additional filters to narrow the waitlisted events that are showing up in the sidebar, as well as visit the waitlist page or close this panel. Next to the waitlist, we have some view controls for the actual events. If I open this up, this allows me to show or hide event details on the actual card. So if I wanted to see the customer's phone number, the event type, the budgeted hours for that scheduled event, which crew or employees are assigned, if there's visit notes, dispatch notes, or photos. I can see all that information, and that shows up here. If you set it here or on your mobile device, you'll be able to see it in both places. Next to that, if you have permissions for budgeted hours, you'll have the ability to show or hide budgeted hours. So if your business doesn't use budgeted hours, we don't need to show that information. If that's information that you use for your business, then you can toggle that on. We have a calendar view, which is what we're viewing now, and also a list view. This is still scoped to the week, day, or month. It's just in a singular list, and you can kind of go through the events from top to bottom. A few things to note about this new display here is that Right now we are showing you the 5 working days that are set up for your business. We also allow you to have additional days if you want to schedule one-off work. So Saturday and Sunday are usually days off, but we can add events if we wanted to. If you don't have events on those days, you have the ability to collapse them so we're not taking up the screen space for those days. At the bottom of each cell for the day, you can see how many events you have and the amount of items and services total. You can see that for the full month as well, or full week in this view. If it goes to month, it scopes to all of your month's events, and then in the bottom right, there's the total. Next, we can talk about managing events on the calendar view. So, if you click into a singular event, you get the work details on the side here. You can change the status, and you can take additional actions or review the information for that particular event. You do have the ability to Assign crew or reassign employees, as well as add tags, see the budget hours set for that particular event. You can go up and down with these arrows to the next events. You can use your keyboard as well. If you drag over an event, you'll get— go into selection mode. So you can see that this is a little bit different than the work view popping out on the side. It gives me contextual actions at the bottom here that allow me to change the status, assign or unassign, reschedule, and a few other actions. What you can do now is take this item, perform those actions from that bottom footer, or you can drag this into the new day to reschedule. This particular item happens to be a recurring event, so it's asking, do I want to move just this event or do I want to edit the series? If I click this, you'll be taken to the recurring setting— recurring series settings for this particular event, and then you can adjust that. If I select one item, like we saw, the, the work view will come up. If I drag, it puts it into selection mode. I can also drag across multiple events or multiple events across multiple days and then take an action on those. So I can drag those. If I wanted to close all 3 of these events, I can do that as well. I can complete them, and all these 3 events are completed. So taking bulk actions across multiple events is easier than ever. Another view option that's a little bit different is multi-day events. Now you can drag a single event across 2 days and it converts into a multi-day. If you were to create an event with multi-day, it would show up in this top bar here. It gives you the details that you have set across this line for as much space as there is, and then you can also collapse that multi-day view. A few other things I want to mention is on a single event, if you were to Ctrl-click or right-click an event, you get a context menu that allows you to take a quick action on that particular event. So if you wanted to just select one event and you right-click, you can take a quick action as opposed to opening up the panel or doing a multi-select across many events. Additionally, within a particular column, if I select— if I long press one event, you'll see at the top I now have the ability to select all of the events for a particular day. Or none. The last piece of functionality I want to review is the budgeted hours. We now have a meter showing you your budgeted capacity for the week. So that's 120 here. If I click on here, it gives you a breakdown between your employees, their capacity, your crew. And if you click on the crew, it shows you which employees are part of that crew. And then the type. Within the day of a week view, you can click on that same meter and get the information per day. New functionality here is being able to adjust an individual employee's capacity per day. So in this scenario, we can say Carrie is unavailable to work this morning, so she calls in that she won't be there. I can adjust her daily budget hours to zero and see that reflected on my capacity for the day. All of these new functionality pieces that I've described are also available on the mobile experience as well.