0:29
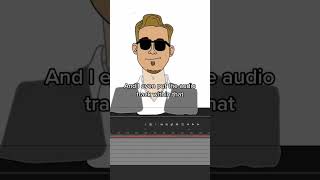
Ryan Maloney shows how to nest character parts inside a single symbol in Adobe Animate. Put the head, sunglasses, mouth, and audio track together, animate the mouth once, then move the whole head around the stage without redoing the animation or managing dozens of layers.
More from Ryan




youtube.com
Drawing Mr. Beast into a Beastly Baller trading card #art #drawing #tradingcards card
10mo ago




youtube.com
The first draft of my graphic novel #art #procreate #originacharacter #graphicnovel #drawing
1y ago


See all content
