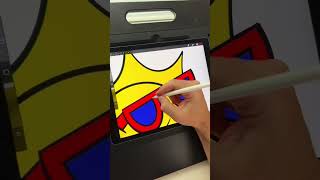
Ryan Maloney shows how to turn a sketch into a finished cartoon character in Procreate. He imports the sketch, inks it with the Crunchy Cow pen, colors on a separate layer, then adds cross-hatches, shadows, and highlights. He experiments with hue and saturation to find unexpected color combinations.
Chapters
In 1 minute, I'll show you how you can turn this sketch into a digital character in Procreate. In the wrench menu, insert a photo and scale it up to size. I'm using a 3000 by 3000 at 300 DPI stage in Procreate. Grab my Crunchy Cow pen and I make as smooth of lines as I can. They're never perfect at first try, so I'm always hitting the undo button. I like to draw through the shapes and then go back and erase and clean up lines. Once I have my first pass of lines done, I want to go through and I want to add thicker lines on the bottom part of the character shapes. I'll also take this time to clean up and add in extra details and maybe redo anything I'm not happy with. Duplicate those lines, and then I add color to the bottom layer. You'll probably need to do some additional cleanup to the inks and add colors on top of it. And I start to add in these little details that I love, like crosshatches and harsh shadows, maybe details on teeth. I like to experiment with colors and shift the hue and saturation to give me a different color I normally wouldn't go with. I'm going to add in highlights to one side of the character. I'm not going to do shadows to the other side of the character like