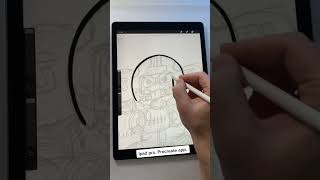
How I set up my drawings in Procreate #art #characterdesign #drawing
25 Nov 2024 · 1 min
0:58
Ryan Maloney walks through his Procreate setup for character drawings. He imports reference sketches on a separate layer, then inks on a new layer using the Technical Pen at 40-50% streamline. He duplicates the ink layer and puts colors underneath to avoid white gaps and make cleanup easier.
Chapters
More from Ryan




youtube.com
Drawing Mr. Beast into a Beastly Baller trading card #art #drawing #tradingcards card
10mo ago




youtube.com
The first draft of my graphic novel #art #procreate #originacharacter #graphicnovel #drawing
1y ago


See all content
