How to set up a character in Adobe Character Animator
3 Apr 2024 · 1 min
0:55
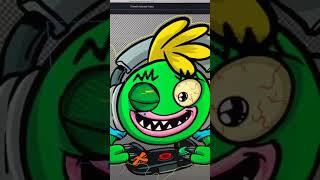
Ryan Maloney shows how to prepare a character for Adobe Character Animator by organizing body parts on separate layers in Photoshop or Illustrator with precise naming, then importing the file so the software builds the puppet automatically. He covers adjusting anchor points, creating a stage, and recording your performance.
Chapters
More from Ryan




youtube.com
Drawing Mr. Beast into a Beastly Baller trading card #art #drawing #tradingcards card
10mo ago




youtube.com
The first draft of my graphic novel #art #procreate #originacharacter #graphicnovel #drawing
1y ago


See all content
