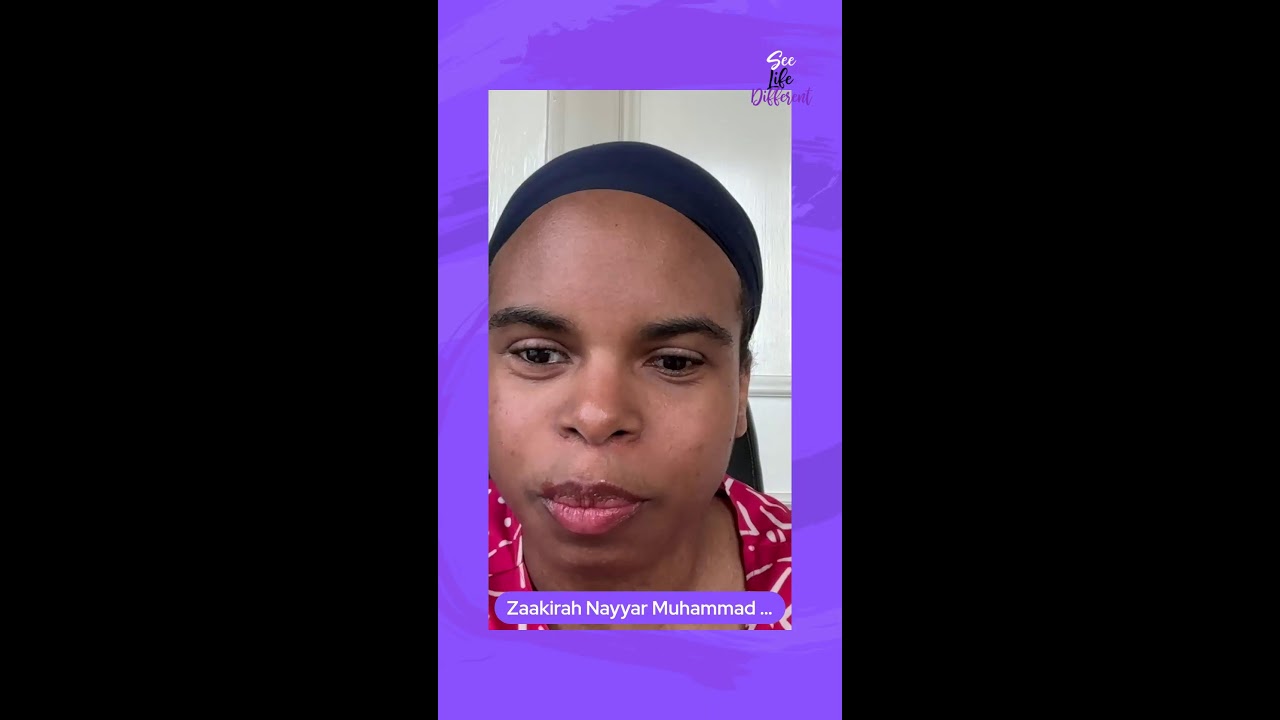
Exodus Summit Master Your Photography Device by Zaakirah
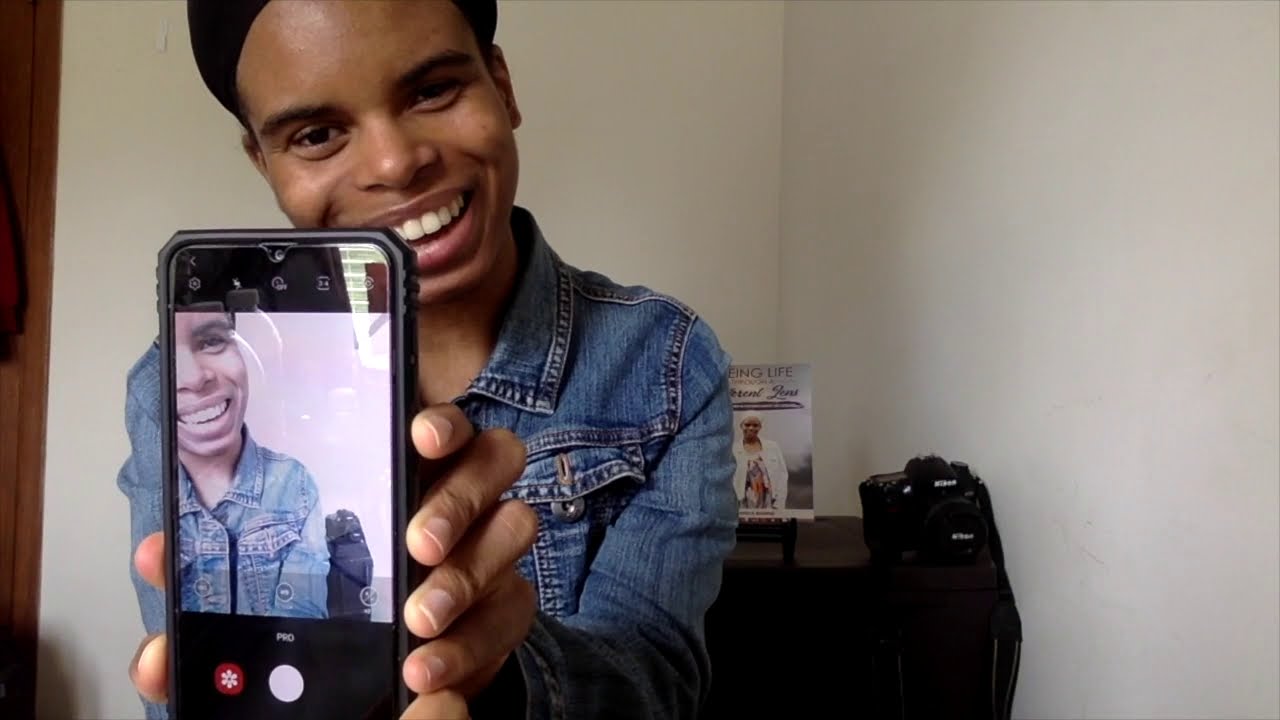
Photographer Zaakirah Muhammad teaches camera fundamentals across DSLRs and phones, covering exposure triangle settings like f/1.8 and ISO 100-200, composition rules, posing techniques, and editing apps like VSCO. She shares ten years of experience and her story as a cancer survivor throughout the workshop.
Chapters
Hi, my name is Zaakirah, and I am a brand cultivating strategist and a professional photographer. I have been a professional photographer for the past 10 years, and I've been able to go to 10 countries throughout that time. The first time I took my DSLR camera with me was to Ghana, and when I came back, people felt like through my photography that they were literally there with me. Hi, my name is Zakiyah, and I am a brand cultivating strategist and a professional photographer. And I'm also a cancer survivor. A photograph that my mom took saved my life when I was 6 months old, and it helped me to get surgery, which helped to save the cancer and keep me alive to this day. And as a result, I am blind in one eye, so by default I have the photographer's eye. So if you think about it, if you know or have a DSLR camera, you know that we're typically looking in the viewfinder or the way to see our photograph through one eye by default anyway. So today's session is showing you what I know of how to master your device, whether it is just a cell phone or you do have a DSLR camera. You have to know how to master your device first and then understand the photography technique and its rules before you can bend or break them, and how you can master your lighting, um, and why a tripod is super, super important. So I hope you learn a lot and thank you for watching.
Welcome to DSLR and camera phone photography workshop. So today is literally going to be hands-on. I'm going to show you how to use your devices. I'm also going to teach you some of the basic photography rules that you've probably seen on National Geographic. You've probably seen other travel bloggers use it, but you've never really known the terminology for it. So that's what I'm going to show you today. So first things first, I want to make sure you know how to master your device. So I will bring out my camera. I love taking the handy-dandy prime lens, which means that it's one lens, and I love taking that on my travels. One, it's easy to pack, and two, it's easy to photograph because most of the time I'm always on the go. And if I just wanted to have it on my person, I won't have to worry about changing lenses Zoom lenses are also good, but they also allow for great interaction with people. So I love to photograph people. I love portraits. That's just what I've come to— once I became more comfortable with, you know, walking up to people and asking them, hey, can I take your picture? Those tend to be the ones where I tend to realize that I capture the essence of humanity through my portraits, even though I did start out with travel photography. So I love photographing landscapes and whatnot. So basically with my camera, I have a DSLR, digital single-lens reflex camera. I've been using Nikon for the past 10 years and I'm proud to say I'm team Nikon, but there's nothing wrong with Canon, there's nothing wrong with Sony, there's nothing wrong with Fujifilm. So whichever one works best for you. Now my camera still has the viewfinder in the back where you literally can see it show up on here. So you look in here to See what you're photographing, and once you're inside, you can see if your settings are okay or not. But I know most cameras also, especially if they have video capabilities too, you can view things on this screen. So all of them have the same setting. You just have to make sure that you're not using auto mode. So affirm with me, I will not use auto mode. If this is for you, if you have a DSLR camera, understand that if you have your phone, you're typically always on the go, and have limited time and want to limit frustration. So this is just for you if you have— already have one of these big babies and you want to master your device. So you're gonna say, I will not use auto mode. So this— I'm always shooting on M. M is for manual. And then there's A. A is for aperture. And then there's S. S is for shutter priority, and then P is for program. Those are the only modes that I use occasionally. If I'm handing off my camera to, you know, one of the tourists— oh, sorry, one of the people who are local and don't fully know how to use the camera, I would just put it on auto without a flash because the flash itself is just a different color light, so it will completely change the color of your light. This is if you don't know the difference between your white balances. So white balance is really the balance of the colors of light. So I will jump into that in a few. But I always shoot on manual. Aperture priority is the more— the smaller the number, the more light gets in. And also sometimes the more blurry a photo will be depending on what you're focusing on. And the bigger the number, the darker it is and the less light comes in and the more in focus your photos can be. Shutter is how fast a picture is being taken. So you typically may see numbers like 250, 500, 800. So everything, all the shutters are kind of doubled in increments. So 250 times 2, 500 times 2, things of that sort. So if you want to use a smaller number as a shutter speed, that is where you have a handy-dandy tripod. So tripods are very handy When it comes to self-portrait, when it comes to just making sure that you can do self-timed pictures or even get more lighting, especially if you want to photograph sunsets, photograph yourself with the sunset behind you, things of that sort. So on Canon, the shutter priority is called Tv, so it's a completely different setting, but they all have the same— do the same exact thing. So it's just a matter of also playing around to see which ones your camera has, because some of them have half increments and half numbers that aren't really on the mathematics system. So typically the widest aperture— widest meaning the most light— at least for this lens is 1.8. You can tell, most of them will tell you which aperture it will get to. And so 1.8 is, is what I will use. And most of the time I will have the shutter on about 1/250 and the ISO It stands for International Standardization Organization for Light. If you Google it, you'll see that it really has no relevance for the whole acronym, but it really just means overall lighting. But typically, what some people may also observe is the more you use it, the higher the number gets, the more grainy the photo is. Some people like grain, and that's okay, but most people prefer not to have grain. So I typically suggest to always keep your ISO at 100 or even 200. And then there's also another tool that I've learned that I love to keep in mind as a starting point when choosing which aperture to use depending on what time of day it is, is the Sunny 16 method. So depending on the time of day, you can also tell by the shadows. of what time of day it is and how much light you need. So most of the time, if the shadow is behind you, directly behind you, means 12 o'clock shadow, especially if it's hard and strong, like a very strong shadow. And other times, you can use a— you'll see a 4 o'clock shadow, which means that it's kind of just like a clock, it's kind of coming around. So it's literally like this shadow around my neck. And in my jacket, it's really the 4 o'clock shadow. But I also want you to keep in mind of the f/70/16 rule. Sunny 16 rule. This means your aperture is at 16. This also helps to make sure that everything is very well lit. And then you can adjust from there your shutter speed, your ISO, depending on what time of day it is. So typically, the sunny 16 method will have you having a very well-lit photo. Just a bright photo that you definitely see on Instagram. And then you adjust accordingly to the left or to the right of the aperture scale depending on what time of day and also what kind of photograph you want to take. I'm now going to bring out the camera or the phone. So I am team Samsung. I love Samsung. So each Samsung, each phone literally has an automatic mode. So most of the time, you, you know, you're so easy to swipe up Oh, unlock your phone and go straight to the camera, right? But you know that there's a bunch of other settings on here. So typically, it depends on what kind of phone you have, but if you just swipe to the left or swipe to the right, you'll see a setting called Pro. This is for the Android system, and the Pro is where you can adjust your ISO. Of course, right now it's on auto. You can change that to 100, 200, 400, or 800. It may not be as much grain on the 800, especially during the day, But if you were photographing at night, you might see some grain. That is without the flash. And then WB stands for white balance. Now's a good time to talk about what the different white balances are, but there's typically 5 different kinds of white balances, and on certain cameras they are called Kelvin. So Kelvin helps you determine the color for how warm or how cold you want a photo to get. So daylight is basically This type of lighting that you see in this video right now. It's more warm, more on the orange spectrum. Then the next one after that is typically cloudy or shady. And that is more, even more warm, more brown, more orange. And that is typically used if you know that it's raining outside, if you are capturing underneath a tree, you know, something that's—
Oh.
An umbrella, something where there is a type of shade on the subject. Um, there's also flash, which is more yellowy, and that's more of a yellow type of white balance. And then there's also fluorescent. Fluorescent are the light bulbs where you see in your work cubicles or your schools or your doctor offices. Most of the time that's fluorescent light bulb, and that's more bluish. And then last but not least, is most commonly incandescent, which also is the light bulbs that you see in your lamps. Those are the light bulbs that you see in your lamps as well as in your candles. Those are incandescent light bulbs. So if you play around with it, you have this setting where you can adjust it and move it to make it, you know, more yellow or more white or even more blue. So you can adjust it around. So this is the Samsung, and then you can choose your white balance. And then last but not least, Of course, if you see, you also see the K, 'cause that's also what that means. So K for Kelvin. And then last but not least, you can also adjust your exposure. Exposure is your overall lighting. So every tool that I mentioned, your aperture, your shutter speed, your white balance, your ISO, all of them can bring more light when taking photographs, but exposure is the overall light for the entire image. that will bring up your contrast, bring up your darks, bring up your whites, bring up your lights, bring up your darks. So, also you typically have an exposure where you can increase your exposure or decrease your exposure. It'll be a negative or positive number. So then you can swipe, you know, move it on back to make it brighter or make it less brighter. So the more I do, the darker it gets, the brighter it gets, and all of that fun stuff. So typically that's what you have for your pro settings on your phone to adjust your ISO and your white balance as well as your focus. You can manually control your focus and you can also manually control your exposure. So every camera is definitely different, but make sure that you do view your settings. You can go to your settings most of the time and there's like a little spin wheel or pinwheel sometimes at the top to view your settings to make sure that you can adjust it. I definitely encourage you to have grids on your screen. What's the purpose of grids? Grids are also used for— another word for rules of thirds. Rules of thirds, where you would typically take a photograph in 2/3 of the frame or 1/3 of the frame. So if you look at this phone, you'll see that there are 3 by 3 lines. So you'll see lines from my face. And typically, that's how you can determine, like right now I'm doing 2/3 of a photo. If I take my frame out, I'm doing 2/3 of a photo because there's a lot of blank space in the other side of my frame, right? So there's nothing over here. So typically that means you're using 1/3, 1 or 2/3 of a photo. That's a great way to add a great different kind of aspect to your image rather than always photographing in the center, because the center to me gets old easily. And another tip that I want to give you is something called leading lines. If you think of railroad tracks, those are the perfect example of leading lines, but one I would not encourage you to photograph on railroad tracks because there's so many liabilities on there. But if you just think about those lines that literally lead to the frame, so if I was literally to just have this phone right there. You could literally follow the line of the bottom of the phone to my hand. You can find— give some place for your eyes, your audience's eye to lead to. That's called leading line. Another feature is called— let's see, we've got leading line, we've got a rule of thirds, and then panning is another way. Panning is if you think about Waterfalls. Waterfalls are typically panning. So that means that you are slowing down your aperture to have a slow motion of running water, of something moving slowly. So you would slow down the speed of something by using panning. And typically that means blurring out, you know, something that's in motion. And then there's also the complete opposite of having a super fast shutter speed Most of the time you have like a sports feature on your camera phones that can catch someone running or jumping, especially if you want to do a jumping photo where you kind of freeze yourself in action, you're kind of going like that. And then there's also something called depth of field. So depth of field is really good with using a very wide aperture such as a small number like 1.8 or 1.4 to manually focus. on something. So use a lot of depth of field to manually focus on something. So flowers are a great example for that. Rings are a great example for that. Something where you can zoom in and literally move your camera closer to the subject by manually controlling the focus. So those are just a few tips. That was panning, using a slow shutter speed, depth of field, manually focusing, rules of thirds, making sure you do not fill the frame, And leading lines, so you can have your eye lead to something. Those are a few tips that you could use. Alright, so perfect. So you learned a lot. I'm gonna recap briefly 'cause I know you literally just learned a lot right now. So you learned about aperture, you also learned about ISO, you also learned about exposure, and you learned about shutter speed. So there's a lot of cool things that you can do to manually improve your So the next few things that I'm going to do are also show you my favorite tools. I'm going to tell you a couple of my favorite tools because once you've learned how to master your device, you know how to take photos not on auto mode, and then you learn how to use the technique to have cool different techniques when you take your photographs on your travels, in your backyard, of you or of someone close to you or nearby, or even a subject like a bird or an animal or things of that sort. So the next things are also how to really edit your photos. There are so many apps out there, and one of the apps that I definitely recommend is Instagram. If you already— you're already on Instagram, I already know you're already on Instagram, but definitely make sure that you check out those filters. Those filters have different options where you can manually edit. You can add a filter to add certain colors to it, or You can even manually adjust your contrast, your saturation, and even something called a vignette. A vignette is kind of honing down on what you want to focus on. Say if that's something you were not able to do in camera, although that is definitely something that I encourage you to do. I encourage you to learn how to photograph, have the vision of what you want to capture, what you want people to see in camera first so you don't have to do post-editing. My style of photography is less is more, natural light, things of that sort, candid photography. So I am not trying to be in Photoshop or trying to edit out too many things. Especially also, I am not a fan of editing out anything. You can also edit out red eyes, but for me, as a cancer survivor whose cancer was detected by capturing the fact that I did not have a red eye, instead it was a white glow in my eye. That's why I personally don't even care for using the red-eye tool, but you can make sure that you don't capture too low, which is how you're able to get all that blood flow or the red eyes in photographs. But there are certain apps if you want to just add a pop of color or make your photos a little bit more bright. So that's what brightness means. That's also what exposure will do. Contrast kind of makes things a little bit more dark. Saturation brings up or reducing the color, which is also great for choosing your own level of a black and white photograph. And then you can also adjust the whites in your black and white photograph. So a couple of my other favorite apps are VSCO, V-S-C-O, which is also on both Android and iPhone. And it's just a different way to also play around with your saturation, your contrast, your exposure to change kind of the theme, have a different theme in your images. Another app that people love, especially if you are an iPhone user, is something called Snapseed, which similarly does the same thing. You can kind of edit your photos on your phone as you go. And then last but not least, there's plenty of places where you can actually upload your photos. Not only Instagram, but then you can also upload to Facebook groups. There are lots of travel groups that allow you to kind of upload your photos here and there, which is a great way to also get critique. Because the only way to really know is if you're taking a good photograph is if you continually get personal opinions on how your photograph was or how your photograph looks or what people really like about it or what they don't like about it. So there's also other websites that you can continuously look at to, you know, get inspiration, such as Flickr. Such as Unsplash. Most of these are stock photos where people, photographers literally will upload their photos for people to be able to reuse. And there's also ways to kind of get different additives on your phone to have more focused lenses. You can have lenses where you can just focus more and have a certain blur or have a fisheye Type of lens where it looks like you're in a fishbowl. And then there's also ways where you can have a panorama. You can do panoramas as well. Panoramas are pretty tricky because you have to be very, very still and very, very patient. So now's a great segue into what is in my bag. So literally, I always have a tripod. I always have a tripod with me on my travels. Most of the time it's easier to do it domestically because I'm always afraid of the airport, losing it or getting it misplaced. But you can have a 3-legged tripod or you can have a 1-legged tripod. But of course, the, the stand that— the selfie stand that you can hold, you can find something that's portable and convertible that you can travel and keep in your bag. I always take one to 2 lenses with me. So even though I do love prime lenses, which is a certain lens, um, this, you know, the one on my camera is a 50mm lens. But then there's also typical zoom lenses that come with camera bodies. When you purchase a body, which is the bigger part of the camera, when you purchase that, sometimes you can get a lens with it, or you can get a lens without it and just kind of choose a lens. But make sure that you have the right lens because there's a difference between Full-frame and half-frame sensors. So make sure you have the right lens if you are thinking about getting other lenses, zoom lenses, or a different kind of prime lens to include. Now when it comes to lighting, there are a lot of great devices out there, especially portable ring lights that you can take with you in the instant that you are not in a very well-lit environment or that you arrive to a place after dark. Uh, definitely make sure that you have enhanced lighting because I want to encourage you not to use the flashlight directly on top of your camera. It's there, but it's very limited. It's very direct, no matter how you hold it, whether you hold your camera up or you hold the camera to the side. So one of the other things that are in my tool bag is something called a speedlight. So there's a speedlight that I put directly on top of my hot shoe. These are called hot shoes. You can slide things right into there and have added light. And these lights, you know, you can adjust the power to photograph the whole thing, photograph well around, or photograph directly on you. But of course, you can just adjust it by going up or down, just like a lamp. It's like one of those 3-headed lamps. You can adjust it to go up or down to know where you want your light to focus on. So another cool trick is to really bounce light off of a wall. So white is really great with getting more natural light. with a flash because white is very reflective. Glass is also very reflective too. So anything with silver or gray or anything with white you can use to bounce off if you want to take a selfie, for example, and take a picture of you in your, you know, Airbnb or something of that sort. I always, always, always have memory cards, multiple memory cards. Now for me, because I've been photographing for 10 years now, I have something called the memory game where I have a number— I take a number of photos without looking at my camera after every picture. So sure, typically if you're doing a self-portrait, you kind of have to double-check that you are standing in the right place, you're standing where your focal point is going to be, because in every camera you can either touch the screen on your phone or you can move the dot on your camera to choose your focal points. But typically I just take at least 5 to 10 pictures at a time before I even look to double-check how well or not so well I took with the photograph, because that's also a number game, but it's also a level of trusting your intuition and trusting your abilities in photographing. So taking more than one photograph is good, always good. Just make sure that you can— have something to pick and choose of what the good ones. I guess I could give you a little bonus tip on posing. So women poses are definitely versatile because you can always just kind of twist your, you know, your eyes, your head, your shoulder to a certain way. And one thing I've always learned is to always even out your shoulders. So have a shoulder unevenly on purpose, have a knee sticking out on purpose. And those are pretty cool to kind of give like accents, I guess, to your beautiful curves in a way. So always smile. Now another tip that I have for you is to— if even if you don't like smiling with your teeth, um, there's something called smizing. So I don't know if you all remember Tyra Banks in the America's Next Top Model days, but you could literally have a glow in your eye and just be smiling and, you know, have You know, widen your eyes wide enough so people can see your eyes. And just smile without teeth. So, it's very easy to do when you're genuinely happy, but it's a struggle. You have to literally have a happy thought and daydream and not even look at the camera, maybe offside to the camera, you know, just for a little bit. And, you know, smile. Feel free to take a screenshot if you wanna share on social media of anything that you're learning so far. So smiling is definitely a great tip. Another suggestion is always make sure that you don't have clutter in your background. Definitely make sure that you reduce as much clutter as possible so that it's easier to pose yourself and give yourself some more room also when giving yourself— when you're taking photos of yourself or of anyone else. So make sure that people know what to focus on because There is such a thing as the wandering eye. Make sure people know exactly what to focus on when they are looking at your photographs. And yeah, so that was a few tips. You got smizing, we got— make sure you use certain apps, make sure you upload your photos, and then also make sure that you reduce clutter in your background and always definitely bounce off of white walls, use natural light whenever possible, but definitely consider using some added lights such as ring lights, such as on-camera lights, speedlights, things of that sort.
How was that?
I hope you learned a lot. So you learned how to master your device, you learned a few photography tips and tricks, as well as the rules before you go over to bend or break them. You also learn why it's important to understand lighting, how to use natural light, as well as why you should always have a tripod with you on your trips. Be sure to tag me on social media and let me know what you loved about this session.
Be sure to screenshot this and tag me on social media @illuminousone, I-L-L-U-M-I-N-O-U-S-O-N-E.
And be sure to also visit my website so you can sign up for my email list where you can get a free photography guide, a guide that summarizes what you've learned today with a few more bonus tips. And thank you so much for watching.
More from Zaakirah
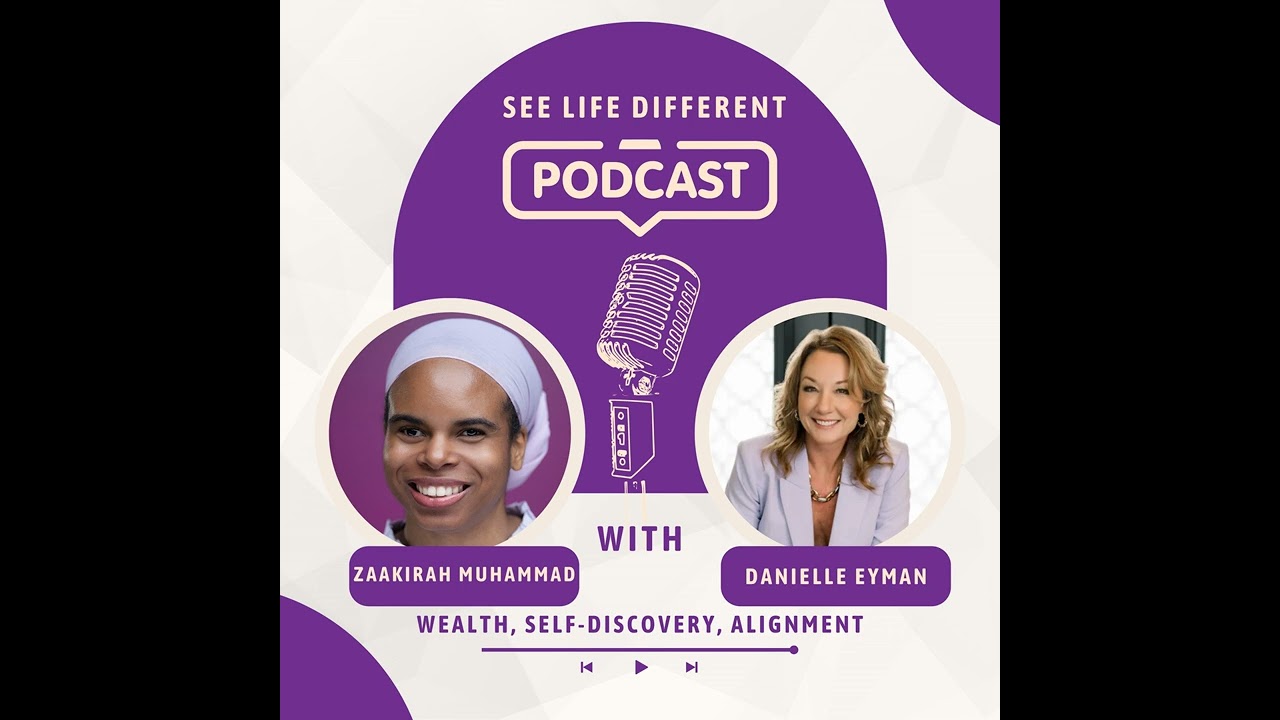
Wealth, Discovery And Alignment through Human Design and Gene Keys with Danielle Eyman


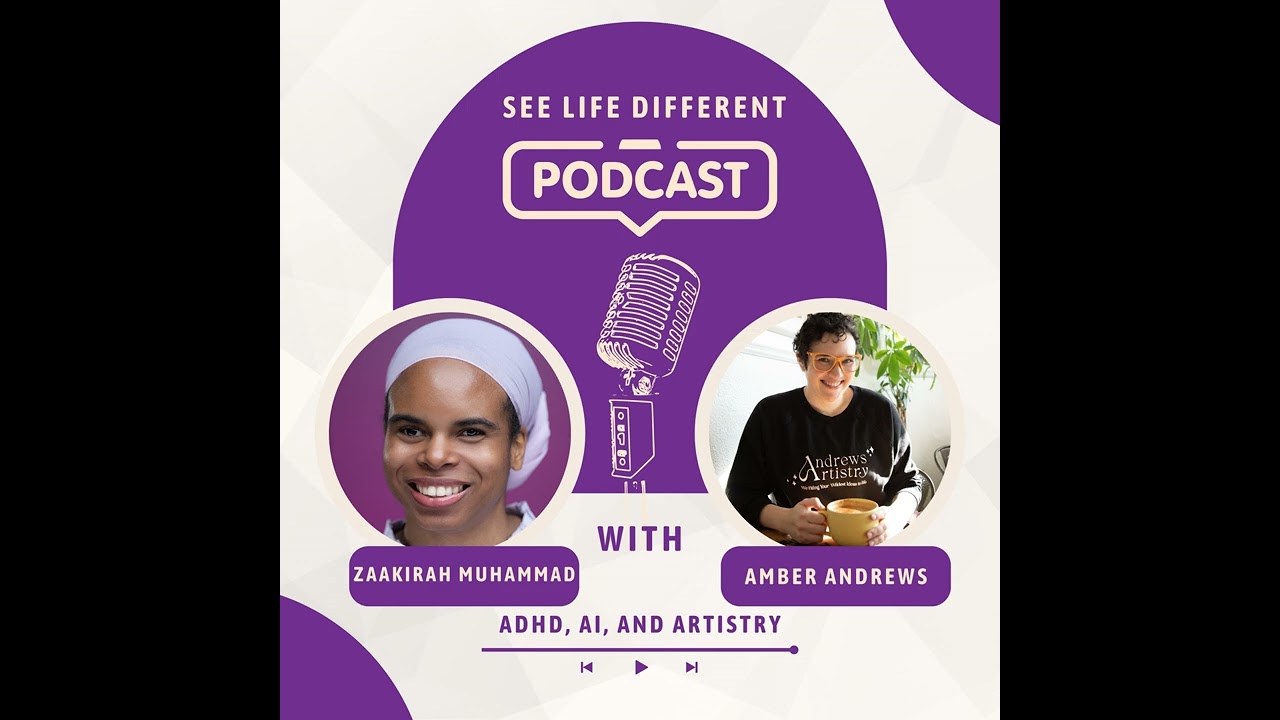
ADHD, AI, Artistry: Amber Andrews on Building a Brand that's Honest, Creative and Converting

Sensory Reset: Soft Stories of Joy, Belonging, and Healing Inner Child Live from Essence Fest