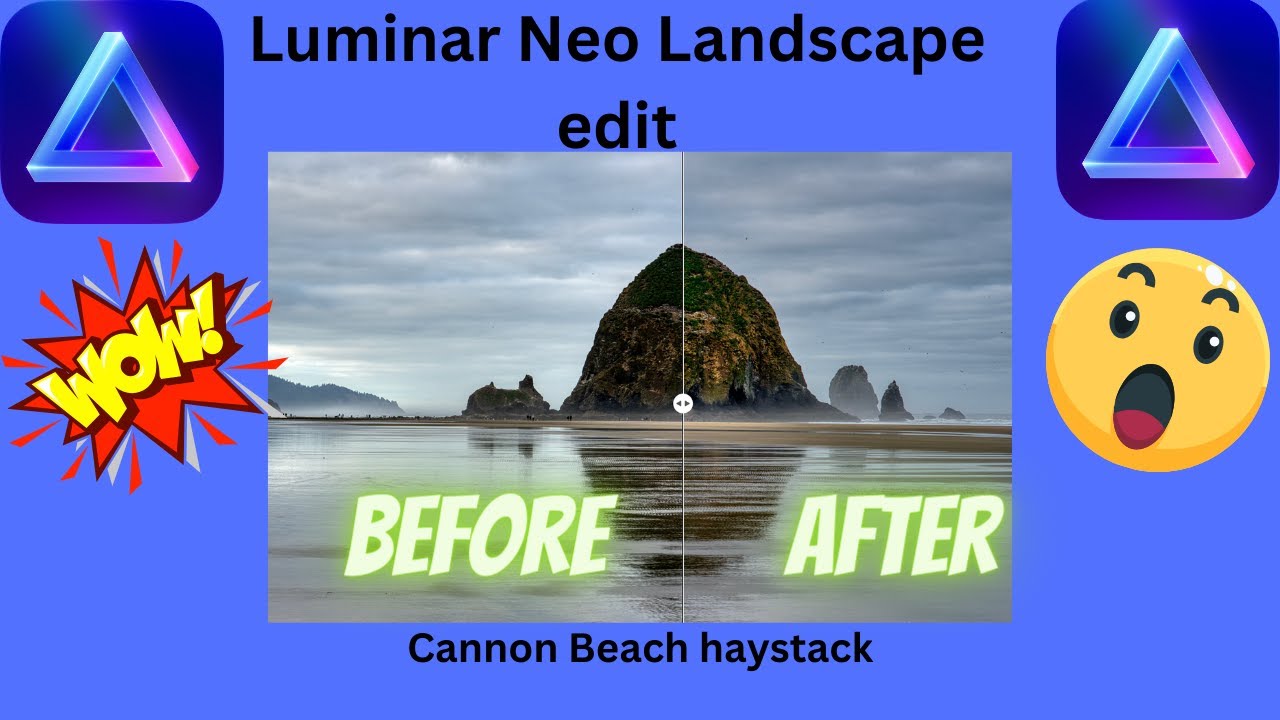
In this tutorial, Angie Birmingham from Jeff and Angie Photography walks viewers through a complete edit of a iconic Cannon Beach haystack photograph using Luminar Neo. She begins by promoting an upcoming Caddo Lake workshop, then imports the single exposure into Luminar's HDR Merge to enhance clouds and reflections. She proceeds to the Develop module, lowering highlights, raising shadows, adjusting whites and blacks, and uses Structure in Reverse to soften the beach before selectively re‑applying Structure with a mask. The Sky Enhancer is applied, followed by color and saturation tweaks to temper an overly blue sky. Angie demonstrates the Erase tool to remove unwanted people, uses the Denoise brush on noisy clouds, and finally crops and re‑composes the image using the rule of thirds, accenting the haystack with a local adjustment. Throughout the video she mentions affiliate links, a 15% discount code (AV15/AB15) for Luminar Neo Pro, and other gear partners. The video ends with a call to subscribe, like, and ring the notification bell.
Chapters
Hello and welcome to another episode of Jeff and Angie Photography WTF Stop. So this week we are going to do another edit in Luminar. We're going to take an ordinary image, we're going to put it in there, and we're going to see what we can come up with together. Stay tuned. All right, so today we are going to edit an image that I took last summer at Cannon Beach. Let's jump on over to there, but first I just want to remind you to go to my website and go check out my next workshop I'll be doing. It's on Caddo Lake. I have Boat reserved for 4 tours, 2 in the morning and 2 at sunset, so we can get some beautiful fall foliage in the sunset and sunrise colors. And during the day, I have some other adventures planned, one going out to an old army depot. That's kind of cool. You got all these concrete structures with trees growing through them. And then one of the other days we'll head over to Caddo State Park and we'll photograph some birds. Actually, the whole time we're there we're going to be photographing birds and foliage and a little bit of ruins. So head on over there and scoop up your spot because there is only 4 left. All right, so let's go ahead and this image from Cannon Beach. It's one of the very iconic images, the haystack and the reflection in the water. So I think what I'm gonna do is I'm gonna take this image and I'm gonna drag it into HDR Merge, and we're gonna merge it as an HDR with one image. Usually does a pretty good job. And then from there, it puts it into the HDR merge file, which I'm not going to leave it in there. I'm going to grab it and I'm going to drag it right over here to my Cannon Beach file so that they are now side by side. So you can see there is the HDR merge, which it really brought out the clouds. A lot. And the reflection in the water. So yeah, let's go ahead and edit the HDR. Let's jump over to the tools, go into the Develop Modular, and go ahead and bring those highlights down. Maybe Definitely want to bring those down, probably all the way down. And then we'll go ahead and bring those shadows up, hopefully on that rock or haystack. You should have seen the amount of puffins that were nesting on this rock. It was incredible. You can see all the birds that were flying around there, and all those little white spots up there, Those are all puffins. And down here in the tide pools where all these people are, there was tons of little sea anemones, sea urchins, octopuses, I mean, you name it, they were in there. If you ever get a chance to go out to, um, Oregon in July, that's definitely time to go. Most of the time we had clear blue skies. Okay, so head on over and hit your J key so you can kind of see where your shadows are, where your highlights might be. I'm gonna go ahead and bump the whites up just so we get a little brighter in the clouds. Probably back the blacks off a little bit. Maybe something like that. Yeah, that'll work. Take the J key off again, or hit the J key to turn it off. I don't think we really need to sharpen it. HDR does a really good job of doing that all by itself. So now What we're going to do is we're going to use Structure in Reverse again. If you watched my previous videos, you'll know that if you use Structure in Reverse, it softens, takes away all that detail. So we're going to do that to this beach. kind of soften it. So that worked pretty good. I like that. But we're gonna come back and we're gonna go into Structure one more time, and I'm gonna get a mask, and I'm just gonna mask this area right here because I really want to bring more of that down. Something like that, maybe. Yeah, something like that. Okay, and then we'll run over here to enhance. See what the sky enhancer does. Wow, it really brings out too much blue. I think we'll leave it. I think that looks good. Let's see, go over to color. Head on over to our affiliate page, click on the link below, and it will bring you over to our page. And from there, if you're wanting to grab Luminar Neo, click on the link and it will take you right over to Neo. View the plans. And I highly recommend the Pro plan. That's my favorite plan. That's the one I have. And right now they're running a special at $119 a year. And if you enter my code AV15, you get 15% off that already reduced price. So now's the time to buy. And if you don't want a monthly bill, you just want to buy a one-time, you You can do that as well at $149. Buy it and it's yours. It comes with all future updates, so you don't have to be worried that you're gonna get left behind. Either, either one is a great deal, and either one you get 15% off along with anything else that's on this website as well. Oh, but wait, if you act like you're gonna leave, click I Love Free Gifts and They'll give you 10 free skies with your Pro membership or Explore, but Explore you're really limited on. I would really suggest the Pro because the Explore is still $119 a year. There's— and that's if you do monthly, but if you do annual, it's $99 a year. But really, $20 more and you get so much more. You get all the extensions. You get everything. Alright, so some of our other affiliates. We got B&H, we got DxO. You click this link and it will take you to their website, and you do get a free trial with that. So click that link and go get you a free trial. And we got Promedia Gear, the makers of the best tripods on earth. And you got F-Stop Bags, which are great backpacks, but I especially like them for their inserts. Topaz Labs. is another good editing program. I don't use it a lot, but it's pretty good. One of these shows I will show you how I go about using that as well. All right, well, let's jump back on over to the video and let's finish editing. We'll go to saturation. We're just kind of, kind of bump those blues down a little bit because Just too much blue in that sky. It was a dark gray stormy kind of day with a little bit of blue peeking through the clouds. And then, then we're gonna go in next and just for fun, we're gonna use the erase tab. We're gonna go in here and we're gonna, we're gonna just erase some people. Get rid of them. And just like that, they're history. These people here, we'll erase them. Oh, I kind of like the people there along the bottom of the mountain. Or not the mountain, but the haystack. It kind of gives perspective as to how tall it really is. Got the Coast Guard out there. Yes. So anyhow, that erase tool works pretty good when you're just doing one little area. So now we're going to go into the sky, because if you notice, the sky has some noise going on. So I'm going to go into Denoise and I'm going to brush, and I'm just going to brush these clouds because I just want to take some of the noise out up here. Then we'll come over to Adjustment, kind of zoom in. And from that to that. It worked. That worked pretty good. Okay, now we're gonna head on over to crop and take it out of crop. We're gonna free it because I want to kind of do something Something like, something like this. I'm thinking maybe a little shorter on this side. There, here we go. The haystack there on the thirds, and then the reflection on the thirds. Apply. There we go. I think that turned out pretty good. All right, I mean, there's one other thing we could do is we could probably, we could probably enhance. No, yeah, we'll enhance. Sorry folks, I'm kind of doing this on the cuff with you here so you can kind of see my thought process as I go through and edit An image. I'm just gonna mask off the haystack. Go over to adjustment, and I'm just going to accent it. Kind of bring out the haystack. I think that worked out pretty good. Definitely accented it and made it a little more poppish. There we go. All right, so before you go, don't forget to subscribe, hit that like button, and ring my bell so you can get notified the next time I post a video. And don't forget to head over to Luminar and get your 15% off using my code AB15. Catch you on the next one.