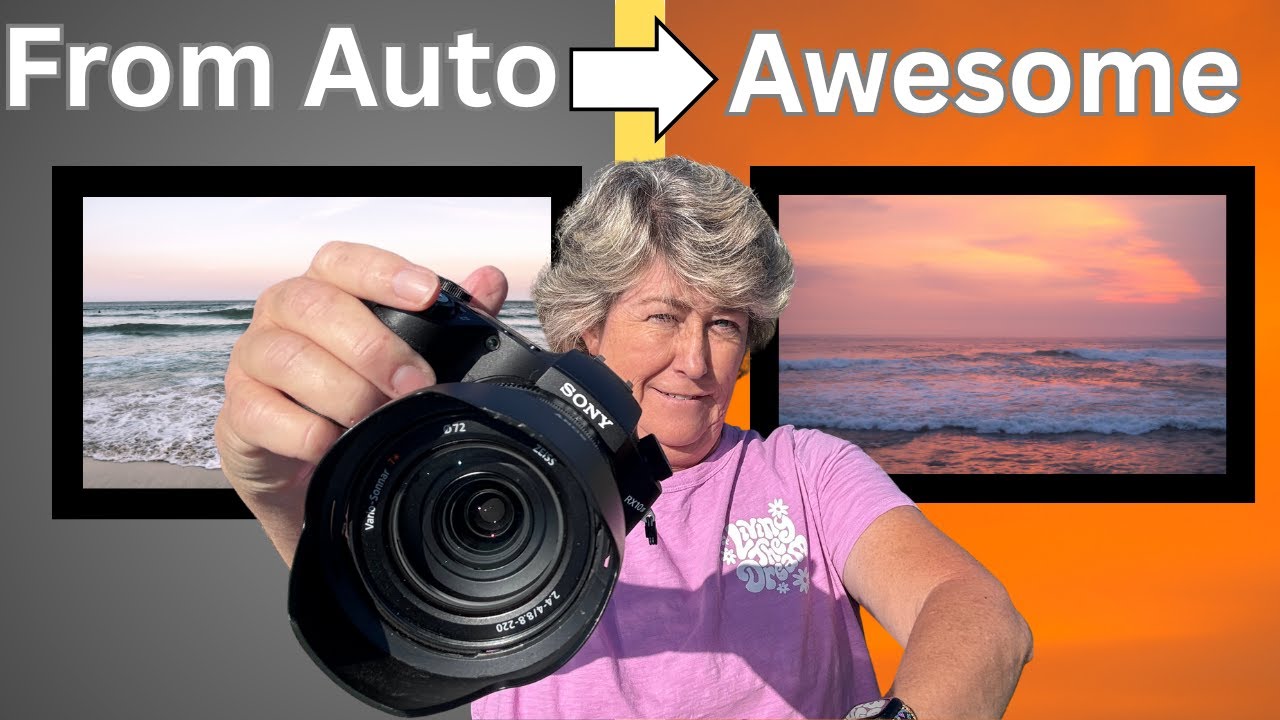
Angie Birmingham and a co-host teach beginners how to move from automatic to manual camera modes. They explain aperture, shutter speed, and ISO, then cover practical techniques like exposure compensation, tripods for slow shutter work, and RAW versus JPEG formats.
Chapters
Hey there! If you're just starting out in photography, you've probably been using the automatic mode. Well, today we're gonna go and take a look at a couple of chapters from my newly released book, Journey Through the Lens: A Creative Guide to Nature Photography.
I know automatic mode is easy and stress-free, but today we are going to explore the manual modes and file types that can help you unleash your creativity and help you take stunning images. Let's get started. First, let's talk about the camera modes. Automatic mode is great, but it limits your creativity. Manual mode allows you to choose shutter, aperture, and ISO, giving you full control over your images. You can also choose aperture and shutter and leave ISO in automatic in manual mode as well. Then there's the semi-automatic modes known as aperture priority, where you set the aperture and the camera Well, it adjusts the rest. So you ask, what is aperture?
Aperture plays a significant role in photography, influencing both the exposure and the depth of field in your images. Aperture is one of the main components of exposure alongside shutter speed. A larger aperture For example, f/2.8, which is going to be large, will let in more light to the sensor, which is beneficial in low-light situations. On the other hand, a smaller aperture like f/16 reduces the amount of light entering the camera, which is useful in bright conditions. Aperture also affects your depth of field. This is the range in the photo that appears sharp. A wide aperture like f/2.8 will give you a shallow depth of field, blurring out the background and isolating your subject. This is popular in portrait photography. A narrow aperture like f/16 increases the depth of field creating more in focus, which is ideal for your landscapes. But one thing to keep in mind when buying lenses, they have varying maximum and minimum apertures. Prime lenses typically have a wider maximum aperture compared to zoom lenses, which can affect their performance in low light and also your creative control.
Photographers often use aperture creatively to guide their viewers' eyes to the subject or to create a specific mood. For example, a wide aperture can evoke intimacy in a portrait, while a narrow aperture can convey vastness in a landscape. Understanding and mastering aperture allows photographers to manipulate light and focus in on ways that enhance their artistic expression and storytelling through their images.
Okay, hold that thought really quick. If you would like to learn more, head over to my website— the link is below— to get your book today. Either a signed copy by me or a link on Amazon so you can get it quicker. If you buy from my website, use my code SAWYOUONYOUTUBE for 10% off anything on my website. If you're going to buy any camera gear in the near future, please use my link below for B&H Photo. It doesn't cost you any extra, but it helps the channel out a lot. Thanks, let's get back to the video.
Now let's explore shutter priority. This is where you set the shutter speed and the camera, well, it does the rest. So you ask, what's shutter speed? Shutter speed is one of the other key elements of exposure alongside aperture. Shutter speed controls the amount of light that enters the camera and the motion captured in your images. A fast shutter speed like 1/500th or faster are ideal for freezing fast-moving subjects such as athletes in action or wildlife. They do prevent motion blur making the details of your subject crisp and clear. A slow shutter speed, like a 1/30th of a second— these can create a dreamy effect by capturing motion blur, such as in flowing water or moving clouds. However, they require a stable camera setup, like a tripod, to avoid unwanted camera A faster shutter speed allows less light in, which is useful in bright conditions, while a slower shutter speed lets in more light, which can be beneficial in low-light situations. In balancing the shutter speed with aperture, it is essential for achieving correct exposure. Photographers often play with shutter speed for creating effects. Techniques like long exposure can showcase movement over time, while a high shutter speed, you can capture a moment that is often too quick for even the naked eye to see. Understanding and experimenting with shutter speed can greatly enhance your photography skills and help you achieve the visual effects that you desire. While shooting in either aperture priority or shutter priority, leave your ISO in automatic. If you need to brighten or darken the scene, use the exposure compensation dial Which is located right here on my camera, but you can Google your camera and ask Google, where is my exposure compensation dial located at on your camera? And it will probably tell you where it is or where it's located at in your camera so you can access it. Each mode has its strengths, so experiment Find the one that suits your style. Next, let's discuss the file formats. You typically have 2 options: RAW and JPEG. RAW files are like a digital negative, giving you more detail and flexibility in editing. They are typically not compressed, and they're perfect for those wanting a higher quality image and control. Their images. JPEG images are often compressed, meaning they take up less space but offer less flexibility. The photo is actually edited by your camera based on the picture style you choose in your camera during setup. They are convenient for sharing, so consider shooting in both formats. If your camera allows and you have the SD card space or memory card space.
Now on to the heart of photography. Exposure is all about the amount of light hitting your camera sensor. To achieve the right exposure, you must balance your shutter speed, For purpose, like freezing a bird in flight or the soft flowing water on a waterfall. An aperture for the feeling you want to portray in the image, like a nice soft blurred out background like in portraits, or everything is in focus from the subject to the background like in a landscape photo. And after you have your aperture and your shutter set, and then adjust your ISO for the brightness. Higher the ISO, the brighter the image, but be cautious of noise. Noise tends to be in the darkest part of your images. Remember, mastering your camera takes practice, but it's incredibly rewarding And don't be afraid to experiment with different settings. And find your style. The more you practice, the better you'll get. If you found this video helpful, give me a thumbs up and subscribe for more photography tips. Don't forget, keep on clicking!