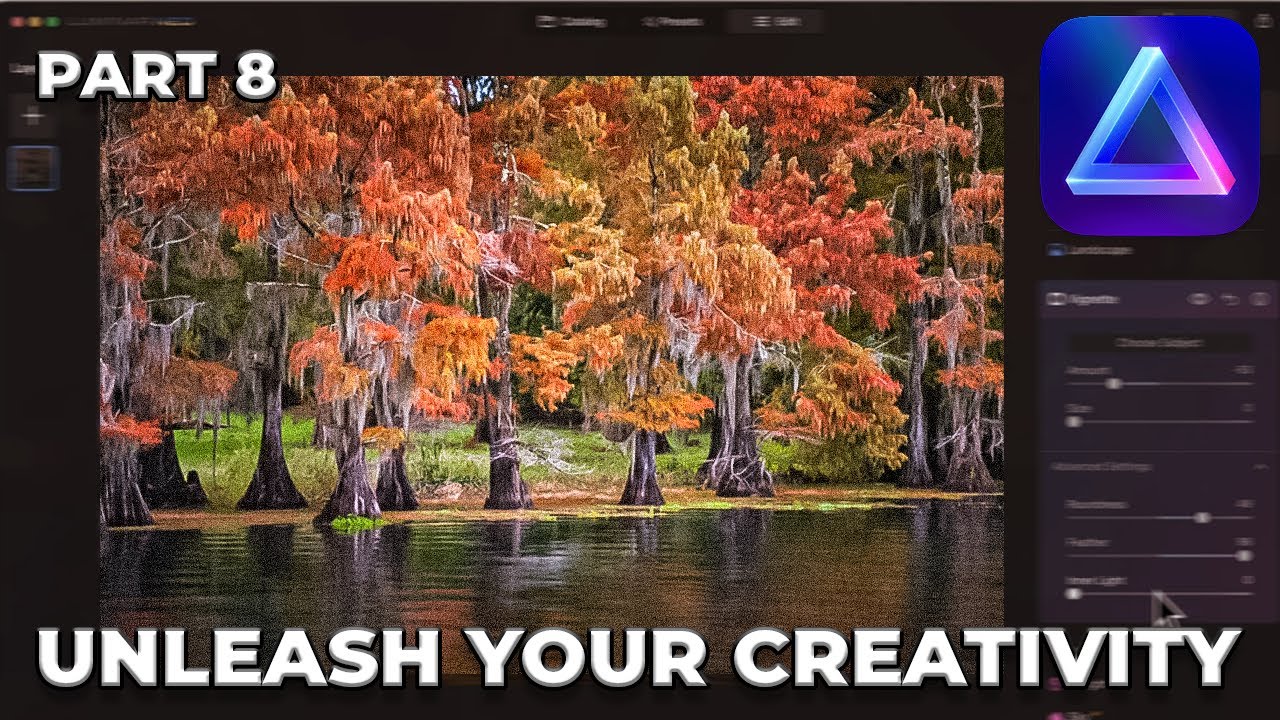
In the final episode of the Luminar Neo Essentials tutorial series, Angie Birmingham demonstrates three core editing tools—Denoise, Landscape, and Vignette—using a landscape photograph taken at Caddo Lake. She shows how to apply linear gradient masks to isolate noisy areas, explains each slider within the Denoise panel (luminosity, color, boost) and shares typical values (luminosity ~33, color ~20, no boost). She then walks through the Landscape tab, covering Dehaze, Golden Hour, Foliage Enhancer, and Hue adjustments, noting when to leave haze in or enhance foliage colors. Finally, she explores the Vignette tool, selecting a focal point, adjusting size, roundness, feather, and inner light, and advises subtle use to guide the viewer’s eye. Throughout, she provides before‑and‑after visual comparisons, cautions against over‑processing, and offers workflow tips such as resetting the Landscape tab after masking. The video ends with a brief recap, a call‑to‑action to like/subscribe, and a teaser for the upcoming “creative” series that will explore the more artistic tools in Luminar Neo.
Chapters
All right, so welcome back to my series of discovering the power of Luminar Neo. Today is part 8, and it is the final section of this video series I've done. And we are going to go over Denoise, Landscape, and Vignette today. And I threw all 3 of those together because they are, well, the last 3 tools in the, in the section, in the Essentials. And I also changed our picture to a landscape picture today because the landscape tool, you really need a landscape in order to really show off the power of Neo. All right, so let's jump on over to Neo and explore this landscape image. Okay, so here is one of the many landscapes I did When we were in Caddo Lake. I did just a little minor little edit on this to kind of get it to where it's ready to go into Denoise, Landscape, and Vignette. So, oh, here we go. All right, so we're going to open up Denoise, and the Denoise is actually a really cool tool. I really like this. Mainly because you can mask the area that you want to denoise. So on this particular image, the only real noise is really down here in the water. There's a little bit up here in the trees and stuff, but I'm going to take this linear mask and I'm just going to pull it up from the bottom, and I'm just going to bring it up somewhere right in here in the trees. And then we're going to head on over to the adjustments. And this one here, the luminosity, this slider removes the grayscale noise from an image. So we'll go ahead and bump that up. And then the color denoise does what it says, it removes the color noise from an image. So we'll move that And then you also have the boosts, which this can increase the aggressiveness of your denoise. But before we do that, let's just zoom in here and see how well it did so far. So there is the before— oh no, that's the after. This is the before and the after. You can't really tell a whole lot. But it's definitely doing something there. Let's go ahead and boost just to see what it does. This image doesn't have a lot of noise in it, but typically I do my luminosity somewhere around 33, my color somewhere around 20, and I usually don't do the boost at all. Okay, so that's it for Denoise. Let's jump on over to Landscape. And Landscape has got the, the different tabs here, or sliders. You've got Dehaze, which Dehaze, the slider, helps with the perfect blend of contrast, clarity, and color adjustments to eliminate the effects of fog and haze often found in cityscapes and landscapes. But a lot of times I like to leave my haze in my images, especially my fog. But that just kind of shows you what the slider does there. See the effect it's got there on the water? It's kind of a cool effect. You could go in here and you could mask that water with a linear gradient mask and go into adjustments and dehaze your water and take those highlights really down a lot and brings out the reflections. And if you decide to do that, you'll need to close the Landscape tab and then go back into it again so that it's reset. So now we can go into our Golden Hour, and now we can mess with our Golden Hour and see how red can you go, or orange can you go. My gosh, look at that, really boosts a lot. But in reality, it only needs probably about maybe there. And Golden Hour, what it does is it brings the warmth and softness of the golden hour glow to your photos. Just simply dial in the amount that you want. Just be careful not to oversaturate because a lot of beginning photographers, they oversaturate their images and Almost makes them look painted or unrealistic. So then next down we got Foliage Enhancer, which this will enhance the colors of the foliage and greenery, making them more vivid and natural. It's a good choice for your nature images, but let's just play with this one and see what it does. Oof, look at that. I really— this makes that green glow. I don't think we need to do that. And then you down here, you can change the hue as well, make it more golden. It actually looks better than the bright green grass. There we go. So there you go, there's your landscape before and after. Just a subtle change, it's all you really need. All right, so last but not least, let's open up the vignette tool. So on vignette, you can go in and you can choose your subject. By doing this, you just click the button to choose your subject. Then you put your crosshairs basically in the center of the photo or your focal point. So I would say this focal point here is probably— let's just go the center of the photo. And then from there you come over here and you can either go white Or you can go black. And typically when I tell— when I talk about vignettes, I usually tell people to do a vignette just enough to where you can't notice the corners have been blacked out. So something like that right there. It's just a subtle guidance for somebody's eyes to go to the subject. And of course you got your size, you can increase the size of it, something like that there. I'm just going dramatic so you guys can see the difference here. I'm gonna go ahead and boost it too. There we go. So then you can also adjust the roundness of it. Go square or round. Let's keep it, let's keep it round there. Then you can feather it or make it distinct. And then you can also change the inner light. You can make it super bright. And that is Is vignette. All right, so that concludes the series. I hope you enjoyed, and I hope you learned something from it. I tried not to make the videos too long and be too boring, and I also didn't do a bunch of my usual commercials and all that good stuff. But as usual, don't forget to like, subscribe, ring my bell so you get notified the next time I post a video. So stay tuned. Next month is the creative section of Luminar Neo. We'll just— we'll discover all the little creative tabs together, and we'll just take an image and we'll open up each one of the tools and we'll see what kind of mess we can make. All right, so stay tuned next month. Creative Thanks for watching.