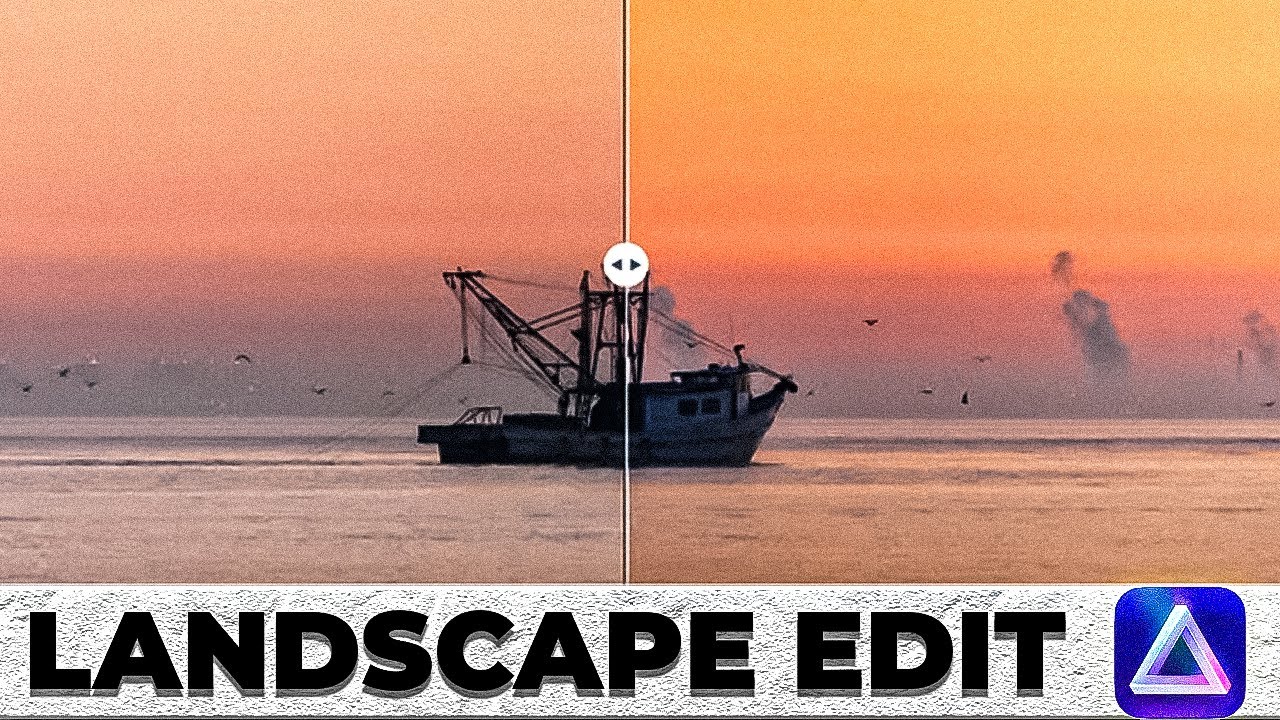
In this episode of Jeff and Angie Photography, Angie walks viewers through a complete editing workflow that combines DxO PureRAW 3 with Luminar Neo. She demonstrates how to export a RAW file from Luminar to DxO via Finder, choose 16‑bit TIFF output, and configure custom folder and naming conventions. After processing, the image returns to Luminar where she uses the Develop module to adjust highlights, shadows, smart contrast, sharpening, and black/white levels to enhance the sky and boat. She then switches to the Enhance module, applying linear masks to brighten the sky, darken and soften the water, and add a soft‑focus effect with brush masks. A final vignette is added for subtle framing. Throughout, she promotes Luminar Neo’s Pro plan with a 15 % discount code (AB15) and mentions affiliate partners (B&H, DxO, Promedia Gear, F‑Stop, Topaz Labs). The tutorial is informal, instructional, and enthusiastic, encouraging viewers to subscribe and try the tools themselves.
Chapters
Hello and welcome to another episode of Jeff and Angie Photography WTF Stop. So this week we are going to do another edit in Luminar. We're going to take an ordinary image, we're going to put it in there, and we're going to see what we can come up with together. Stay tuned. Hello and welcome. So today we are going to attempt to do an episode, but today one of my kitties, Itty Bitty Boppers, is being very needy. So Today's episode, we are going to go over how to use DxO in accordance with Luminar Neo. So let's jump on over to Neo. All right, so here we are in Luminar Neo, and how you get over to DxO— DxO— DxO from Luminar Neo is you right-click on the image, go down to Show in Finder, and then once it's in Finder, you then Open With, go down to DxO PureRAW 3. Click it and it will open up the program. And then you hit Process Now and it opens up a whole file here. And you have the option of, um, the lens correction or optical correction. And it also has the option of the output form. You can do DNG, JPEG, or TIFF. I use TIFFs just because I choose 16-bit, which actually does create a very large file at 270 megabytes. If you go down to 8-bit compressed, you're looking at around 38 megabytes, and that's based off of a 50-megapixel camera. But I use 16 just because I want all that data. And then as far as the custom folder goes, the destination where it's going to go after it's processed is I tell it to put it in a DxO folder where the original image is. And then as far as file renaming, I just have it put DxO PureRAW after my image name because otherwise it'll get lost in the event that they get separated. And then you can also tell it where you want it to export, whether Lightroom, Photoshop, or Neo. And I've got it set on Neo. And then you hit Start Processing, but I've already done it, so we'll just, we'll just overwrite it that way. You can see the whole process. Doesn't take very long at all, about 20-30 seconds to do it. And then up pops the image. It's back in Neo, and it also does a little slider here for before and after. There was the original And there it was after. Close that out. So there it is there in Neo, but if you also notice, it is in its very own folder right here. And this is the one we are going to edit today. So this edit won't take very long because there's not a whole lot to do this with this edit. Basically, I want to bring the sky out and I kind of want to blur the water and darken it up. So let's jump into the Develop Modular. We're going to go in here, we're going to bring the highlights down Which will help bring out that color in the sky. Then we're going to kind of open up some of the shadows around the boat. We're going to add a little Smart Contrast today instead of doing the Super Contrast. There we go. Hit your J key, bring on your shadows and highlights because we're going to mess with the blacks here real quick. And the whites. And I'm gonna go ahead and sharpen this a little bit. There we go. See what that looks like. Looks pretty good. The darks are a little dark, but that's alright because it's kind of a shadow. I might just bring those blacks back off a little bit. There we go, that's a little better. All right, now we'll go ahead and close out Develop. And we are gonna jump into Enhance, and we're gonna do a mask. We're gonna do a linear mask. We're gonna bring the sky out first, and then we'll move on. So we're gonna just Of course, that would have just done the sky to begin with, but this accent, we just want it in the sky. See what that does. Oh yeah, that makes it very nice. You could really push the limits and really bring the colors out if you wanted to, but I think right about there is probably about realistic. Okay. Then we're going to do the Develop Modular again. Notice the Develop Modular is all set back at zero, so that means we can start with the fresh slate again. All right, so head on over to our affiliate page, click on the link below, and it will bring you over to our page. And from there, if you're wanting to grab Luminar Neo, click on the link and it will take you right over to Neo. View the plans, and I highly recommend the Pro plan. That's my favorite plan. That's the one I have. And right now they're running a special at $119 a year, and if you enter my code AB15, you get 15% off that already reduced price. So now's the time to buy. And if you don't want a monthly bill, you just want to buy a one-time, you can do that as well at $149. Buy it and it's yours. It comes with all future updates, so you don't have to be worried that you're going to get left behind. Either, either one is a great deal, and either one you get 15% off along with anything else that's on this website as well. Oh, but wait, if you act like you're gonna leave, click I Love Free Gifts and they'll give you 10 free skies with your Pro membership or Explore. But Explore, you're really limited on. I would really suggest the Pro because the Explore is still $119 a year. There's And that's if you do monthly, but if you do annual, it's $99 a year. But really, $20 more and you get so much more. You get all the extensions, you get everything. All right, so some of our other affiliates— we got B&H, we got DxO. You click this link and it will take you to their website, and you do get a free trial with that. So click that link and go get you a free trial. And we got Promedia Gear, the makers of the best tripods on earth. And you got F-Stop Bags, which are great backpacks, but I especially like them for their inserts. Topaz Labs is another good editing program. I don't use it a lot, but yeah, it's pretty good. One of these shows I will show you how I go about using that as well. Alright, well let's jump back on over to the video and let's finish editing. So we're gonna go up here to this Develop Modular, open it again. Notice that it is all completely reset. We're gonna do a linear mask. We're gonna grab that mask and we're going to bring it on up. Like so. I just want to bring the highlights down on that water, kind of help bring out some of the colors that were in that water as well. Maybe even add some shadow to that water. That looks pretty good. Definitely Darkened up the water. Mood— nope, not mood. Sorry, glow. We're gonna do some soft focus. I kind of want to do another lineal right down here on this water. I just really want to soften this water up. I'm gonna go over here to mask and grab my mask again, but I'm gonna use the brush this time, and I'm gonna go down to 50%, reduce the size. I really just want the water. I don't want to blend it all. Turn on the linear mask. There we go. Go back to adjustments, soft focus, and we're just gonna crank that baby up. Then we're gonna go back to this brightness, we're gonna crank that back down. Looks like we're My mask has a few holes in it. Maybe right in through here. There we go. Before and after. I don't know that I like that. Let's go to adjustments. Let's see, maybe glow. Maybe for real. I think that one might be the better one. Yeah, I think that one is the better one. What do y'all think? All right, so that pretty much does it for this edit here. I really like how it kind of softened the water. The DxO really helped bring in the detail of the boat along with the birds. You can see all the refineries there in the background. But you know what, let's go ahead and add a vignette real quick. So when you do your vignettes, keep in mind that if you go too much and you can obviously see it, It's too much. So you want to have just enough vignette to where your corners are just barely blacked out or brightened, whichever this case may be. Still might be a little too much. Maybe there. I think that might be good. All right, so That concludes today's edit. Don't forget to subscribe, hit that like button, and ring my bell so you get notified the next time I post a video. And also don't forget— Also, don't forget to head over to the link below, go find Luminar Neo, go get your copy today at 15% off. Thanks for joining me. Thanks for joining me.