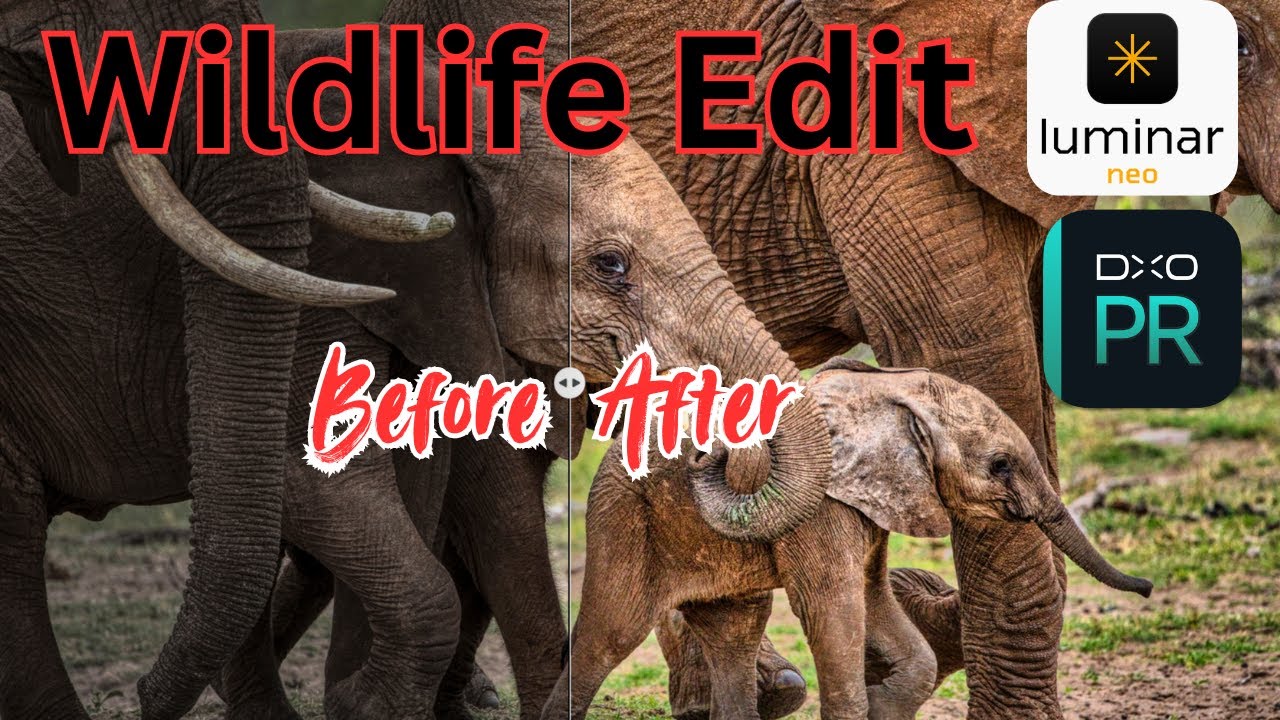
In this tutorial episode of Jeff and Angie Photography, the hosts walk viewers through a step‑by‑step edit of a family of elephants using Luminar Neo. They begin by stating the goal of making the baby elephants more recognizable, then adjust basic exposure settings (highlights, shadows, blacks, whites) and apply modest sharpening. The video interleaves a detailed promotion of Luminar Neo’s Pro plan, including a discount code (AB15) and affiliate links to other gear. The core editing workflow focuses on creating and manipulating radial and linear masks to isolate the subjects, copying those masks to apply structure enhancements, and finally performing a selective denoise that protects the main subjects. Throughout, they toggle the J‑key to view black/white clipping, compare before‑and‑after views, and conclude with a call to subscribe, like, and ring the notification bell.
Chapters
Hello and welcome to another episode of Jeff and Angie Photography WTF Stop. So this week we are going to do another edit in Luminar. We're going to take an ordinary image, we're going to put it in there, and we're going to see what we can come up with together. Stay tuned. All right, so today we are gonna jump on over to Luminar Neo again, and we are going to edit a little family of elephants.
We're gonna try to bring out the babies so they're a little more recognizable from the group.
So So that is our goal. Let's see how we're going to achieve that. All right, here are— here's our family of elephants.
Isn't that little baby one just to die for? She's so cute. All right, so let's jump into edit, and once again we'll go into our Develop Modular. We will bring down the highlights. There we go. Open up the shadows a little bit, something like that maybe. And we'll hit our J key so we can see where our blacks are black. We got a little bit of solid black in there, but I just feel like I need to up the black a little bit more to just get some nice contrast. And then I'm going to take the whites, bump them just a little bit to help accentuate their wrinkles. All right, then of course we're gonna go ahead and add a little sharpen. I don't usually do a lot of sharpen because I don't like it to be over-sharpened. Optics. All right, so that's pretty much all we're gonna do right there.
All right, so head on over to our affiliate page, click on the link below, and it will bring you over to our page. And from there, if you're wanting to grab Luminar Neo, click on the link and And it will take you right over to Neo. View the plans, and I highly recommend the Pro plan. That's my favorite plan. That's the one I have. And right now they're running a special at $119 a year, and if you enter my code AB15, you get 15% off That already reduced price. So now's the time to buy. And if you don't want a monthly bill, you just want to buy a one-time, you can do that as well at $149. Buy it and it's yours. It comes with all future updates, so you don't have to be worried that you're going to get left behind. Either, either one is a great deal, and either one you get 15% off. Along with anything else that's on this website as well. Oh, but wait! If you act like you're gonna leave, click I love free gifts and they'll give you ten free skies with your pro membership or explore. But explore you're really limited on. I would really suggest the pro because the explore is still $119 a year. There's And that's if you do monthly, but if you do annual, it's $99 a year. But really, $20 more and you get so much more. You get all the extensions, you get everything. All right, so some of our other affiliates— we got B&H, we got DxO. You click this link and it will take you to their website, and you do get a free trial with that. So click that link and go get you a free trial. And we got Promedia Gear, the makers of the best tripods on earth. And you got F-Stop Bags, which are great backpacks, but I especially like them for their inserts. Topaz Labs is another good editing program. I don't use it a lot, but yeah, it's pretty good. One of these shows I will show you how I go about using that as well. All right, well, let's jump back on over to the video and let's finish editing. Then we're going to go into Enhance and we're going to create a mask.
It's going to be a radial mask again. If you watch my videos all the time, you will know that I love radials and linear They make my life so much easier. Something like that. Bring it out a little bit more.
Like that.
Then we're gonna invert the mask, and then we're gonna go back. I'm gonna touch it up a little bit here. I got a little too much up here. I don't really want it on the mom. Something like that right there. Let's see what it looks like. When we accent it. Just kind of brightens them up. So that same mask, we're going to go ahead and grab it. We're going to copy it so we have it in structure because we want to bring out a little bit of structure in them. All right, let's kind of zoom in to the area. Not 100%, 50%. Oh, don't forget to turn your J key off, get rid of those black and whites. And when we get done with this image, we will we'll do our denoise, but I don't denoise until I'm completely done with an image. All right, mask, paste the adjustment. We're just gonna add some structure here, just kind of, kind of grunge them up a little bit. Before and after. Before, after. That looks pretty good. Okay, now that same mask, we're gonna go back into Develop. This one might take a little more fine-tuning to do. But we're going to paste that same mask, and then we're going to go to that mask and we're going to invert it. So we're working on all around them. So I can tell you right now, we're going to have to go in and add a little mask right in here. Right there. Otherwise, this— it will make it look a little odd if these little spots right in here are not covered up. Okay, we'll see how well the mask works out. So we're gonna take the highlights and we're gonna drop them all the way down. Shadows, we're gonna add, really make the shadows come into play on everything all around them. Notice how they really pop now? They really stand out now. All right, now let's jump into denoise, and we're gonna denoise the way I like to denoise, and that is like this. I like to go in and denoise everything That is not part of my subject. I'm going to go in and erase this little section right through here and go into adjustments, and I'll just kind of bump that down. So then up here in this corner, we'll go before and after. So there's the before, there's our after. One—
All right, so that's how we denoise something, and let's jump back over here. So don't forget to hit that subscribe button, hit that like button, ring my bell so you will get notified the next time I post a video so that you and I can edit an image together. See you next time.