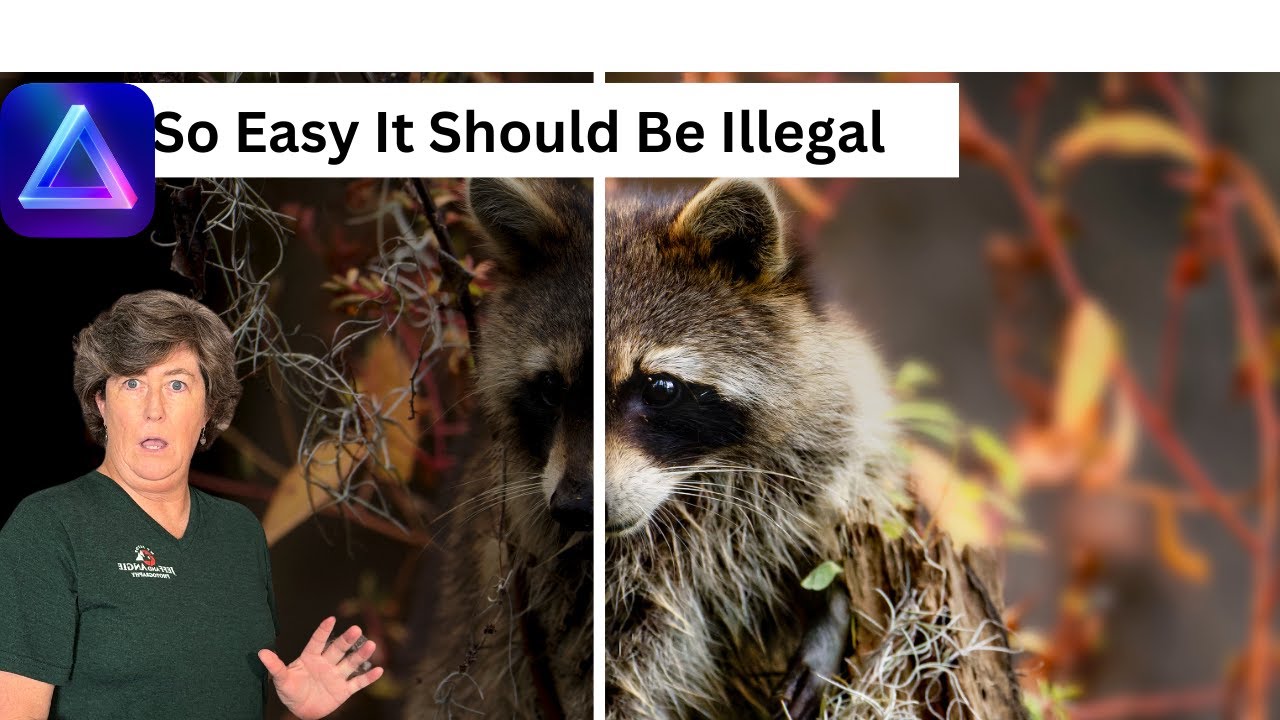
Angie Birmingham walks through editing a high-ISO raccoon photo from Caddo Lake using DxO PureRAW and Luminar Neo. She reduces highlights, lifts shadows, uses linear masks to darken the background, and applies dodge-and-burn to the eyes. Mask AI didn't work well for animals, so she switched to manual masking.
Chapters
Do you struggle with editing on your wildlife images? Well, today's your lucky day because I'm going to show you how to incorporate DxO PureRAW and Luminar Neo to make your wildlife images pop. So stay tuned. Okay, so as I promised, we're going to go ahead and jump on over to Neo where we're going to start for our wildlife edit. And then from there, I'm going to take you into DxO PureRAW. So let's go ahead and jump on over to Neo. And we find our little raccoon that we want to edit. And from there, we right-click on the raccoon, hit Show in Finder, and that takes us over to the Finder where it's located. And from there, you right-click, and I want to open it with DxO PureRAW. 3, and then we're going to process it. But let me just show you something here real quick. So the, the DxO, it takes your camera profile and the lens profile, downloads the profiles to the modulars so that it doesn't have to keep downloading it every time you use it. But so this has already got my modulars in there for my cameras and lenses. Okay, so now we're going to go over here to process and we're going to use deep prime and lens softness. I'm just going to leave it at standard. All these other ones I just leave, I leave pretty much everything at standard. The only thing I change is TIFF and I do 16-bit just so that I have the Best file to work with. And then from there, I just wanted to put it back in the original folder where the other one was, and I wanted to send it to Luminar Neo so we can do our edit. So now we're going to go ahead and hit Start Process, and there it goes, lickety-split. And then we'll hit a preview so you guys can see what it looked like Before and after. All right, let's take a look at the results. We'll go full screen so you guys back there at home can see a little better. So there is the before, and there's the after. So, and jump back over here in the Neo. And let's go on over here and edit this little guy. So now we'll head on over to Edit, and even though it is an already, already processed image, we still need to go into Develop and start our editing here. So I'll take the highlights down just a little. Oh, you can hit your J key on your keyboard and it will bring up your extremes, your whites and your blacks. Take the highlights down just a little bit and we'll open up those shadows to reveal that raccoon. I might even bump the exposure a little bit. It was taken really late at night in the swamps of Caddo Lake. So the ISO on this image was actually pretty high. Let's take a look and see what the ISO was. So ISO 6400. Is what that image was taken at. Go back to the edit. Isn't he a cute little guy? You can see the ticks he's got on him. He was just rummaging around in the swamps. So needless to say, we got a little distracted from our landscape. So if you want to join me next year on my Caddo Lake workshop, there'll be a link below and you can sign up for the workshop. I just made— I just created another week because the first week is already filled up. So I'll be there 2 weeks this year. Okay. Go ahead and accent this little guy. All right, so here's what we've done so far. We've taken it from that to that. Not too bad. I'm going to go ahead and mask him off, do a little structure down here on my subject. Just really brings out the texture in his fur and in this tree trunk. Okay, now I'm going to jump back into the Develop tool. Notice it's all went back to zero again. I'm going to go ahead and do a couple masks here to— a lineal mask here and try to darken up some of the background here a little bit. There we go. Go into adjustments and just, just deepen those shadows back in there. That should work. That worked out pretty good. Maybe— there we go. We'll go back and do another lineal on this side. Something like that right there. There we go. See how that just really makes him Pop out there. Alright, and probably one last thing I'm gonna do to him, I'm gonna do a little dodge and burning. I'm going to zoom in on his little eyeballs, and I'm going to lighten up this area right through here a little bit. And if I go too heavy, I'll go back and I'll erase part of it. But I just want to open up his little mask here, maybe even the insides of his ears here a little bit. There we go. Let's see how that looks. So now I'm going to go back to erase. And I'm gonna reduce the strength. I'm gonna kind of erase this little area right here. There we go. It's really hard because their little eyes are just about as dark as coal. Okay, now we'll go down and Probably go into color, and I'm going to— oh, I guess we can try Mask AI. It usually doesn't work on animals for me, but we'll give it a try. Let's go natural ground. Water and flora. Okay, so that did not work out so well, so we'll do it the old-fashioned way, which fortunately it doesn't take— darn it. There we go. All right, we'll start over. Here we go. So That's the problem with doing these things live is you guys see my errors. I'm sure everybody makes them while doing edits. So the reason I'm gonna mask him out is because I don't want to adjust the colors of my little raccoon. And my piece of wood there. So now I'm going to go back to masking. I'm going to go here, I'm going to go invert. So now everything but him is going to get adjusted with colors. I'm going to increase the saturation a little bit. And then we're going to go down here And we're gonna make the oranges oranger. We're gonna make the reds, hmm, probably a little orangey. The yellow, we're gonna go yellow. The green, greens are alright. And that's about all the colors that are in this image. So now we'll come over here and we'll increase the saturation just a little bit, and then the luminance will brighten up the colors. There we go. Let's see, see how that worked out for us. Before and after. I'm gonna take the vibrance down a little bit. Actually, probably just take it out. Yeah, I think that's better there. There we go. So there you have it, a little raccoon edited. Oh, here, let's play with the blur tool. Let's, let's go ahead and mask. I'll mask him and then we'll invert the mask. Oop, I forgot to invert the mask. There we go. Invert, show. Alright. Go back to the brush. We're gonna have to erase a little bit, but we're going to reduce the strength, reduce the size, and we're just gonna kind of come along here and just hit the edges because we don't want it to blur him. All right, so let's see how it does. So it looks like we need to paint just a little bit more right down through here. There. And then erase right there. There we go. Before and after. Of course, you don't have to do it quite that extreme. I would probably just do— probably just like that right Right there. So there you have it. What do you think? Leave your comments below. Alright, so I hope you enjoyed that edit today. That was probably my favorite moment while I was in Caddo Lake. The little raccoon that came out of the swamp and kind of posed on logs and stuff for us. It was pretty amazing. So if you want to do Caddo Lake this year, go on over to my website and sign up for it. I now have 2 weeks in Caddo Lake because the first week is already booked. So head on over there and get your spot before they're all gone. If you like that edit, don't forget to watch the next one that's right up here.