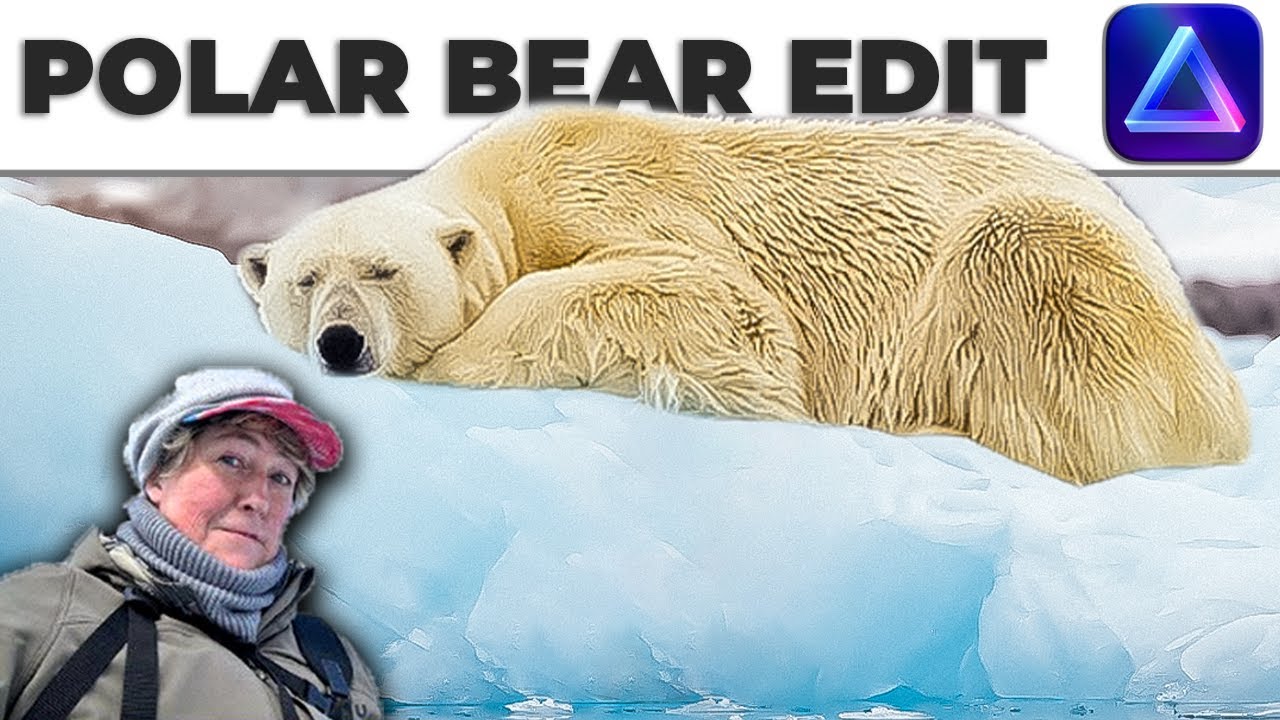
In this tutorial video, Angie Birmingham (Jeff and Angie Photography) walks viewers through a rapid edit of a polar bear photograph taken during a Svalbard trip, using Luminar Neo. She begins by showcasing favorite polar bear shots, then promotes Luminar Neo bundles and a 15% discount code (AB15) as well as an affiliate link to B&H for gear. The editing workflow is demonstrated in detail: starting in the Develop RAW module (adjusting highlights, shadows, blacks, whites, and optics), cropping to improve composition, applying dodge‑and‑burn to the eyes and nose, using the Structure tool with masks to enhance fur detail, increasing contrast while preserving snow color, applying the Noiseless filter, and fine‑tuning snow color with Vibrance and saturation masks. Throughout, she shares practical photography advice for shooting white‑on‑white subjects (exposure direction, avoiding clipped highlights, using zebras on Sony cameras). The video concludes with a before‑and‑after comparison, a call to like/subscribe, and a preview of upcoming Svalbard Part 2 content featuring a round‑table with fellow travelers and a link to the Wild and Exposed Podcast.
Chapters
Hello and welcome to another episode of Jeff and Angie Photography WTF Stop. So today we are going to edit a polar bear. And before we edit the polar bear there— before we edit the polar bear, I'm going to show you, just kind of scroll through a few of my favorite shots from Svalbard. And then we'll jump into an edit and we'll see I'll show you how quickly we can edit a polar bear. All right, so before we get started on our edit, I'm gonna jump over and show you a couple sales that are going on in Luminar Neo. All right, so here we go. Um, I will have all of the links below so you can easily click on them, or you can just follow over to my website where you have the discount code for 15% off. And right now they do have the all-in-one photography bundle for $99. You get All of these instructors, they're different bundles, uh, all in-depth editing. So this one here takes you zero to pro, which is amazing. I like him a lot. So anyways, head on over there, and that $99, you get an additional 15% off of that when you use my code AB15. All right, so, and if you already— if you don't have Luminar Neo, click this link and use the AB15 and you will get 15% off of your new Luminar Neo program. So head on over there and get your program. And one last thing, if you're needing any camera gear or computerware, head over to B&H and They will— you use this link and it'll take you into the Deal Zone. And if you don't find anything in the Deal Zone, we'll hop on over to their regular website. Um, and you will also be helping out the channel by using our affiliate codes so that I can rent gear and show you guys how it works. All right, so let's jump on over in To the edit. All right, so here we are in Neo. Here's a couple of my favorite polar bear shots from the trip. This is just one little section of my favorite shots. This one here, look at the size of the paws on this bear. They are huge! And here he is. Just incredible, the size of the paws. So yeah, this polar bear here, she was quite playful. If you subscribe to my channel, You'll get a notification when my next video comes up, and one of these times my next video is going to have a bunch of videos from our trip. It'll be part two of our Salbar trip. All right, so let's jump into this one right here, and we are going to do an edit on this bear. So here is the. Before— grab my— there we go. Before and after. So let's go ahead and revert to original and we will get started on editing this guy. So as usual, I always jump on over into the Develop Raw modular. That's my favorite one. Oh, and with Luminar's new update, um, you click the little i and it now will tell you what each one of the tools does. And you click Learn More and it will actually take you to the website and give you even more detail about it. So anyways, let's continue our little edit here. I want to just show you how quickly we can get this done. It's really easy with Luminar. First, we're just gonna kind of take the highlights down a little bit. We're gonna open up the shadows. We're gonna bring out the blacks so we make sure that the blacks on the nose and the eyes are good. Bring our whites up because we want our whites to stay white. We're gonna correct our optics, something like that. And that's it for the Develop modular. Now we're gonna go up here to Crop, and keep in mind my horizons are definitely off because I was on a boat and it was sloshing back and forth and I was trying my best to keep the bear in the frame. So let's just crop her Something like— really want to get rid of a lot of that down there. So we're gonna put her— we'll put her eyeball right there where those thirds intersect. Here we go. There, that's much better. So One thing I want to do is I want to try to do a little dodge and burn on some eyeballs and see if we can bring these coal eyeballs out at all. Gotta bring it down in the size. So let's see how this turns out. Looks like the eyes are kind of coming out a little bit. Got a little definition to them now. We'll increase the size. We'll kind of lighten up this front nose area a little bit, but I think I Slipped a little. Oops, and I got a little bit right here. There we go. There we go. Yeah, I like that. I don't know if y'all like that, but I do. All right. Now let's jump down into. Let's do a little structure. Do a little mask, just kind of mask her face a little bit, just kind of bring out a little bit of detail in the fur right through here, kind of down in here, something like that right Let's see what this does. Just kind of crank it up a little bit. That brings out a little grunge in her face there, a little more detail in that fur. There we go, looks a little better. All right, let's see here. Let's zoom out. Let's try some super contrast, see what that does for us. Of course it will change the colors, so we want to be careful because we don't want to turn our snow blue or gray. You know, while I'm messing with these sliders, when I was there photographing the polar bears white on white, it's a little bit of a challenge, but you want to kind of overexpose. You definitely want to shoot to the left. Oh, I'm sorry. Definitely want to shoot to the right and not try not to clip any of the highlights because you clip the highlights and your snow will be blown out. And I did have, because I shoot Sony, I had my zebras on when I first got there and my zebras were going berserk. They were everywhere. So I ended up cutting the zebras off so I could actually see my subject because it was really, really tough. Well, that turned out well. There you go. All right, so let's go down to— let's just hit Noiseless. We'll call this a good edit. We'll hit Noiseless and see what happens. There we go. Let's do our before and after. Before and after. I think, I think that turned out pretty good. All right, let's— you know what, let's, let's play with the colors in that snow because it's kind of a bluish color. Let's see, let's mask that snow. This cliff down here, we'll just kind of mask it. And see, see if we can bring a little bit of the blues out in that. All right, go over here. Let's just try the Vibrance tab first. A little saturation. Yeah, that turned out pretty good. Hmm, I don't know though. I don't think I like that. I think I like it just the way we did it. Alright, so that's your edit on your polar bear. Let's do a quick before and after. What do you think? I like it. I hope you like it. And editing with Luminar is very easy. All right, so don't forget to like and subscribe and ring my bell so you get notified the next time I post a video. All right, so next video might be one about Salbar. Uh, I might just do part 2, and I'm gonna try to do a roundtable with all of the folks that went with us. We went with Wild and Exposed Podcasts. I don't know if y'all are familiar with them. If not, you should follow the link below. I'm gonna lead you right on over to their YouTube channel. They have Lots of good guests on their show. And we also went with quite a few friends. So we'll see. We'll see what I can pull off. All right, I'll talk to you later. Have a great week.