Unleash Your Creativity: Understanding Camera Settings
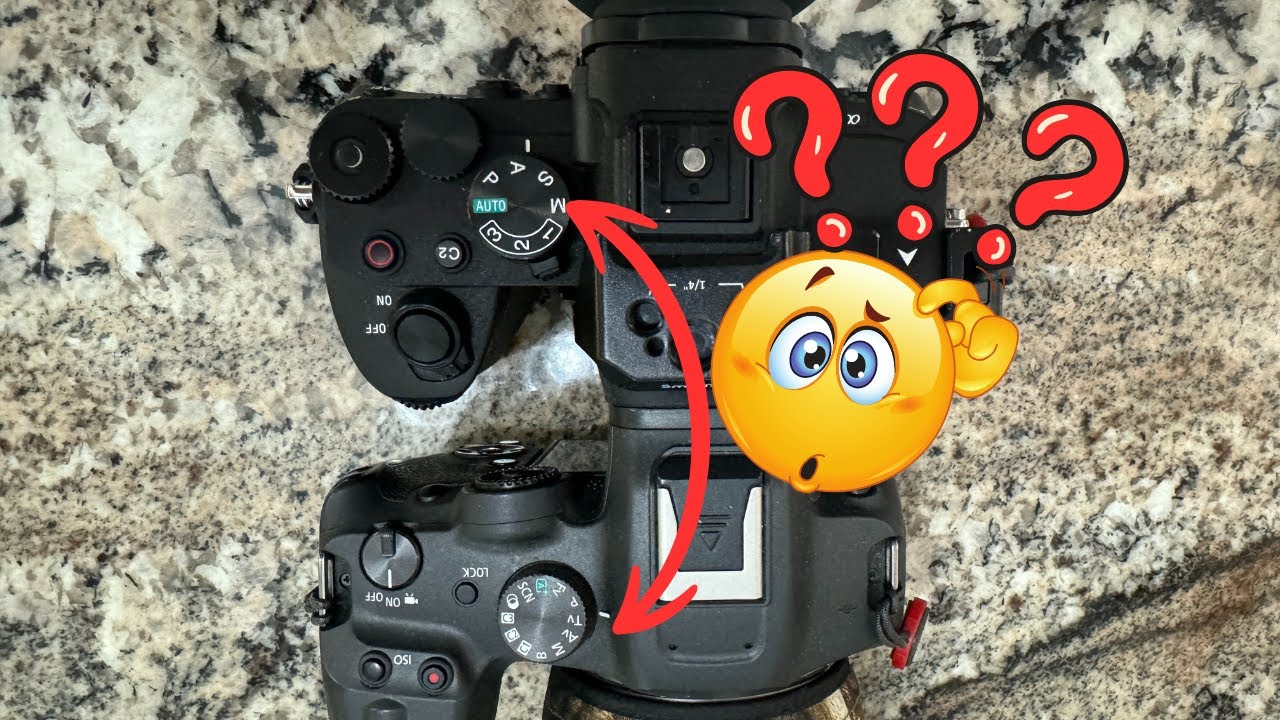
Angie Birmingham shows how to move beyond auto mode using aperture-priority and shutter-priority settings. She photographs her cat Speedy at f/2.8 for portraits and 1/1000s to freeze motion, then compares the results and explains how aperture, ISO, and shutter speed work together.
Chapters
Hi, Angie here with WTF Stop. So today, before we get started, I just kind of want to go over where I've been and what I've been up to. Um, we've taken a couple of trips, and when we came home from one of our trips, we had a water leak in our house. And so the downstairs had to get all new floors, and we had to get some sheetrock work done. And it was kind of hard doing a video with all the construction going on in the house, with the banging and the jackhammers. And, um, they also got diagnosed with skin cancer again, um, so they had to take, um, a piece off of the tip of my nose. So with that said, I want to also tell all of us outdoor photographers that you should wear a hat, which I'm currently still looking for the perfect hat. I'm just not a hat person. I never have been, but I gotta learn to be, and everybody that's out shooting should be a hat person as well. And don't forget your sunscreen. It's very important. So anyhow, today we are going to get you out of the automatic mode and shooting into one of the other modes. Um, so this is going to be kind of a hands-on video, so I want you to put me on pause and go get your camera, and I'm going to do the same. I'm gonna go grab my camera gear and I'll be right back. All right guys, I'm back. I got my camera, did a quick change, got my official shirt on. And got my camera. I got a subject right over there. His name is Speedy Cat. He is in Bailey's bed. And so today, if you have your camera in hand, that's great. If not, when you do get your camera in hand, you're going to put your camera on automatic mode. And you're going to snap a picture. So we're going to take a picture of Speedy in en masse mode. I'm going to zoom in here so I get the cat. All right, now you're going to go to your picture that you just took. You're gonna hit display and you're gonna have it display what the settings were. So on that particular shot I just took of Speedy, the camera chose 1/40th of a second at f/2.8 and 1000 ISO. So now I'm going to take my camera And I'm going to move it over to aperture priority. And at aperture priority, I'm going to punch in the aperture that I want, which, because I'm doing portraits, I want it at f/2.8, or at least that's what I'm going to try it at. And And I don't like how bright my whites are in my picture, so I'm going to take the ISO out of auto and I'm going to put it at, I don't know, maybe 640. So my shot is going to be at f/2.8, 640 ISO. And the camera is going to choose the shutter speed since it's not my number one priority right now because I'm doing portraits and he's not being very speedy. So let me zoom in here. Get the cat in the picture. Frame it up. Take my shot. All right, now take a look at your picture. Do you like what you see? Mm-hmm. I like what I see. My whites are nice, my dark tones are good. I have a nice blurred-out background, which I will show you this picture here. Here later on in the video. So now, if speed was actually doing something, moving around real quickly, I would move it over to shutter priority, which then I take control over the shutter. And then the camera will choose the f-stop. And if you want the camera to choose your ISO as well, you can put it back into auto ISO. So the only thing you have to worry about is your shutter speed. So now if Speed was moving around, zipping around here like he usually is, I would put it I'm gonna take it at 1/1000th of a second for the shutter speed. That way we could see what he can do. Let's see what, what kind of ISO I end up with taking it at 1/1000th of a shutter speed in this low-light situation in the event that he was moving around. Oh, sweetie. Thank you. So at that setting, that puts me at 1/1000th, which is what I chose, and the camera still chose f/2.8 since I'm in such low light conditions. And the ISO is at 12,800, so it might show some noise, which is the little dots in your pictures, little digital noise, in the event that I got some dark shadows in there. But we'll see. I'll put these into the camera— or not the camera, into the computer— and I will put them up on the screen and I will show you what automatic did and what I chose, and we will go from there. But it looks pretty good. Looks pretty good. So just to recap, if you want— if you're doing portraits, you need to focus more on Your aperture and choosing your aperture. So just a single person, usually f/2.8 is really good. Focus on their eye, you get their eye nice and sharp, and usually their nose will be in focus as well. And if it's not, then you'll need to get the f-stop to a number that will allow your depth of field field to be a little deeper, which would be f/4 maybe, maybe even f/5.6. And when you're going from the different apertures, so you got f/2.8. f/2.8 is a large opening. It lets in lots of light. And then when you go to f/4, it makes it just one stop smaller. Then f/5.6 5.6 is another stop smaller. And then when you get into like your landscapes and stuff, you'll do maybe f/16, maybe. It just depends on what you're trying to achieve with your landscape. Um, but, uh, we'll touch on that on another video when I get out and we do some landscapes, and I'll set my camera up and I'll tell you what the settings are and why it is that I chose those settings. And then I also do the same thing when I'm out birding. I'll do the same thing. I'll set the camera up, give you the settings, and then why I chose the settings, and then I'll share the pictures with you after each video. But this video is designed just to get you going, get your feet wet so you can get out there, go practice, and get familiar with the different settings Settings on your camera. Your ISO, which affects the light to the shutter. Your shutter, your shutter speed, which is how fast it goes off, and that one is for freezing time. So like your waterfalls, you would want a nice slow shutter speed, maybe 1/20th of a second. A running person, usually 1/500th of a second will get you by. And then birds, typically I start off at 1/1600th of a second. And then your f-stop, the bigger the number, the smaller the hole and the less light comes in. The smaller the number, the larger the hole and the more light you let in. So anyhow, with that said, let's jump into some pictures and see what those look like. Hey there, I hope you're enjoying this video because they're all produced by me and on a very small budget. So to help increase my budget, you could purchase items from the links below. Maybe. Where I have all the links to my affiliate products. Um, they give me a little bit of a kickback, and sometimes they have a discount code attached to them so you can save money too. So come on over, hang out with me. Just give that subscribe button a good old smack and give me a thumbs up so YouTube will refer my videos out to other viewers so we can get more subscribers. And ring my bell and you'll get notified the next time I post a video. So that's pretty much it. Hope you enjoy the rest of the video. Talk to you later. All right, so here we are with our pictures. Here is the very first one that I took in the automatic mode. The camera did choose a shutter speed of 1/40th of a second, ISO 1000, and an aperture of f/2.8, which in my opinion, the ISO could have been lower because my whites are just a little too bright. There's not a lot of detail there in his fur along with his blanket there. So I would have the ISO at 640 versus 1,000 just to get it a little darker in the image. But auto did a fairly good job overall, but just not my style of photo. So let's take a look at the next one. Okay, so this one is taken in aperture priority, and so I chose the f/2.8 because of the fact that I was doing a portrait and I wanted a shallow depth of field, so my main focus was Speedy. And I took the ISO out of auto and I changed it to 640 so that I could get the whites to have a little more detail in his fur. and on the blanket, because I didn't quite like how auto had chose to have the white so bright. But I think this is a better, well-balanced overall picture. The reason I chose to take ISO out of auto was because of the fact that I didn't want to reduce Or I should say actually increase my aperture so that I would then increase my depth of field. I liked the focus on Speedy's face, so his face was in focus and the rest of his body was kind of blurred out a little bit. And Bailey in the background along with the pillows are definitely blurred out. So that's why I chose to come out of auto ISO and choose my ISO. And when you shoot in the other aperture priority and shutter priority, you have that option to do that. So let's take a look at the next picture. Okay, so this next one and last photo that we took together is shutter priority, and this one I chose 1/1000th of a second as my shutter speed, but he wasn't really moving fast. But if he was, that's probably about the shutter I would have needed to freeze him in the air. But due to the low light situation that I was in, you can notice a lot of digital noise back there in the back. The little dots in the back, that's all noise. 'Cause this image was taken at 12,800 ISO, which is stretching it. Typically this image, I would take it and I would run it through Topaz Denoise, and it would actually do a really good job of fixing it up and making it look as if it was never taken at the high ISO. So even though I chose the shutter at 1/1000th The camera still chose the f-stop of 2.8 aperture, and the reason it did that is because of the low-light situation. So overall, it's a good image. It would have been even better at lower ISO, but the Topaz Denoise would fix that image. So just in case you're interested, here is the exact same image but just ran through Denoise program. Sorry, Topaz Denoise. It's as simple as right-clicking in Lightroom, telling Edit In, Topaz Denoise, select the version you like, and send it back. That's all you got to do, but it makes all the difference in the world. As you can see from this image. If you're interested in trying Topaz Denoise, just click on my link below, follow it, and get your— I think they offer a 30-day trial, maybe it's a 7-day trial, it just depends on their special they're running. But click my link. Hey guys, so that's pretty much a wrap for tonight. I hope you enjoyed it. I hope it helped you. We will be going over the settings in future videos. Every time I post a video and I post pictures along with the videos, in the pictures I'm going to explain why it is that I chose the settings that I had on each and every one of those pictures that I take. And also If any of you have ever heard of PPA, Professional Photographers of America, I have been chosen this year to teach a fall class. It's going to be nature and beach photography, or I should say nature and bird photography actually, and it'll be down here in Corpus Christi, and I believe the fee is $99. I will post the link below if y'all want to either become a member or if you would like to join me on the adventure. It will be September 17th, and I believe the start time is at 2 o'clock, and we'll meet up at the local Starbucks, and from there we will start our adventure with some bird photography, and we'll continue on and hope that Mother Nature cooperates so we can do a beautiful sunset in one of my favorite spots down here along the coast. And while we're doing all that, I'm also going to go over some focus features when doing your landscape photography, something that you refer to as hyperfocus. I don't know if any of you have heard of that, but I will go over it in my class. So join me in my class, and it'll help me get what they call merit points, which are bonus points for photographers at PPA. So anyways, make sure you like and subscribe and ring my bell so you will get notified the next time I post a video. We have lots of adventures coming up, starting off with Alaska next. But I've got to fill you in on 2 trips that I just recently got back from, the West Coast and the Tetons, and I'm working on putting that stuff together. So see you soon. Have a good evening. Bye.










