Short tutorial by Areeb Mirza explaining how to add and customize captions in Adobe Premiere Pro via the Text → Transcript workflow. It covers selecting a clip, transcribing (in point to out point), saving, creating captions, choosing single/double lines, and styling captions in the Graphics panel, plus a brief call-to-action.
Chapters
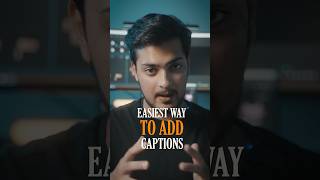
Easiest way to add captions in Premiere Pro on the timeline, highlight the part you want subtitles on, Head over to Window and click Captions and Graphics. Now on the Text tab, click on Transcript. Make sure Transcribe in Point to out point is selected if you have highlighted a specific clip and also to choose the layer on where your audio is. Or if you want multiple tracks, just leave it to mix after the transcribing has been done and go through it. Make sure there are no errors in your transcription and then click Save. Create captions and here's where you can customize of how you want your captions to appear. Things like how many words in length, single lines and double lines, so play around with it. I personally go with single lines and adjust the length according to the video. Once you've generated the captions, select all of them and head over to your graphics panel and here is where you can customize the style, font and positioning. If you found this video useful, make sure to hit that follow button and save this video.