In this instructional YouTube video, Nicole Johnsey Burke shares the five most effective raised‑bed gardening techniques she has refined since starting her raised‑bed business in 2015. She begins by explaining her background of installing beds for clients and the need for low‑maintenance, self‑sustaining designs. The five hacks are: (1) Planting the entire perimeter of each raised bed with a mix of perennial herbs (oregano, rosemary, sage, thyme, chives) and annual flowers (pansies, violas, marigolds, zinnias) to create instant visual appeal, attract beneficial insects, and repel pests; (2) Adding vertical trellises (arch, obelisk, panel) made of steel or iron to double growing space, improve airflow and sunlight, and enhance garden aesthetics; (3) Categorizing plants by size—small (9 per sq ft), medium (4 per sq ft), large (1 per sq ft)—and arranging them (large in the center, medium around, small on the edges) for a fuller, architecturally pleasing bed and staggered harvests; (4) Never leaving bare soil: after six weeks, fill any gaps with fast‑growing crops appropriate to the season (bush peas, spring mix, spinach, arugula, bush beans) to prevent drying, nutrient loss, and weeds; and (5) Using seasonal rotation instead of traditional crop rotation, planting three to four successive crops per year (cool‑season, warm‑season, hot‑season where applicable) and refreshing beds with compost each cycle, which maximizes productivity and maintains visual density. Throughout, Nicole promotes her free Garden Game Plan Workshop and seasonal planners as supplemental resources and points viewers to a follow‑up video on raised‑bed design.
Chapters
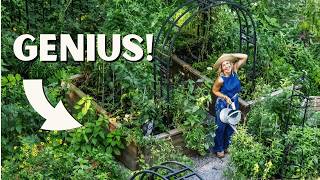
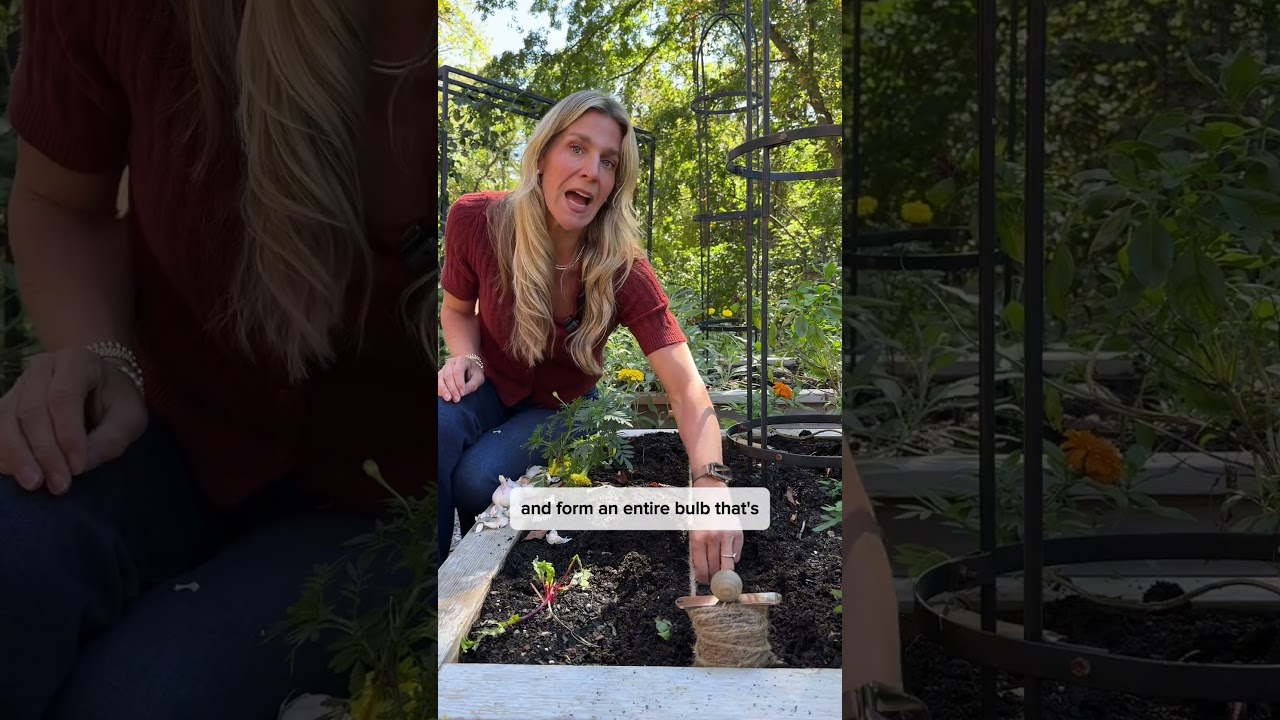
Since 2019, I have filmed hundreds of YouTube videos giving you my best raised bed garden tips and tricks, but I have never taken my best tips and tricks on raised bed gardening and put them into just one video. So today I am going to gather my top 5 raised bed gardening tricks, and I'm going to show you how to make the most beautiful and productive raised bed garden ever. So let's get into it. If you're just joining me, if you've never followed me before, hi, my name is Nicole. And the way this whole thing started, it was back in 2015. I started a raised bed garden business, and I would go into backyards and I would set up raised bed gardens like this. And I actually learned this tip and trick from planting so many gardens because I was doing the work for my clients, and then they would come out and take care of their gardens, but they didn't take care of their gardens a lot, just a nice thing to have in the backyard. So a lot of it was dependent on me, and I needed to set up gardens that could kind of take care of themselves. So after maybe the first or two, I started this new system of planting the borders of the garden first. So when I talk about a border, I'm talking about the four edges around a raised bed. And I started the day one when I would set up these raised beds, I would plant herbs and flowers all along the edges of every single raised bed. So I did this for a few reasons I'm going to tell you in just a second, but this is how I planted up perennial herbs. So we're talking oregano, rosemary, sage, thyme, chives— chives are a big one. All those would go along the edges of the and you're kind of mixing and matching. You're not putting them all together. I love doing oregano, rosemary on the corners and then mixing it up. And then you put annual flowers, not perennials, they'll take over, but annual flowers in between. In the spring, it'd be things like pansies and violas. When it got warmer, we'd do things like marigolds and zinnias, and you plant those in between. When you plant these herbs and flowers along the edges of the bed, they act like a patrol. First of all, they're beautiful. So when you look at a raised bed and you've got all these maybe seeds and small little plants on the interior, it doesn't look like much, right? It looks just kind of plain until everything grows in. But when you plant these herbs and flowers along the exterior of the beds, when you look on, it looks full immediately. All right, so it's immediately beautiful, and it's also much more productive and safe because these herbs, these flowers, they have like a dual purpose in the garden. Not just being pretty— they are pretty— but they also are, one, attracting beneficial insects. So they're going to bring in butterflies, bees, all these beneficial insects that are going to move pollen around in your plants. They are just going to create buzz literally around your plants. Then they also put off smells that are not enjoyable for the attacking pests, the pests who want to come and eat your greens, eat your vegetables, eat from your fruiting plants. They put off a smell that throws off those pests so they don't notice, oh, she's got cabbages over there, she's got kale, Swiss chard, she's got tomatoes over there. So dual purpose here: they're beautiful, then they attract beneficial insects, making your bed more productive, and they repel the bad guys. So that is tip number 1, raised bed tip number 1: plant the entire perimeter, the edge of all your raised bed gardens with herbs and flowers. You're gonna have the most productive and beautiful raised bed ever. Tip number 2 is vertical gardening. Now before I get into this, let me tell you about my class that I'm teaching, the Garden Game Plan Workshop. If you love insights like this, tips and tricks, you're going to love this workshop. I teach you how to get the setup, the timing, and the planting right when it comes to a raised bed garden. The Garden Game Plan Workshop is free. You can watch it today. I'll put a link for it right below this video. Now vertical gardening is a game changer. Again, I learned this from setting up all these raised bed gardens for my clients. First, in my garden, I just had raised beds, just a box and soil, and boom, I just put everything in there. I learned the hard way that the plants, they sprawl, especially in the summer, especially the vining plants. We're talking cucumbers, beans, tomatoes, peas, zucchini, watermelons. All these things started just taking over my garden, and at first, I used just some simple little string, little panel trellises for the peas and the cucumbers. I went to Mississippi with my parents, got some bamboo stakes, and made my own little teepees, and that got me introduced to this idea of vertical gardening and how you could really change the productivity from a bed if you added vertical elements. As I started putting these gardens in for my clients, they wanted things that were a little bit cuter, a little bit nicer than my bamboo and string trellises. I started sourcing trellises like these made of iron and steel, and the gardens had a major glow up. I mean major. If you go to my Instagram, Gardenary Co., and scroll way back, there's 6,000 posts there, so go all the way back, and you're gonna see when I made the transition of going from like bamboo to steel and iron and major change. When we did this, I realized that both things got better. So number one, the beauty part of the garden. So a lot of these gardens, we all know gardens kind of ebb and flow. They have really productive seasons, they have more bare seasons. And what trellises do is they give you this vertical piece, they give you this structure to the garden so that even now my garden is basically bare, these trellises give the garden a fullness to it. They also, I even read this, that like The whole word garden means enclosure. And so these trellises, things that you can kind of walk under, it gives this sense of enclosure. So there's this beauty element, even if you absolutely ignore the production part of it, which we won't. But trellises just make gardens more beautiful. They just do. So I use 3 different kinds of trellises: arch trellises, obelisk, and panels. I have a whole breakdown of those trellises that you can watch later, but that is how I totally upleveled the gardens for my clients and now for myself. Now, productivity-wise, they 2x your growing space. In this one raised bed, if I didn't have a trellis— with this trellis, I can plant 4 tomatoes around the edge of this obelisk. I could plant 6 to 8 cucumbers. I can plant 8 pole beans. I can plant 20 sugar snap peas. Whereas if I did not have this trellis for those vines to climb up, I can only plant that and nothing else in this bed. But with the trellis, I plant those things, and then all around it I can have herbs, flowers, greens. I can have peppers. I can have all kinds of plants surrounding this because all these plants on the trellis, they're going up. So it literally maximizes your productivity. It makes the garden so much more beautiful. And bonus, this isn't just beautiful, it doesn't just 2x your growing space, it actually gives you healthier plants. Studies have shown that when these plants are growing up these vining trellises, they get more airflow, they get more sunlight, and then beneficial insects get better access to the flowers and the pollen. So everything goes up, literally, when you add trellises. Number 3 is categorize categorizing plants. So I learned early on that I was very confused when it came to gardening. I would go to the garden store, I would look at a seed catalog, and it just looked like the grocery store to me. It was just crazy. There was just so many options, and so I learned early on when I was especially teaching my clients how to garden that it made more sense to categorize plants by size: small, medium, and large. So a small plant is going to be 9 per square foot. A medium-sized plant, I can put 4 plants in a square foot, and then a large-sized plant, I put one of those in a square foot. Now I define these as leaves, roots, and fruit. I wrote a whole book about it. I'll put a link to it below. The way this works out to make your bed more beautiful is instead of having a bed that's just planted all with one type of plant, just a bunch of cabbages, bunch of peppers, bunch of tomatoes, you're going to take these 3 sizes, the small, medium, large, you're going to mix them all together in each and every bed. Put your large plants in the middle, your medium-sized plants around that, and then your smallest plants go on the outer edges. This makes your garden garden look so much more full, so much more ornate. It's going to make your raised bed look as beautiful as your front yard looks. Planting this way by category is going to give your raised beds this architectural and designer feel that most other raised bed gardens just don't have. Not only that, it's also going to make your beds much more productive. If you think about these large plants, they're not just large because they take up a lot of space; they're large because they take a long time to grow. Large plants generally you won't get to harvest for 2 to 3 months. Medium-sized plants, they're a little bit smaller, and they take less time. You generally can harvest from them around 60 to 70 days. And then those small plants, things that you can plant 9 per square foot, they take hardly any time at all. In fact, a lot of the small plants you can harvest within 30 to 45 days. So when you plant all 3 of these types of plants in one bed, you have so much more productivity. Instead of waiting like 90 days or 120 days for this one big thing to produce, you're going to be harvesting small things regularly, medium-sized things a little bit more consistently, and then every few months you'll get to get a big harvest from those large plants. So categorize your plants, put the small, medium, and large plants all in one bed, and you're going to have the most productive and beautiful bed possible. My fourth tip and trick is no bare soil. So 6 weeks after I plant my beds, large, medium, and small in a bed, I come back and I get a bird's-eye view of the bed, and if I can see bare soil in between any of the plants and seeds that have grown in, I add more seeds. Most people don't know this, but bare soil is the worst thing you can do for your garden. Bare soil is going to dry out faster, it's going to lose its nutrients, and it's going to bring in weeds. If you see bare soil in your garden, that's a sign that you didn't plant enough. So when you see bare soil, you want to grab a seed, grab something that can grow pretty quickly, within 30 to 45 days. If it's in the cool season, I might plant some bush pea seeds, or I might plant some spring mix or spinach in those bare spots. If it's in the warm season, I might add some arugula or some bush beans to those areas. If you see bare soil, you want to fill it, and when you do, you're going to end up with a much more beautiful garden. Your raised beds are high-value real estate, so you don't want to waste any of the space. When you plant up in the raised bed soil, you're going to get so much productivity out of every square inch of your garden that you've worked so hard to build, and it's going to be way more beautiful. What makes my raised beds look so stunning is that when you look at them from any angle, including up above, all you see is plants. My fifth tip is that I don't rotate my crops. This is a very common tip that almost all gardeners talk about, and it's the idea of rotating your crops from bed to bed. This year, this is the tomato bed. Next year, this is the tomato bed, and then this is the potato bed. This is a common thing that pretty much everybody teaches, but here's the deal: we are generally working in pretty small spaces, and there are just some plants that are just only going to work in certain areas of the garden. So what I learned to do, especially with my clients way back in the day, is instead of crop rotating, I seasonally rotate my beds. Here's what I mean. Every single season, within about 90 days, I have plants growing in each and every bed—small, medium, and large—all in each garden together. Then when that season comes to a close, I take out all of that season's plants, and I put in new plants for that season. Same year. Then when that season's over, I pull those out, add a little bit of compost, and plant for the next season. Wherever I've lived—Chicago, Houston, and now here in Nashville—I plant my beds at least 3 times per year. In Houston, I planted them 4 times a year. So I don't crop rotate, I seasonally rotate, and here's how it makes the garden so much more beautiful and productive. Each of these beds is going to produce at 3 crops to harvest every single year. So I'll plant this up first for the cool season. Cool season is when you grow things like radishes, carrots, beets, kale, cabbage, broccoli, Brussels sprouts. I talk all about it in my seasonal planner. So cool season, I'll have all those plants growing here in this bed based on their size. Then as soon as frost is over, all those plants come out of the garden, add a little bit of compost, and now we're moving on to the warm season. This is when you grow frost-free plants: tomatoes, cucumbers, beans, peppers. They all go into this same bed, and then as I get toward the middle of the summer, maybe depending on where you live— this happened when I was in Houston— you switch those plants over to hot season plants, things like sweet potatoes and Malabar spinach and okra. I don't really do hot season here in Nashville. What I move back to is in the fall, I'm going to move back to my cool season plants. So I'll pull out my tomatoes, peppers, eggplants, whatever, and switch back to plants that don't mind frost. Kale, broccoli, peas, cauliflower, spinach—they go back into the bed. So one year, at least 3 plantings, then I don't have to worry about crop rotation, but I still get a super healthy, productive, and very beautiful bed all year long. Oh, and if you like the idea of planning seasonally, you can check out my seasonal planners right below this video. Now I want to show you how to design a raised bed so you can use all 5 of my tips and tricks, and you can watch that video right here.