5 Simple Steps to Transform Your Summer Garden
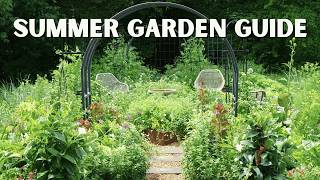
Nicole Johnsey Burke walks through five steps to transition a spring garden into a summer one using her Gardenary system. Harvest spring crops to free space, add compost and organic pest controls, then plant heat-loving crops like peppers and eggplant between existing plants, add herbs and beans alongside them, and fill edges with fast-growing greens and melons to maximize the space.
Chapters
Most people only plant their gardens one time a year, but I plant mine at least 3 times. This protects the soil in my garden, makes my garden beautiful almost year-round, and gives me something to eat from the garden almost every single month of the year. This is the way you should be planting your garden too. I've been planting hundreds of my clients' gardens this way for over a decade, and today I'm going to teach you the 5 steps to transition your garden from spring to summer so that you grow almost all year long and never miss a harvest. First, let me define what I mean between spring and summer garden. For a spring garden, that would be a cool season garden. This means a garden that doesn't mind frost, when your high temperatures range from 45°F to 65°F, and there's always a chance of frost every single evening. This garden right now is a spring garden. Everything planted inside of this garden is set up to be able to tolerate frost. If temps drop, these plants are all okay. When I say summer garden, I mean a warm season garden. That's a garden that does not tolerate frost. The high temperatures will be 65 to 85°F with no chance of frost. Right now, we're about to move this garden from being a spring garden to be a summer garden. We're going to be adding in plants that do not tolerate frost. Now, if you're confused about the seasons, we have a whole seasonal planner system. I'll link it right below this video. You can check it out after we're done. Now let's talk about step number 1. At this point, you're going to walk into your garden, you'll be like, "How do I add any more plants to this space? There are so many things growing." This is when all of your spring plants are at the height of their growth. They are ready to be harvested, to be tended, to be taken care of every single day, and the last thing you want to do is pull them out of the garden. So in this phase, we are not necessarily pulling everything out. We are just pulling things back. In this step 1, you are going to be harvesting everything that is ready to harvest. First, you're going to harvest your leafy greens. Anything that you could use in a salad, you want to be cutting from these plants every single day. You're going to cut the outside lower leaves of the plant. That's going to open up space for other plants around those leafy greens. Your herbs also need to be cut. You want the outer and lower leaves of those herbs as well. Again, what we're doing here is making space. If you have any root crops that are now ready to harvest, things like radishes, carrots, the beets definitely won't be ready yet, but the radishes are likely ready to pull, so this is your time to pick as many as you possibly can. I love to pickle mine when I have an overabundance, so pull up any root crops that you can, and then root crops that are just in the middle of their growing period, you also want to kind of prune back a little bit of their leafy green growth so that there's room, not as much shadow on the plants you're about to put in. Then Finally, for your fruiting plants, things like broccoli, cauliflower, cabbages, kohlrabi, these are nowhere near being finished when it's time to put your warm season plants in. So again, we're going to prune, not necessarily harvest. We're going to take our pruners and cut the outer lower leaves of these plants. What this does is it opens up the canopy underneath these plants so that you can tuck in some plants for the next season while these bigger plants finish off. So once you've pruned and harvested, you're ready to move on to step number 2. Step number 2 is prepping your soil. So your soil probably has not degraded too much over the last 2 months while your spring garden was growing. Most of these plants actually add nutrients to the soil rather than pulling them away, so you don't really need to feed your soil too much, but you do want to give it a little bit of TLC before we add in all these new plants for the next season. I love to use a little cultivator, and in any of the spaces where I've pulled some of my plants up, I'm just going to turn the soil just a little bit with the cultivator. I might add in maybe 1 inch of compost here right around the plants to prep them, especially if I'm going to be growing new seeds or if I'm going to be growing like a heavy-feeding plant, something that's going to fruit like a tomato or a pepper or an eggplant. This is also a great time to just be on the lookout for pest pressure. You might have a lot of roly-polies, a lot of slugs or snails, things that you're seeing in abundance in your garden. This is the time to catch those and do some organic pest control among them. You might want to spray some of your leaves with Garlic Barrier if they're starting to show pest pressure, maybe add in a little bit of diatomaceous earth if you're having a slug or a snail problem. This is a time to kind of cut that pest pressure down before these summer plants go into the garden. Once you've turned the soil just a little bit, added a little bit of nutrients through compost or maybe some rabbit or chicken manure, now you're ready for step number 3. You might be listening and thinking, "But Nicole, I don't even have a garden set up yet," or "I have my garden set up, but I really don't like it." And if that's the case, then you should watch my Spring Garden Startup Workshop. So this class is going to walk you through the step-by-step between the setup, the timing, and the planting so that when you get your garden set up or when you fix your garden, you're going to do it right the first time. In this class, I show you the exact method that I use for all my clients so you can do it too. You can find a link to watch the class right after you're done watching this video right below. Now let's get on to step number 3. Step number 3, it's time to plant. Now this is going to seem crazy. You're going to think, Nicole, this is way too crowded. We got to trust me on this one. All right, we're going to be planting our large fruiting plants right alongside our large plants from the spring season. So in this case, we have these lovely cauliflowers growing right down the middle of the garden. These are going to get bigger and bigger and bigger and bigger, and they're going to create the most beautiful cauliflowers over the next month and a half. But in the meantime, as they're growing, we're going to have next season's fruiting plants starting the process. Fruiting plants take the longest to develop in the garden. We're talking 90, 120, 150 days sometimes. So fruiting plants need to go in the garden as early as possible. So right along this line, you can see how each of these cauliflowers are spaced out. We're going to do what we call staggering. So we're going to plant next season's fruiting plants right at the stagger between these two plants. So if I wanted to plant a pepper, an eggplant, if I wanted to plant an okra, if I wanted to plant a bush tomato, anything that is going to be fruiting, I can literally stagger it between each of these cauliflowers. Now you're going to think, "They're going to crowd each other." No, because this plant is going to get big first, and as it does, it's going to kind of baby— it's going to kind of be a little nursery for this young new fruiting plant for the next season. It'll shade it, it'll protect it as it starts to grow, and then that new fruiting plant for the warm season, guess what? It's going to get tall while this fruiting plant for the cool season, it's going to get wide. You have this perfect synergy between the two plants because the cauliflower covers the soil, keeps it from drying out. The Pepper is going to shade the cauliflower as it starts to get hot, so the cauliflower doesn't get too hot and flower before you get to harvest it. This is your task. Step number 3: You're going to put fruiting plants in between all your big plants. You're going to put tomatoes alongside snap peas on a trellis. You're going to put things like peppers, eggplants, okras in between your big plants like cauliflowers and broccolis and cabbages, and all these plants are going to work together to protect each other and to make sure you get tons of harvest all year long. Step number 4 is to plant your medium-sized plants. Once again, these are going to go right alongside your current medium-sized plants. When I say medium, I'm thinking a plant that takes up about 1/4 of a square foot in the garden. You're thinking things like basil and other herbs. You're going to think about biennial greens, things like kale and Swiss chard, if you don't have those in the garden yet. Parsley would also be in that list. And then you also want to think about some of your miniature plants that also fruit, maybe like some miniature pepper plants, things that are smaller in size that may only need about a quarter of a square foot to grow to their full maturity. Then finally, one of my favorite medium-sized plants actually starts by seed, and that is the bush bean. Bush bean seeds are perfect to slide in around your medium-sized plants in the garden right now. They'll start out very small, but in about 50, 60 days, they're going to give you a ton of beans, and they're perfect to put around all your medium-sized plants in the garden right now. So the medium-sized plants that are growing in your garden right now are going to be things like cilantro, dill. You might have some beets or carrots. These plants need longer to get to their full maturity in the garden, so you're simply just going to go on the row right alongside these plants. Just as they're growing in their rows, you're just going to start a new row of the warm season plants, and you'll have this same synergy that you've got with your fruiting plants, where those taller plants right now are going to shade and protect the new seedlings, and then eventually those new seedlings will give shade and protection to those cool season plants. So that they don't bolt or go to seed too soon. And this finally brings us to step number 5. Step number 5 is what I call filling in the blanks, and you're going to do this with seed. So you've got your large plants down the middle, you've got your medium-sized plants to either side, and then finally along the edge of your garden, you want to fill in the blanks. You can most easily do this with leafy greens, and even though it's going to be warm, plants in the brassica plant family like mustards, mizunas, and arugulas— these are greens that do really well alongside the edge of your garden. Because they've got that shade from your fruiting and your medium-sized plants. So you could absolutely fill in the blank just with some seeds of something like arugula or mizuna. You can also fill in the blank with more bush beans. Bush beans are fantastic growing alongside the edge of the garden. In fact, one of my favorite things to do is pull up the radishes from the spring garden and then stick in a bean seed for the warm season garden right after it. You can also grow some trailing gourds or melons alongside the edge of the garden, things like zucchini, watermelon, cantaloupe, even pumpkins. You could plant seeds right alongside the edge of your bed and let those plants trail out and fruit all through the pathways of your gardens. This is a great way to get to grow something that's really big and fruitful and not let it take up the entirety of your raised bed. Finally, you can add some flowers. I love putting things like zinnias or marigolds by seed right along the edge of my garden. It's a great way to fill in the space to be sure that I have got tons of beautiful colors and amazing smells inside my garden, and it also brings in the bees and butterflies. It is like a win-win-win. Win-win to fill in with flowers. All of our Gardenary seeds for 2026 are currently on sale, so if you don't have yours yet, you should check it out right below this video. And then of course, we have our 10 Gardenary seeds that are completely free. All you have to do is pay shipping, and all of these are actually inside that collection, so I'll link those up below this video as well. And if you've already got your seeds, why not grab some for a friend and try to get them into gardening too? Now, I can plant my gardens this intensively because they're set up a certain way. I call it the Gardenary way. A little while ago, we went into a a client space. Her name is Allison. She had nothing but grass in her backyard, and within a few days, we turned it into the most incredible gardenery garden. She's had so much success growing the way I just taught you how to do, so I thought it'd be fun for you to get to see the behind the scenes of all the steps we took to go from grass to garden in Allison's space so you can do it too. You want to check out that video right here.
More from Nicole
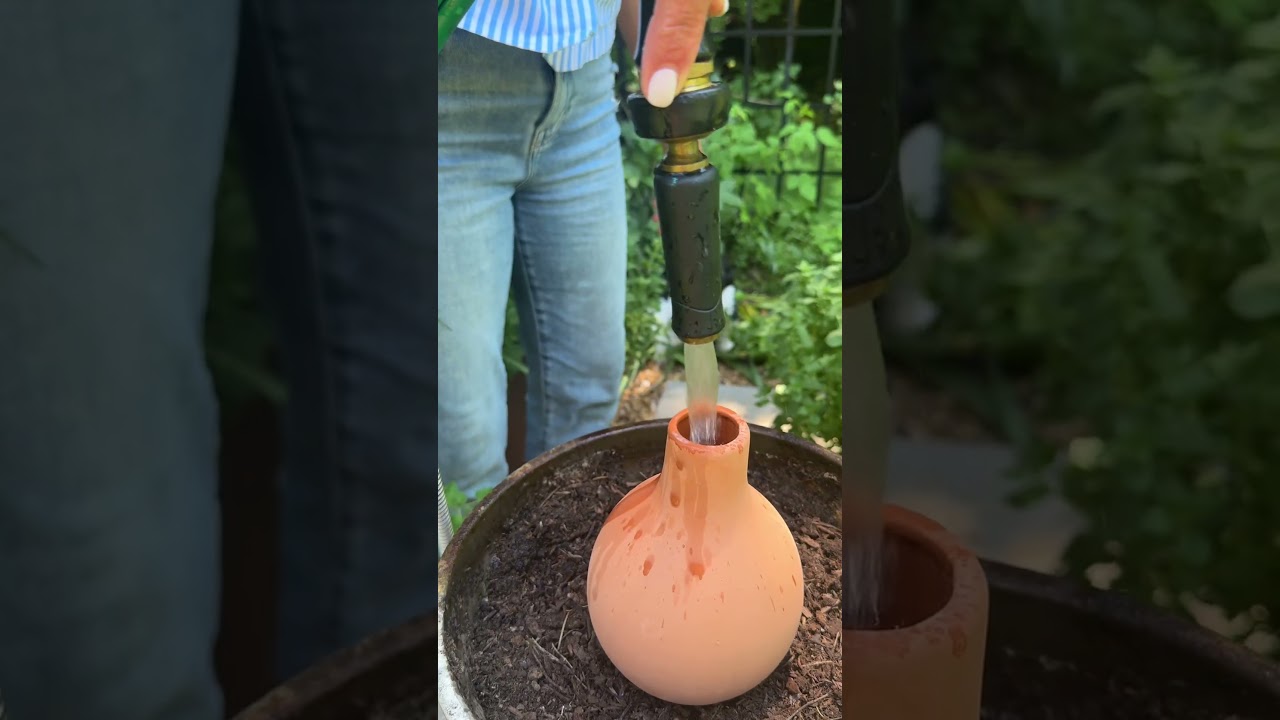
Propagation is the secret to turn 1 oregano plant into 100 that’ll last forever! #garden #herbs
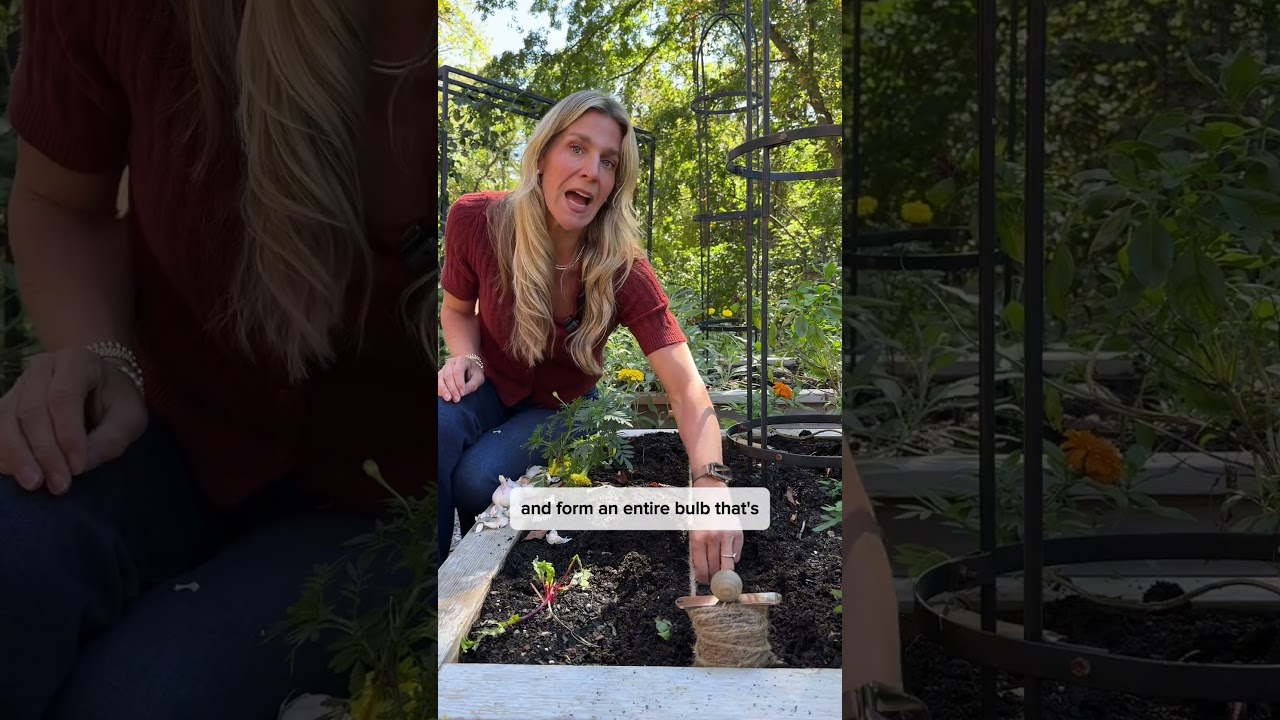
Plant some garlic this fall and you’ll never run out. Just follow these steps #garlic #gardening

Head to Gardenary.com to try out my FREE custom planting plan creator #garden #gardendesign #plants

Frost is coming so harvest all your tomatoes and make this soup🍅#garden #recipe #tomatosoup #tomato
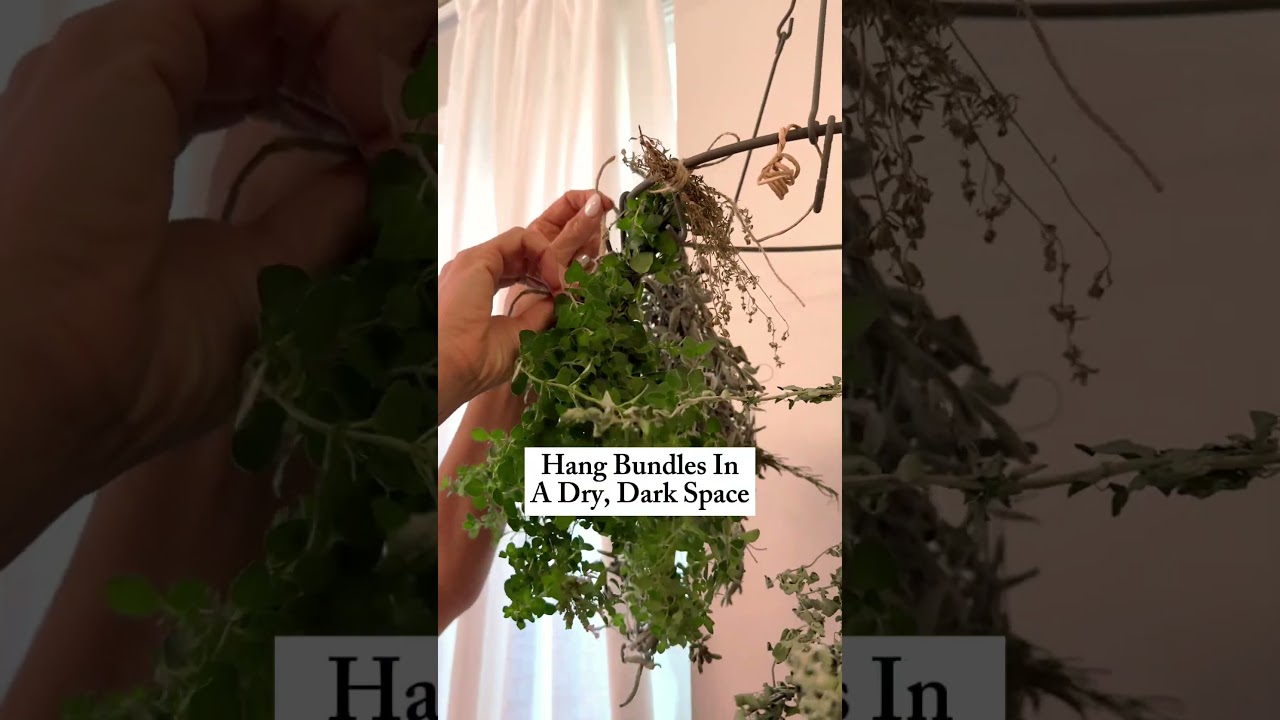
Say bye to grocery store herbs this winter if you harvest and dry some of your own👀#garden #herbs
Can you grow your own Ube?! Let’s see if I grew anything besides purple vines🍠#garden #ube #plants
If your garden didn’t turn out how you wanted, it’s time for a fresh start😌#garden #fallgarden

Turns out you don’t have to sit at a desk all day…you can stay in the garden☀️#garden #meme #9to5

Do NOT buy soil with artificial fertilizers if you want a natural, organic garden😬#garden #soil

I wasn’t meant to send emails or work 9 to 5, I’m meant to stay in the garden all day🌿#garden #meme