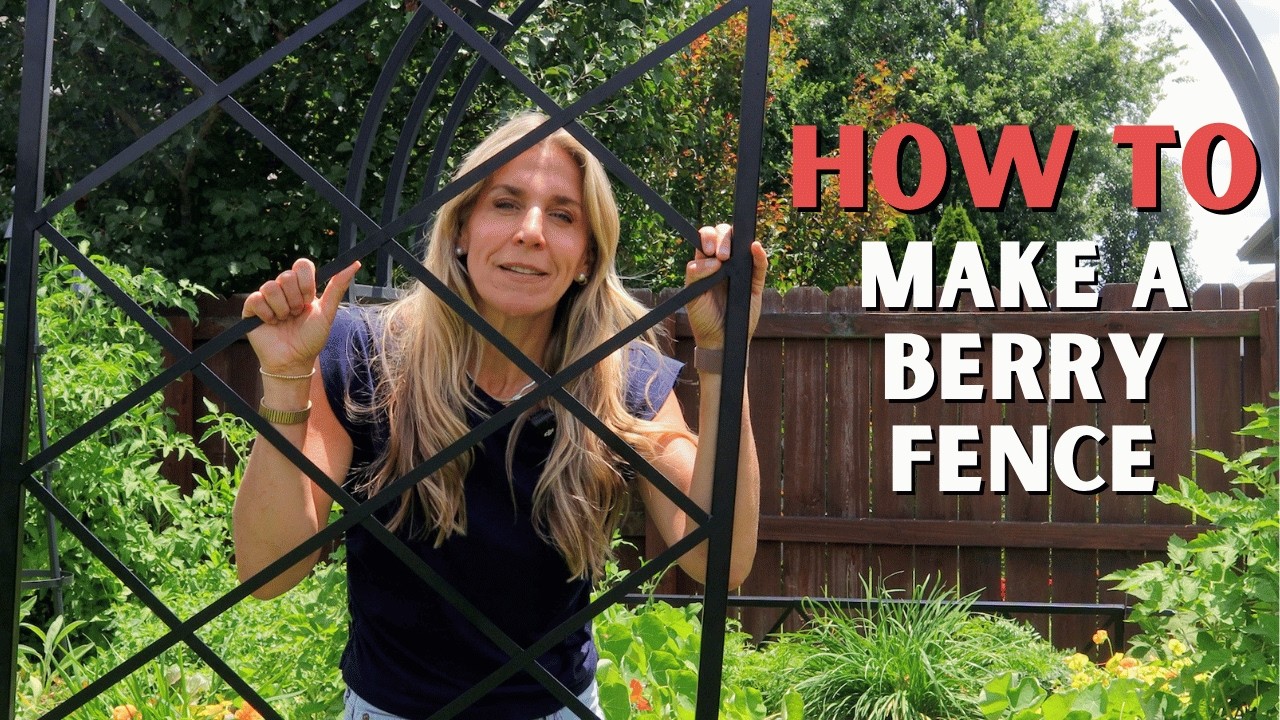
Nicole Johnsey Burke shows how to build a berry fence that produces fruit year after year. Space plants two feet apart on a sturdy trellis, then manage raspberries and blackberries by pruning old canes annually and training new growth. You get a pesticide-free fruit wall that keeps producing.
Chapters
Today I'm going to teach you how to create your own living berry fence.
It's so easy, you can do it in just 3 steps. Berries are perennials, so they come back year after year, and berries are some of the most sprayed and pesticide-treated fruits that we buy at the grocery store. Plus, when you create a berry fence, it can make your ugly fence so much prettier, or you can use it to divide parts of your backyard to make it simply magical. And the best part is you can eat it. So let's get started.
So step 1 is to get your fence ready. If you've got a wooden fence like my mom does, you could absolutely use that to grow your berries, but you are going to need to add a little bit more to it. You want to use something like a fisheye hook and some strong wire, or you can use a hardware cloth to lay it against your fence. What we want to do on a wooden fence like this is create something where you can take the vine and weave it in and out. Now if you've got something like a chain link fence, you're perfectly set up to just plant and start going right away because you can just take your vine and weave it in and out of that chain link as it grows. Or the third option is to create your own fence with panels that you make or buy yourself. Today I'm going to be making my mom a raspberry panel using the diamond panel trellis from The Gardenary shop. Now this is bougie, but it's also the best. Here's a couple reasons why. One, this is 6 feet tall, so these berry vines you're going to see, they can grow 6, 7, 8, even 10 feet long. So when you're growing just on a smaller fence, you are going to hit a limitation where the berries will come up to the top. In that case, you could either train them to grow along the edge of the fence, or you can train them to go back down. But on a taller trellis like this, you can pretty much let them go all the way to the top. I also like this one because it comes with really strong stakes that cement this into the ground so that it doesn't wibble wobble at the time when it's overflowing with berries. And then finally, I like this one because it adds an architectural interest to your. It's more than just functionally holding berries; it's also just beautiful. I used to spend hundreds of dollars on custom trellises like this for my clients, and then I found a way to break this into two parts that ships right to your doorstep, and now you can have this trellis that looks like it's one piece, but it's actually two. And if you want to check out any of our trellises, you can find a link for those right below this video. Now let's move on to step number two. So step number two is to determine how many berries you want to grow on your fence and then start to measure it all out. I like to put one berry plant along every 2 feet of fencing. This gives the plant plenty of room to spread and grow year after year and enough room to take over the entirety of the fence so that by the end of the season, I really can't see the fence structure anymore. I just see the plants. Once you figure out that number for yourself, you want to add up the total number of berries that you're going to grow and start to space them out along your fence. I'm going to walk you through the steps I'm doing to create my mom's berry fence, and then you can take these and apply them to yours as well. The first thing we did was find the very center of the garden, For us, we're using the middle of the Nicole Arch trellis, and that's where we want the middle of the diamond panel trellis to land as well. So we start in the center where this first trellis is going to be, and then we measure the full distance it's going to spread from one side to the other. So each of these trellises is 32 inches wide, so we're going to be covering about 96 inches total on the fence. With some spacing in between, we're going to hit right at around 100. Then all that's left to do is place the stakes and get the trellises put into place so that they don't move. If you're attaching wire to your fence, You're just going to mark the center, mark both ends, and then you can start to tie your wire along your fence in whatever design you want it to be so that you can weave your branches in and out of that. And of course, if you're using a chain-link fence, you can just mark the beginning, the end, and the middle, and that's going to give you the distances where you're going to place each and every one of your berry plants. So step number 3 is to plant your berries. Now, my 2 favorite types of berries to grow on a fence are blackberries and raspberries. These 2 kinds of berries grow really well along a panel, and there are plants that you can keep for years and years and years right in the same place, but you've got to take care of them the right way or else you might end up getting no fruit at all.
Raspberries and blackberries grow on what is known as canes, and at any given time, any given season, you're going to have 3 different kinds of canes that you're working with.
So the first kind of cane is the cane that the berries grew on last year, and you can see this right here, this brown, dry, kind of brittle cane.
This is the cane that made berries last year.
The interesting thing about a berry is it comes back year after year, but it will never grow fruit on the cane that fruited last year.
So every single year at the end of the season or at the start of the new one, you want to cut down your old cane. You want to cut it all the way to the base of the plant. You won't get any more fruit from this, and this will allow your plant to put all of its energy toward the next season's fruit. So we're going to prune back that old wood, and it is going to be super woody. That's kind of a way to tell that this one's completely done. Sometimes I've been afraid to do this because, you know, you don't want to hurt your plant, but it will give energy to the new season. So that's one kind of cane that you have. The next is what we call the primocane, and this is new growth on your plants that is just coming up for the first time this year, but it won't fruit., and generally these are going to be kind of a weaker vine, and the goal in this first year is just to train them, and what they're going to be is just a little bit of greenery for you. They're not going to be fruiting, but they are going to be photosynthesizing for your plant, and they give this beautiful backdrop for your fruit. So the primocane, if you have canes growing and there's no fruit on them, that doesn't mean you did anything wrong. It just means you're going to have more fruit next year. So the primocanes are going to be woven in and out of your fence just like this, and you can use some twine, but a lot of these branches, especially if you're working with a chain-link fence or a lattice fence like this, you really can just move your vine in and out of the trellis just like this without even tying it up. If you have a harsh winter or freeze, it's going to die down, and then that same cane will come back the next year, and that is going to be what we call the floricanes, and that will be your fruiting cane. So you want to let that just do its thing in the first year, create a ton of leaves for you, and then in the second year when it comes back, that's going to be your fruiting vine. And then at the end of that year, guess what happens? It turns back in to the old wood. It turns into this in its third year. So every single cane you get on a raspberry, on a blackberry, has that kind of structure. The first year it just greens up, the second year it fruits, and the third year it's old wood and it's cut away. And it goes on and on and on, and you can grow walls and walls of berries for years doing this.
Once your berries are set up like this, all that's left to do is come out pick a little fruit, prune back the old wood, and then get berries from your fence year after year after year.
Once you create your berry fence, you're probably going to want to grow tomatoes on an arch trellis, and I've made an entire video to show you the step-by-step to do that right here.