How to Plant Potatoes for MAXIMUM Harvests🥔
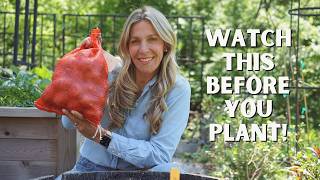
Nicole Johnsey Burke teaches five steps to grow potatoes from seed: choose untreated varieties like Valley Rose or Yukon Gold, chill them 5-10 days before planting, space them 4-6 inches apart in 4-inch holes, hill soil around stems as they grow, and harvest after 8-10 weeks when leaves yellow. One inch of water per week, no cutting required.
Chapters
If you're ready to start growing your own food at home or you've tried growing your own food and completely failed, then don't give up or get started until you watch this video because in the next few minutes, I'm going to teach you the exact way to grow one of the easiest and yet most rewarding things in the vegetable garden. My name is Nicole Burke. If we haven't met yet, I'm the founder of Gardenary, and over the last 10 years, I've taught tens of thousands of people how to start their own garden in their backyard. But before that, when we first started, my family, we had our first season a complete failure. Nothing worked except for this one thing, and it was the middle of the summer. My husband handed our 4 kids some sand buckets from the beach, sent them out to the garden, and a few minutes later they all returned with buckets full, huge smiles, because they had just had their first successful harvest. And you're going to have a smile just like that after you watch this video, cuz I'm about to teach you the 5 steps to grow your own delicious organic potatoes at home. Let's get started. Step 1 is to get your seed potatoes. I recommend getting organic potatoes either from an online source or preferably from the farmer's market in your town or city. You want to get seed potatoes. These should be organic potatoes that have never been treated to not sprout, and I like to get a wide variety of potatoes. So these are a few that I ordered for this season. This first one is called Valley Rose, and it's this nice like pink-skinned potato. I love growing varieties that I can't get from the grocery store. Then this next one is called a French fingerling. I love having a couple different shapes to make all different kinds of dishes with my family. These fingerlings have a little bit— they're more like a brown potato. And then I do order the biggest bulk of potatoes to be something like a Yukon Gold. This one is called Stella Gold. So it's just a nice baking-size potato. So I generally order a red potato, a purple potato, and a gold potato, and again, you want to be sure that you're getting an organically sourced potato. We're going to talk about why in step number 2. Step number 2 is to prep your planting. Potatoes are tubers; they are going to be growing underground, so you've got 2 things to prep to get ready. First is to prep the potatoes. So I talked to you in step number 1 that you want to get organic potatoes, and this is why. So we need these potatoes to start to chit and produce these little eyes. These are the spots where these potatoes are going to sprout and grow plants that are going to come up from the ground, photosynthesize, and give the plant energy to produce more tubers. Oftentimes grocery store potatoes are sprayed with an inhibitor that would keep them from going to seed like this. So you want to let these potatoes kind of be spread out. You could put them in a little egg carton, a little muffin tin, or just out in kind of a cool, dry, unlit place and let these eyes start to form. It generally will take about 5 to 10 days after you get your potatoes. So prep these potatoes, get them ready for planting day. Next, you want to prep your soil. So these tubers need space. They need loose soil in order to spread themselves out underground. So the last thing you want to do is plant potatoes in a very thick clay-heavy soil. Instead, you want your soil to be nice and loose. You want there to be a lot of porosity, a lot of permeability. This is the perfect consistency for garden soil when you're growing potatoes. So you can absolutely plant your potatoes directly in the ground, but you'd want to dig down and turn that soil, add a little bit of compost about 8 to 12 inches down from the surface of the soil in order to be sure that there's plenty of porosity, plenty of space for these potatoes to spread out and to grow as many tubers as possible. I stay away from growing potatoes in my raised beds because this to me is prime real estate. I don't want to give it away to something that grows pretty easily like a potato. I made a whole video about that. I'll link it below this video. So what I like to do is either grow around my garden in my native plant space, or the easiest spot for me to grow is just right here in these whiskey barrels. So these are about 2 feet deep, maybe even a little bit deeper, and about 2 feet wide, I can fit a ton of potatoes in just one whiskey barrel, and then it makes it really easy to plant up, to harvest, and then I can switch it out to something like sweet potatoes in the middle of the summer. Speaking of raised beds, I am teaching a class all about how to set up your garden the Gardenary way, so if you don't have your garden set up yet, or if you have it set up but you don't really like it, then you can sign up to watch that class right below this video, right after we're done. Step 3: It is time to plant. So you're going to take the spot where this little eye has started to sprout, and this is going to be pointed up. Now, some people like to cut up their potatoes, and they plant a little potato piece for every single eye that's on the potato. I used to do this, and I found it was not worth the extra work. Plus, when you cut those potatoes, you really need to give them a little bit more time to dry out and scab over, so that you don't end up with rot on your potato seeds. So instead, I just plant the entire potato with the biggest eye pointed up. I might pull off any other eyes that I see starting to pop off, and this is going to be the main one I'm focusing on. I'm going to prepare a hole that is about 4 inches deep with this shovel. The depth of the shovel is just about right, and then I put that potato with the eye pointed up. Now I'm going to keep that there and not cover it up. While I start to plant the other potatoes near it. I'm going to give about 4 to 6 inches between each seed potato, and the reason being is that each one of these potatoes is going to grow somewhere between 5 to 12, maybe 15 more potatoes from the tuber. And so I kind of picture, you know, these are pretty small potatoes, so I picture, you know, 5, potatoes growing out from the side. That's kind of how it's going to work all around the side of each of these seed potatoes. So I'm just thinking through how they'll all fit in with a little bit bigger radius around each seed potato. So I'm going to give them about 6 or so inches between each seed potato, and again, I'm just going to keep them like this uncovered so that I can be sure that I'm giving each of them the right amount of space. And not too much, not too little. I wrote a book called Leaves, Roots, and Fruit, and the idea with the book is it's a step-by-step guide to learning how to grow your own food. And the whole concept is that as you go from leaves to roots to fruit, the plants get increasingly complex and harder to grow. So the easiest things to grow in the garden are actually things like leafy greens and herbs, but right after that are root crops. And I put potatoes in that category because root crops, they take a little bit more complexity in terms of the setup, but then once they're set up, you can kind of just let them do their thing until it's time to harvest. We're going to put one more potato right here in the middle, and now we are just going to cover them up with the same soil we used here and move on to step number 4. Step number 4 is going to be taking care of your potatoes, and the good news is Potatoes are really easy to take care of. Now, if you're like me and you easily get off track when it comes to taking care of your plants, you should check out our seasonal planners. This one is the warm season planner, and it talks— it has little checklists for all your plants in the garden, but it especially has a lot of good information about potatoes. We actually have planners for all 4 seasons, and you can get all of them together at a big discount, so I'll link those underneath this video. If you want to check out the planters. On here, it talks about hilling the soil around your potato plants, and as we talked about, potatoes are tubers, and they're growing underground. In 3 to 4 weeks, you're going to get these little potato plants coming up, and if you've ever grown tomatoes, you're going to feel like these plants look kind of familiar, kind of like a tomato plant, and there's good reason for that. Tomatoes and potatoes are actually in the same plant family, the Solanaceae family, otherwise known as the nightshade family. So you're going to get these leaves that look very much like tomato leaves. One of the first things you want to do is hill up a little bit of compost around the base of each plant. Now I don't do this— some gardeners do this all the way to the top of the plant, and they claim they can get way more tubers off their plants when they do so. For me, I'll just hill 4 to 6 inches on each plant, and I do feel like it adds to the production of each and every tuber that I'm growing. So you're going to hill soil around the plants as tall as you're able to or as tall as you can tolerate, and then you just want to monitor the water for your potato soil. Now, you do not want soaking wet soil for these potatoes. Remember, they could easily rot if they're sitting in soaking wet soil, so your goal is just to keep the soil moist, not letting it fully dry out at any time, but again, not having those potatoes sitting in water. A good rule of is just making sure these potatoes get about an inch of water a week. So generally rainfall in the spring will take care of that, but if not, then you want to add a little bit of water of your own. You're going to do this all the way through 8 to 10 weeks after planting, and then it's time for step number 5. Step number 5 is all about harvesting. This is where it gets good, so you might want to go grab a beach bucket for this one. About 8 to 10 weeks After potatoes have started growing, you're going to notice that the leaves will start to turn brown, that they're starting to look like they're dying, but good news: this means they're almost ready to harvest. Now, you probably want to see what plants look like when they're ready to be dug up, and I made an entire video showing you potatoes at all different stages of maturity so you know when to harvest your potatoes this season, and you can watch that video right here.
More from Nicole
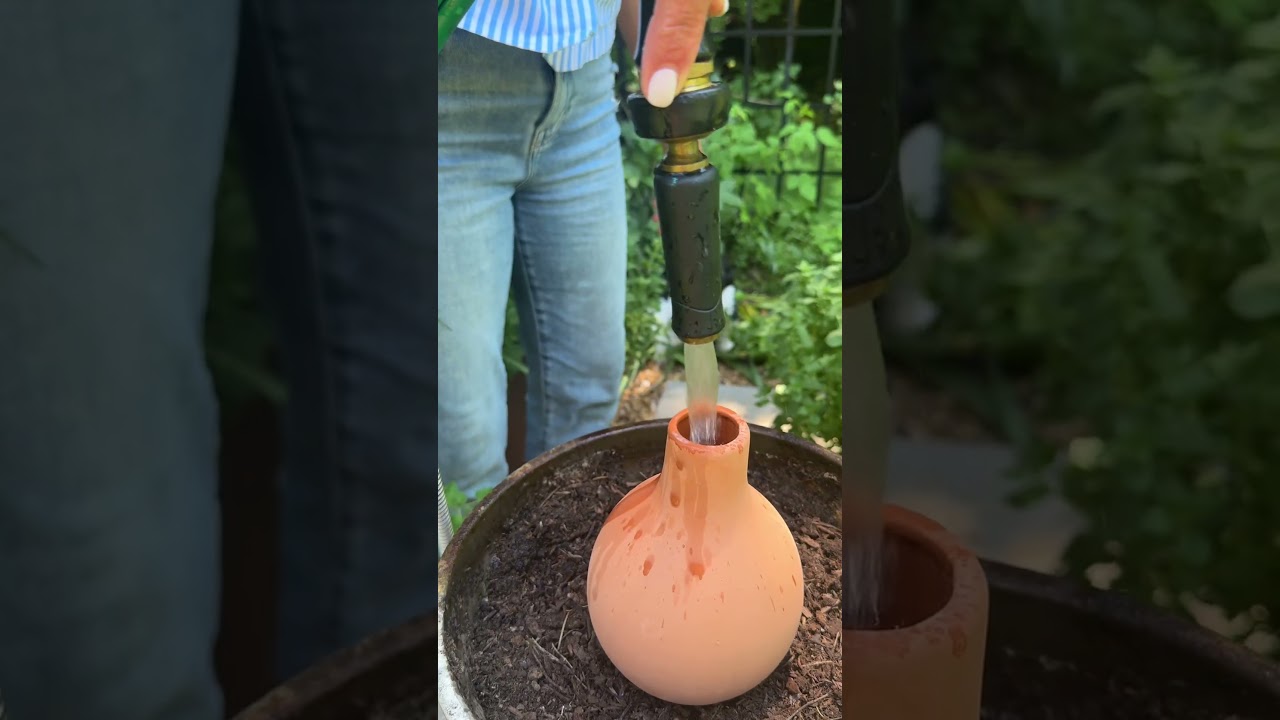
Propagation is the secret to turn 1 oregano plant into 100 that’ll last forever! #garden #herbs
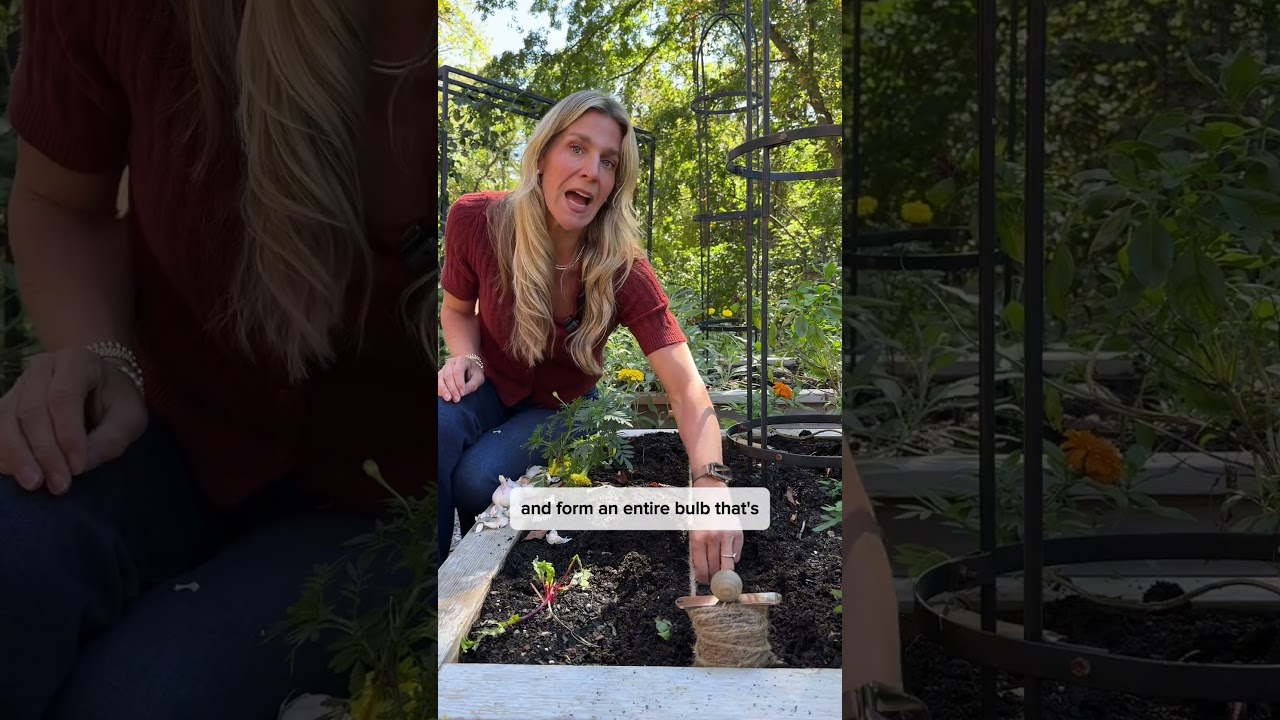
Plant some garlic this fall and you’ll never run out. Just follow these steps #garlic #gardening

Head to Gardenary.com to try out my FREE custom planting plan creator #garden #gardendesign #plants

Frost is coming so harvest all your tomatoes and make this soup🍅#garden #recipe #tomatosoup #tomato
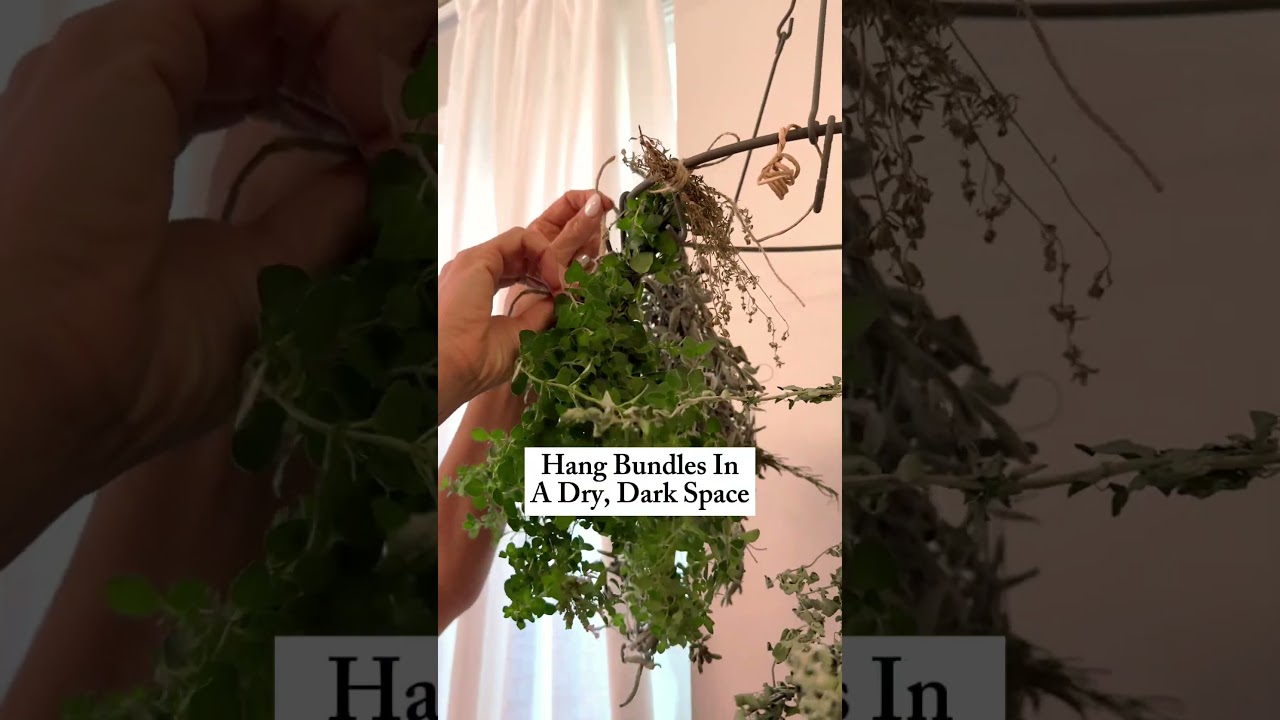
Say bye to grocery store herbs this winter if you harvest and dry some of your own👀#garden #herbs
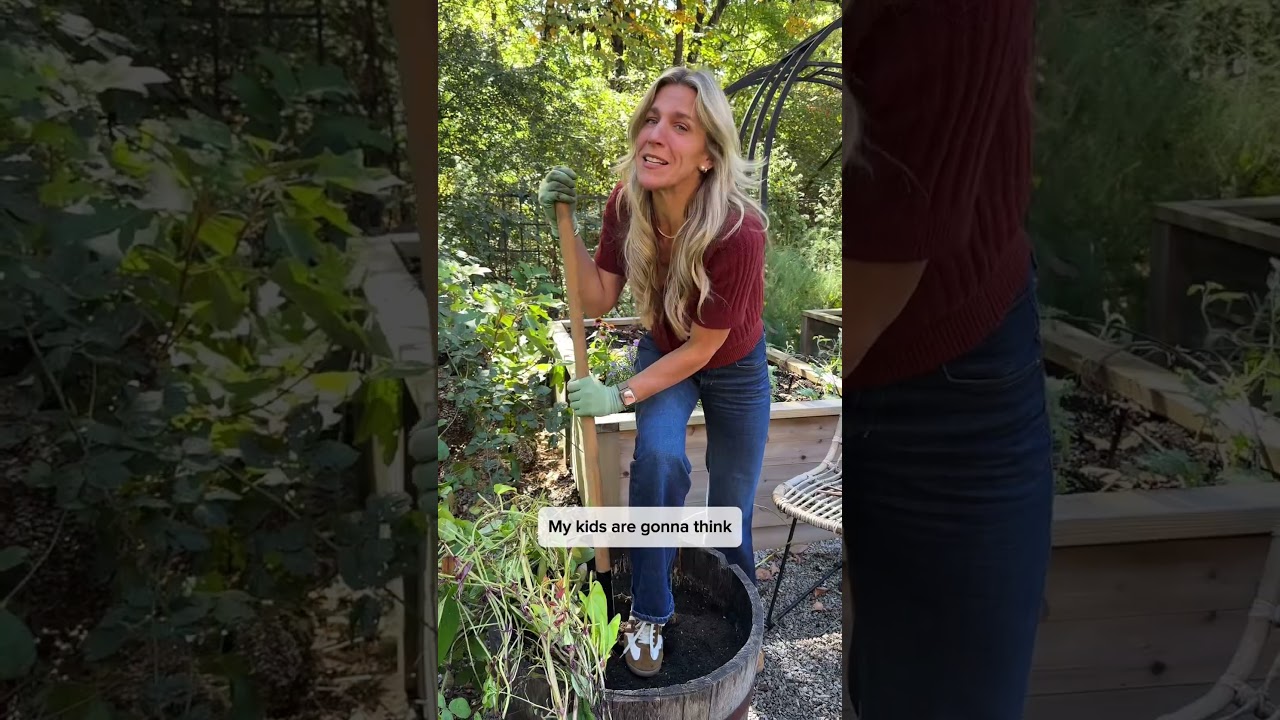
Can you grow your own Ube?! Let’s see if I grew anything besides purple vines🍠#garden #ube #plants
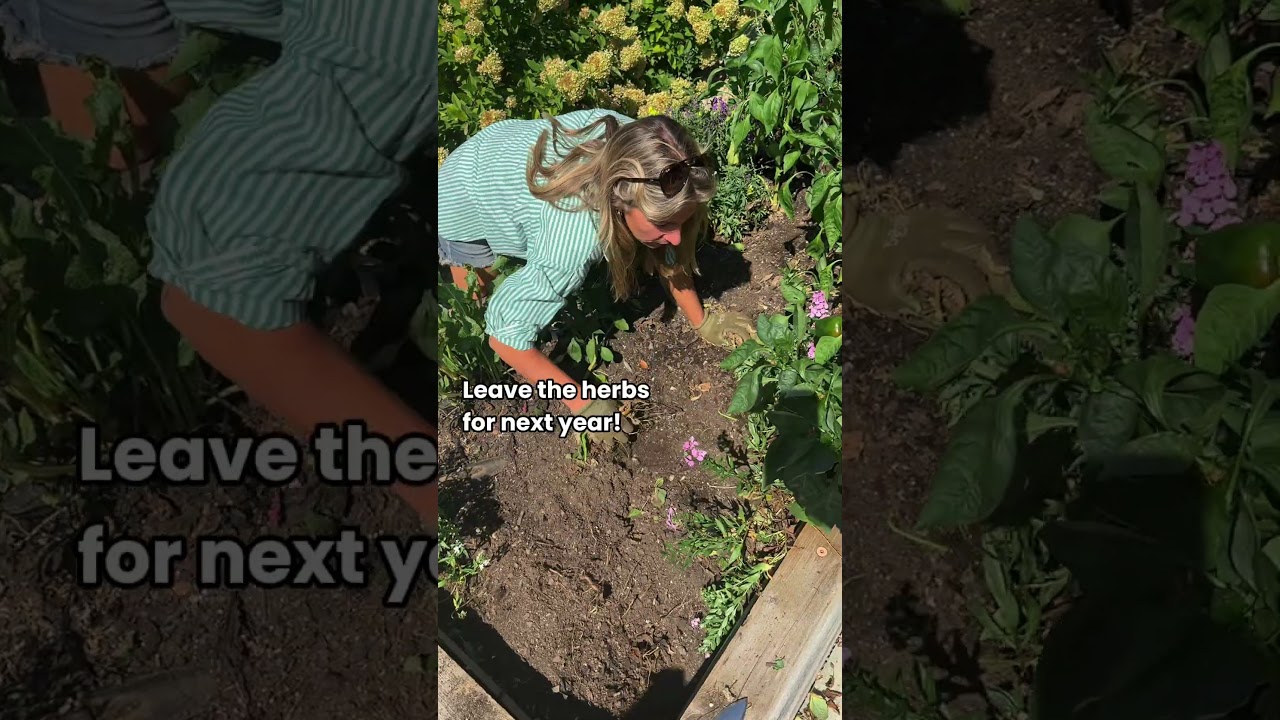
If your garden didn’t turn out how you wanted, it’s time for a fresh start😌#garden #fallgarden

Turns out you don’t have to sit at a desk all day…you can stay in the garden☀️#garden #meme #9to5

Do NOT buy soil with artificial fertilizers if you want a natural, organic garden😬#garden #soil

I wasn’t meant to send emails or work 9 to 5, I’m meant to stay in the garden all day🌿#garden #meme