How to Start a Garden in Five Steps from an Expert
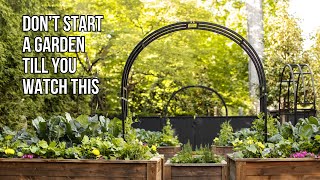
Nicole Johnsey Burke breaks down starting a kitchen garden into five steps: assess your site for sun and water, design beds like two 4ft-wide raised beds with 3ft walkways, gather materials including soil and irrigation, install everything, then plant by the Gardenary calendar. She walks through a 25ft×25ft example plot.
Chapters
Do not start a garden this year until you watch this video. In the next few minutes, I'm going to lead you through the five simple steps that you should follow to start a garden this year. And I should know because, number one, I've started lots of gardens the wrong way. 12, 13 years ago, I started my first garden and it was a total fail. But over the years, I taught myself how to garden. And in 2015, I started a garden installation business that is created, designed, installed, and maintained hundreds of gardens. So I'm going to take all that knowledge that I've gained from all my mistakes and all the gardens I've created to teach you the five simple steps you've got to follow to set up and start your garden this year without all the mistakes and frustration and overwhelm. So let's get started with step number one. Step number one to start a garden is to assess your space. Now, whether you have a big space or a small space or some size space in between, don't skip this step. This is the most important part of the whole process to start a garden. So the first thing you need is a compass. You can get a compass like this or you can have one on your phone. You can use an app. Essentially, you want to be sure you can find all the cardinal directions in your space. Next up, you want a measuring tape and some paper, preferably graph paper if you can get it, something to mark with. And then you. You also might want to get my book, Kitchen Garden Revival. I'm going to be following through the processes that are in my book as we talk about starting a garden today. And this first step is going to be on page 20. So you can follow along in a book. You can follow along just on the video. But this is really helpful, too. So the first thing you want to do is find south. If you're watching from the southern hemisphere, you want to find north. So you're going to take your compass, you can use your phone, and you're just going to figure out where south is in your landscape, in your space. This is going to get you started as you start to draw out your space. So before you draw any measurements or anything like that, you're just going to mark where south is. North is that kind of thing in relation to your yard. So I'm going to look at this as though it is my entire yard space where I'm starting, starting this garden. And I'm going to put a big S right here on top. This denotes south. I'm going to put an N Below an E to the east side and a W to the west side. This is going to make sure I'm not confused as I start to draw up my space where things are in my location. All right, so that's step one. Find south and set up your drawing to denote where each of those cardinal directions are. Then you're going to measure. So you're going to take your measuring tape and you're going to figure out the length and the width of your space. So let's say I'm going to be building a garden in this space, and I know that I'm going to start right about where you are, and I'm going to go to the back of my property. So I just am going to put the measuring tape down. I might get a friend to help me hold on to it. And I'm just simply going to get a straight line and getting the entire length of the space. You're going to need a pretty long measuring tape if you're working in a big space. This is 25ft, and let's just say we're going to cut the garden space off at that level. So I now know I've got 25ft to work with running north and south. And then I'm going to do the same thing running east and west. So let's say I know that I want to start the garden right about where my. Where my home ends, and I want to stop it where the deck ends. So again, you're going to do a straight line. Might need a friend to help you hold your measuring tape and do a straight line. Hold it in place. And you want to get the full width of your space. So I'm going to cut this off at maybe what I'm going to do. I think I'm going to do a full square and I'll end this one at 25 2. So now I've got 25ft that's going north, south, and then 25ft going east, west. So I go back to my cardinal directions and on the side, so not on the inside. I'm just going to draw a shape. For me, I'm going to be working with a square. Probably not going to be a perfect square, something like that, right in line with the cardinal directions. And I'm going to put the measurement of both the length and the width there. Now, for you, you might have more of a rectangle. You might be working with a curved space, but this is your chance to draw your space that you're working within right here inside those cardinal Directions. Now you just want to mark where any tall structures are. Alright, so this is the third step to assessment. So you're just going to put circles near anything that's tall. So for me, as you can see, we've got tall trees back here. So I'm going to mark some circles up here on the south side of the space. Then right here to this side we have actually a very tall tree that's on the east side of the yard. And then behind you I've got my house. So I'm going to put a big circle here that's more like an oval, that's my house. And then if I look to the west side, there's actually no tall structures that are within my garden space. So you can see this kind of not the best news, right? We've got tall structures on three sides of the garden space, but at least the western side is open. So you want to put those right where they are in terms of the measurements of your garden space. And this will lead you to the next step of assessment. All right, now we're going to note where water sources are. So in this space we're actually just open to the the back. There's woods behind me. So the only water source I have is actually right back here on my back porch. So I'm going to go to the north side and I'm just going to put like a little water drop, if that looks like a water drop. And that's going to stand for where my water source is. So you want to mark in your garden space any place that you know you have water source. Now you might have formal irrigation. If that's the case, you can mark where you know the heads are. But for me, I'm just working with where the actual spigot is for my water source. And then the last thing you're going to do when it comes to assessing is notice throughout the day. And this is a great exercise to do multiple times throughout the year. But even multiple times throughout a day is mark where the sunniest parts of your space are. So for me, with this 25 by 25 space that I know I want to work with and I'm going to start looking and realizing I've got that tree. So I know that during the morning time I'm not going to have a lot of sun right here next to that tall tree during the winter time, I know that the sun's going to be coming through those trees. And then I know in the afternoon I'm not going to have a lot of Blockage from sun. So really, my sunniest spot on this 25 by 25 block is going to be here on the, on the west side up in the front. These are really my sunniest parts of the 25 by 25 space. These will be fine midday and this will be fine when we're in the middle of summer. But on the southern side, you're going to get some blockage of those trees. Northern side, if you're in the southern hemisphere, and that is the steps to start your garden. Step number one, assessing. All right, so we, we found south. We marked it on our map. We measured the space, the length and the width. We found where any tall structures were, marked those on the map. We marked where our water source is, and then we denoted our sunniest spots that are possible for a garden. All right, step two to start your garden is to design it. So first we assess the space. Now we're going to put pen to paper and we're going to draw out what we want our garden to look like. A couple of things you want to be sure you're including is first your productive beds. The ones that are going to grow your food, your fruiting crops like tomatoes and cucumbers, beans, zucchini, squash. The things that are going to grow fruiting plants, they need the most sun. So we're going to put those in the places that we starred in our previous assessment. Then we're going to add in perennial beds. So this is where we can put native plants, pollinator friendly plants. We can put any kind of cut flowers or flowers, fruit trees, fruit bushes, anything that's going to go directly into the ground that will go in next. And then we finish with mapping out where we want our walkways to be. Because the garden isn't just for plants, it's for you too. So you want to be sure you designed it to be accessible, easy to get to and to walk through and enjoy. So if you remember, for me, I mapped out a 25 by 25 space, so I would just start to kind of walk out where I could put the beds. I know this corner of the area is my sunniest space. So I'll start, say here, this is my edge of my bed and I'll go across. Now I've got a lot of bumps and hills in my yard. It's not exactly level. So I'm going to try to have the productive beds in the most level part of the yard and then save the perennials to be in the wavier parts. And it just so happens those are Actually the shadier parts too, so it works out. So my goal is to half the bed, half the garden space, if I can, with my productive bed. So I would go right about to the middle of this area, right about to 12ft over. And my goal is to put my garden beds, my fruiting beds, right here on this side. So I'm thinking two beds that are each about four feet wide. That would be my ideal to have four foot wide beds running down this area. Maybe two beds or maybe four beds, but each of them would be four feet wide. And then with the next of the 12ft over here, the goal would be for that to be my perennial garden. So that's where I would put my pollinator plants, my fruit trees, and let those be on the other side of the garden space and then have some walkways first through the raised bed area and then also through the perennial garden. So once I've started to measure this space and start to imagine it in my head, keeping in mind my productive beds, my raised beds, my perennial garden, and my walkways, now it's time to put the pen to paper and, and make it a design. All right, now I'm going to put the pen to paper and draw this out. I'm going to just redraw quickly my measurements and layout. It's helpful to have it running the way that you're viewing the paper. So I've got north over here because that's where it actually is in my space. And then I'm going to mark the center here. That's about 12 and a half both ways. Now, I would like to have my raised beds on this side, and I wanted each of them to be about 4ft wide. But I want to keep in mind some pathways. Generally you want a pathway to be about 3ft wide, so a wheelbarrow can go through it. Then on the edges you can give or take one foot or two feet. So if I've got 12 and a half feet to work with, and I want each bed to be four, that's going to take out eight. I've got four and a half feet left, so I'm probably going to have a pathway that's more like two and a half feet wide. And then I've got a whole 25ft to work with here. So I definitely could do two beds that are each like a four by eight or even a four by ten. So that's what I'm going to do. I'm going to draw out a four foot wide bed here and another four foot wide bed here. They're going to be about 10ft long. I didn't make it quite long enough. And then I'm going to do another one right here. And those are my productive beds. So I've got 4 foot long, 4ft wide and 10ft long. Then I've got this space over here that I can turn into a perennial garden. It's bumpy, it's got lots of, you know, different elevations to it. So I might want to do a fruit tree right in the center, or I might even want to do three fruit trees right down the line like this, and then do a perennial planting bed here and a perennial planting bed here. So I have it all set up where I've got my productive beds on this side and then my perennial garden here. And then all of these things are going to be walkways. So these planting beds are going to be three feet wide each. And then I'll give this tree line about 3ft or 4ft as well, and then give myself about a 2 foot wide walkway between the trees and the perennial plants. So these are going to be dwarf plants, not going to be getting super tall, these trees, but it's going to give me some fruit production alongside all of the things I'm going to be getting out of my kitchen garden. So this is an example of a garden design you can totally make. You can make your smaller, bigger, more complicated. But put some pen to paper before you move on to step number three. Step three to start a garden. I am pulling from chapter two of my book Kitchen Garden Revival called Gather. And this is the time to gather all your materials. You want to be sure you take some time to get everything you need before you have your install day. Don't start digging up and then look and go, oh, no, I need this, this and this. It's going to ruin your momentum, frustrate you, and delay your whole process of getting this garden going. So. So first things first, if you're going to have raised beds, you want to be sure you've got all your raised bed material ordered together, measured, all that kind of stuff. So you've picked your raised bed material. If you're going to use wood or steel or stone, whatever it is you're building your garden with, make sure you've got the right measurements, you've got all your materials on hand ready to go, preferably assembled. So once you get your materials, go ahead and build those raised beds before you start your installation. The next thing you want to consider having are trellises. I use trellises. In every single one of my gardens. It doubles my growing space, keeps plants healthier. They're so beautiful. And it adds a really a great vertical element to your garden space. And it's functional. So functional and beautiful and hopefully not falling over. Mine's leaning a little bit, so arch trellises are great. Obelisk trellises, panel trellises are there in the back. Panel trellises are going to be great for growing down the middle of a bed or growing along a fence or a house or driveway. Arches are great to connect two beds. Don't put them in one bed growing over, you'll end up shading most of your growing area. And then obelisks are great in the middle of a bed for vining plants to go up. They're a great substitution for tomato cages. So you want to have your trellises bought and assembled. If you. If you're making them at home out of twine and twigs and bamboo, that's great too. Just make sure you've got it all and you've got them ready to go. You want to put those trellises in as you're putting the soil in, so you don't want to bring them in later. It's very hard to retrofit trellises. The next thing you want to have is a border material. So if you're going to be putting your garden, you want to divide it from your lawn or other parts of your landscape and you want to have some kind of border material. For me, I use steel edging. These are in the gardenary shop. You can get steel edging from a local hardware store, but you can also use bricks, stone, anything. You want to divide your. The rest of your yard from your raised beds and then walkways. So you can use. You can keep your grass as a walkway if you want to. You can add pea gravel, you can add mulch if you want to. You can use anything that's going to give you a very nice surface to walk in. It's really up to you. What's comfortable and easy. For me, I love this small stone size for around my gardens. It helps preserve the gardens for longer. It's also easy to walk on and it looks nice. Then if you want to have any kind of stepping stones or things to make getting into the garden easier, you want to have those before you do your installation because it's quite a bit of work to move that gravel around when you're putting those stepping stones in. Then you want to see if you need anything else for just the Overall structure of the garden. And then the next two things that are the most important are soil and an irrigation plan. So I recommend using a sandy loam soil. This can be ordered from a local nursery. And this is the kind of soil, this is what you want your soil to look like when you put it in your hand so it stays together, but it also kind of breaks apart. If I were to loosen my hand, this is a fantastic texture for soil, and that's what a sandy loam soil looks like. I got my full description of my soil in my book Kitchen Garden Revival. But an easy way to describe it is a sandy loam. So you want to have that soil ordered and measured for your raised beds and then finally irrigation. So you want to decide ahead of time if you're going to use spigot, if you're going to be watering by hand, or if you want to have, you know, drip lines installed into your garden space. If you do get those kits, get everything you need for that before you start your installation. So this is a time to spend the money and get the stuff. Raised beds, trellises, borders, pathways, soil, and an irrigation plan. Those five things will get you ready for step number four. Step number four on how to start a garden, you can find it in chapter three, which is called Frame Install the kitchen garden structures. So we've got a step by step plan for you. First you're going to clear the area. So clear, level everything that needs to be leveled. And then you're going to put down your base. So if you're going to do irrigation, irrigation goes in first, at least tapping into those lines. Then you want to lay down your walkways, wherever your walkways are going to be, go ahead and set those up. Then comes the raised beds. So you get the raised beds all leveled in, put into place in your garden area. After the raised beds, we're going to put the trellises in, unless your beds are going to be two feet tall. Then you'll put your trellises in after you get one foot of soil into those raised beds. So you're putting the soil into the first foot, then you put your trellises in. Finish filling those beds up with soil all the way to the tippy top. And then it's time to connect your irrigation so your irrigation lines and if you're using that will go right on top of that soil line. And then it's time to pay attention to the perennial garden space. So it's time to prepare those beds. If you're going to be planting in ground for those perennial beds, which you should. Then you can turn up the soil. You can remove the grass from that area and just go ahead and fill it with more soil from your kitchen garden space, Add in about a foot, six inches to a foot of that great soil. And in those perennial garden spaces, then if you're going to be putting any trees in, go ahead, dig those holes and set apart those spaces where the trees will go. This will be also where you'll extend the walkways. So if you're putting in walkways in your perennial space, then you want to make sure you take time to lay those out and get those walkways laid. And at this point, you are finally ready for the fifth step. The reason why we do all these other steps is, and that is for the most important part of starting a garden, we're finally at step five of the five steps to start a garden. And finally we're at the plants. You're like, nicole, can we stop talking about all the structures and just get to the plants already? So a garden like this that's full and beautiful and overflowing, it happens when you follow the first four steps. When I finally locked in on this process of starting a garden, first in my own landscape and then for dozens of clients, that's when I figured out that the setup mattered most. Once you get the setup right, the plants honestly can take care of themselves. So you want to map out what season you're in. All this is coming from the section two of my book, which is all about planting the kitchen garden. So we start in chapter five, and chapter five and six are the ones you want to focus on when you're thinking about your plants. And there you have it. Those are the five steps to start a garden. This season, we've done a lot in a short amount of time. Assessed your space, designed a garden, gathered the materials, installed your garden space, and then finally planted it full of plants. You can get more details for this whole step by step process in my book, Kitchen Garden Revival. And this is all about creating kitchen gardens the way that we talked about today. And if you love this idea, if you love this style, you're going to find out lots more about this process here in this book. And once you get your garden set up, I would love to help you know when to plant what, and you can find a resource for that with the gardenary calendar. The gardenary calendar is found@gardenary.com calendar and it's going to show you every single date you need to know to plant out your garden full like this, you give me two dates and I'll tell you all the rest. If you love this idea of designing your own garden and you want to go deeper in the process, I made a whole video about my design process, how I take one space and think through lots of beautiful designs that could go in that spot. So if this sounds like a good time to you, then you can click right here. Watch that video next so that you can start dreaming about all the beautiful designs and that you can use to start your own garden. Listen, starting a garden can be a daunting process, but it doesn't have to feel overwhelming when you take it step by step. So tell me in the comments if you're going to start your garden this year and which step you think was the most helpful from this video and how you'd like me to go deeper next time. Thanks for watching. Subscribe to the Gardenary channel because we'll be bringing lots more informative and step by step videos your way this season.
More from Nicole
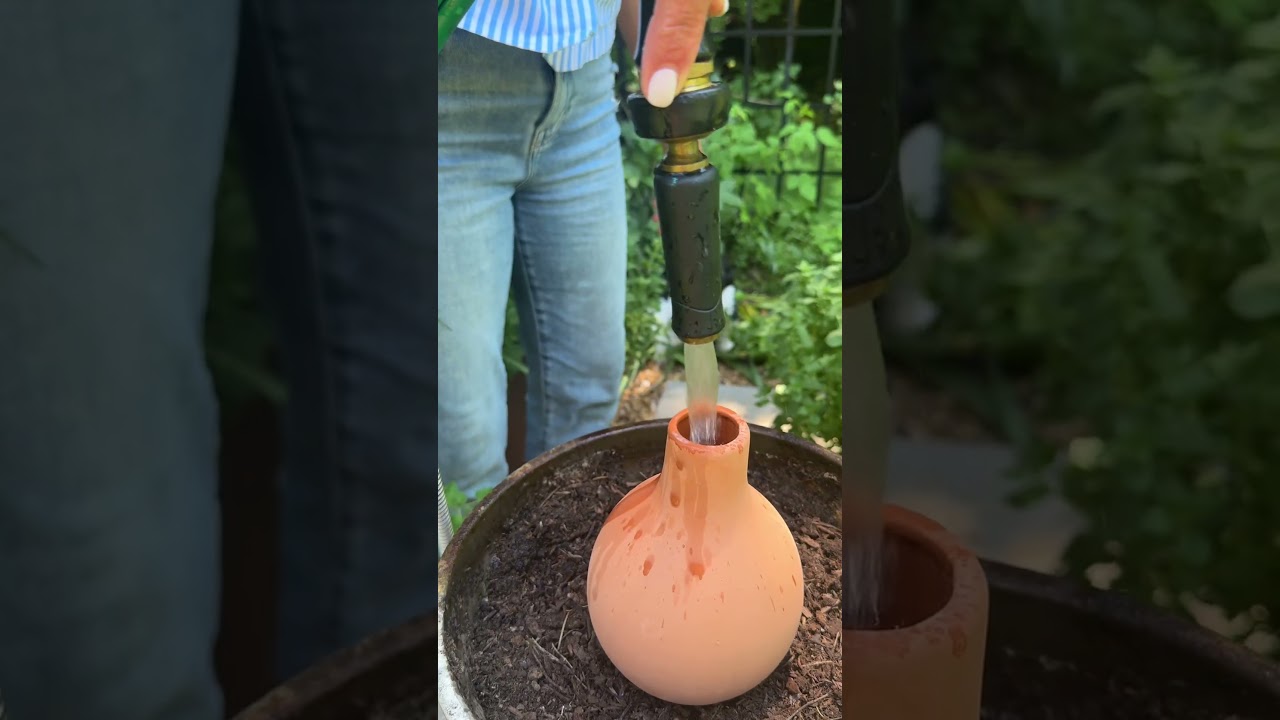
Propagation is the secret to turn 1 oregano plant into 100 that’ll last forever! #garden #herbs
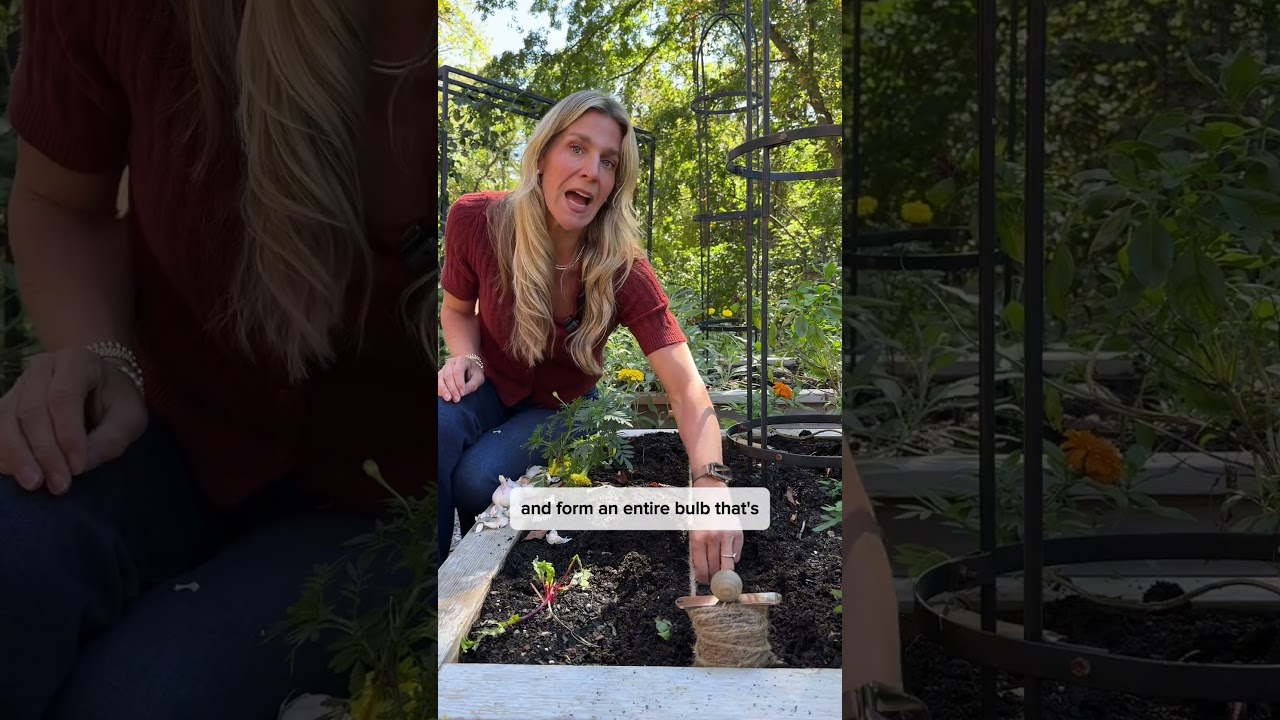
Plant some garlic this fall and you’ll never run out. Just follow these steps #garlic #gardening

Head to Gardenary.com to try out my FREE custom planting plan creator #garden #gardendesign #plants

Frost is coming so harvest all your tomatoes and make this soup🍅#garden #recipe #tomatosoup #tomato
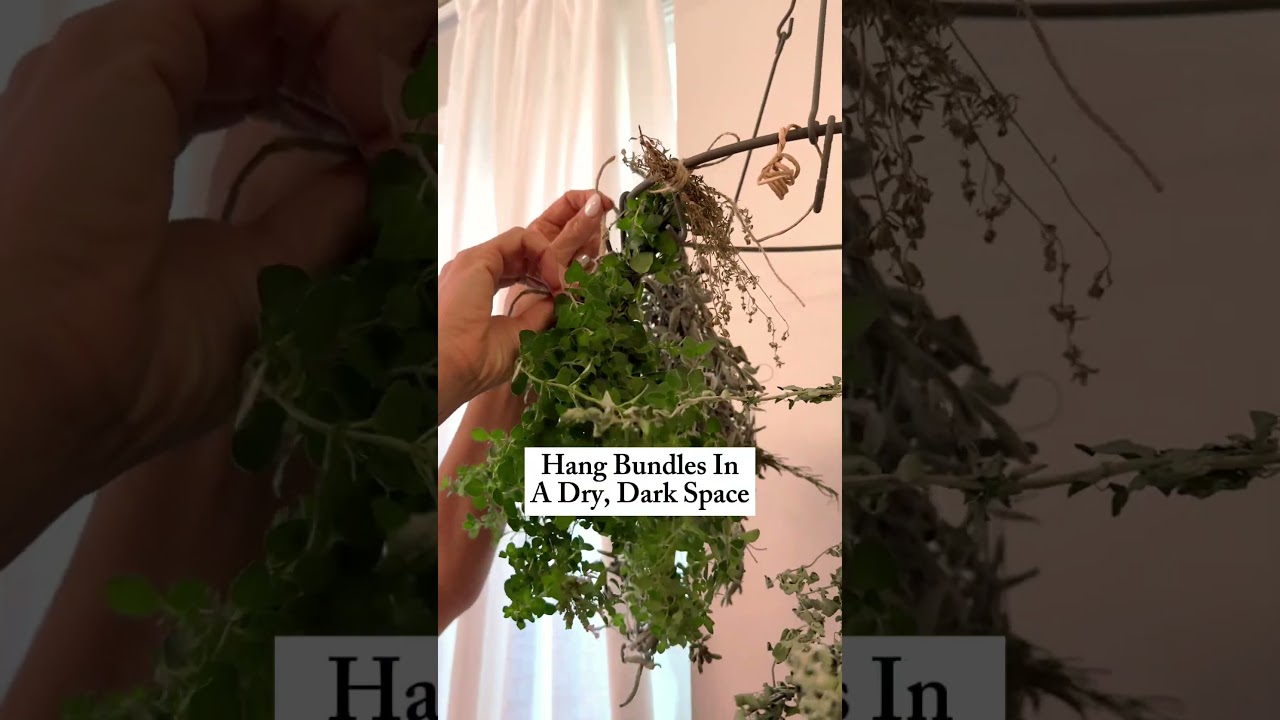
Say bye to grocery store herbs this winter if you harvest and dry some of your own👀#garden #herbs
Can you grow your own Ube?! Let’s see if I grew anything besides purple vines🍠#garden #ube #plants
If your garden didn’t turn out how you wanted, it’s time for a fresh start😌#garden #fallgarden

Turns out you don’t have to sit at a desk all day…you can stay in the garden☀️#garden #meme #9to5

Do NOT buy soil with artificial fertilizers if you want a natural, organic garden😬#garden #soil

I wasn’t meant to send emails or work 9 to 5, I’m meant to stay in the garden all day🌿#garden #meme