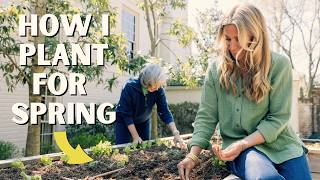
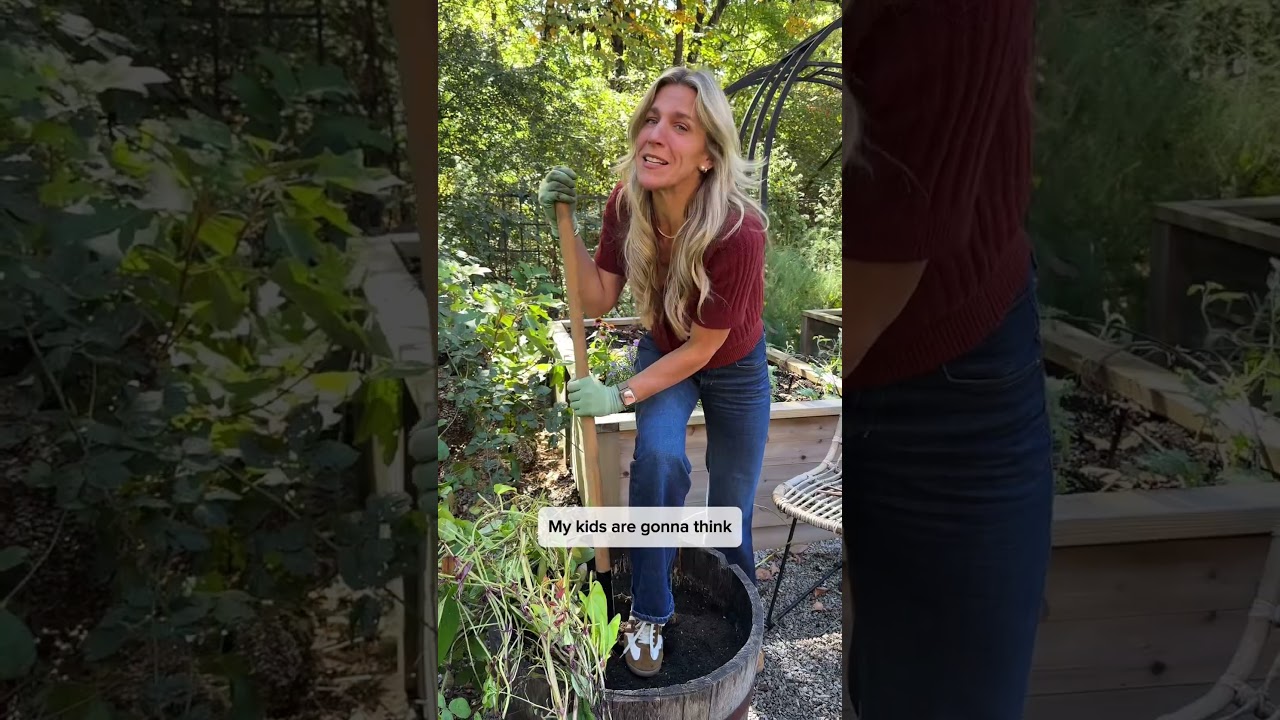
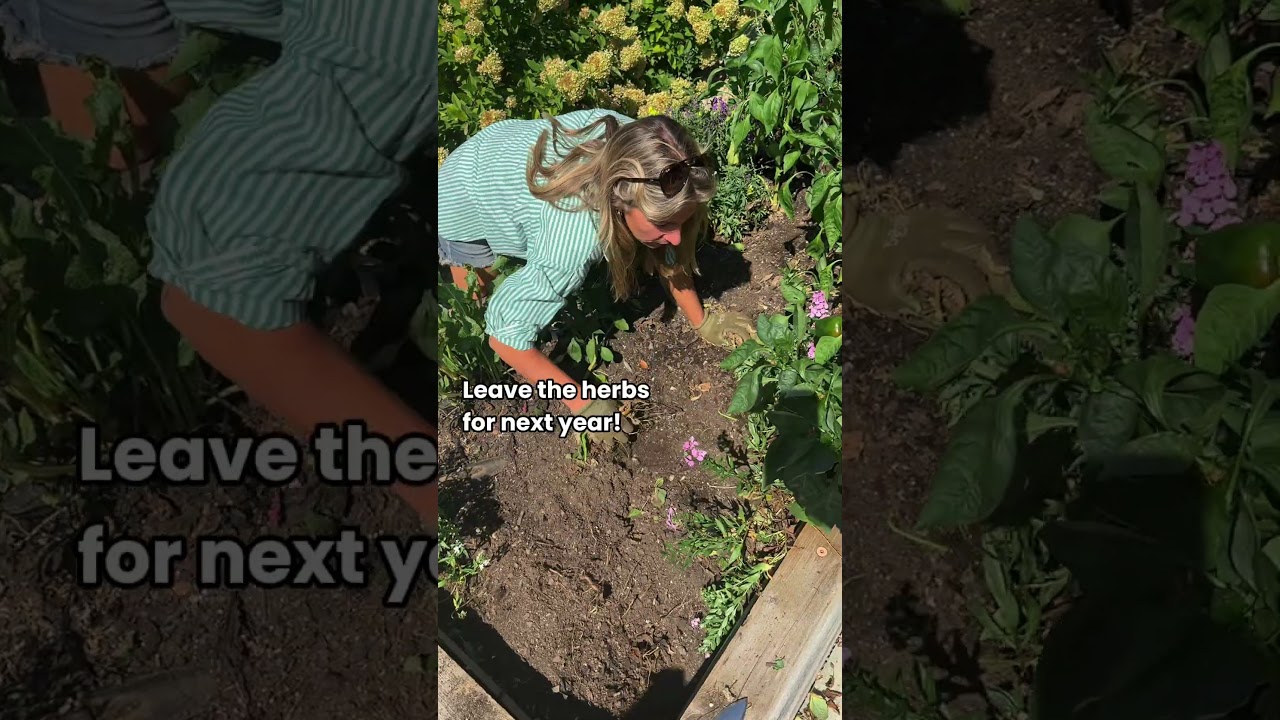
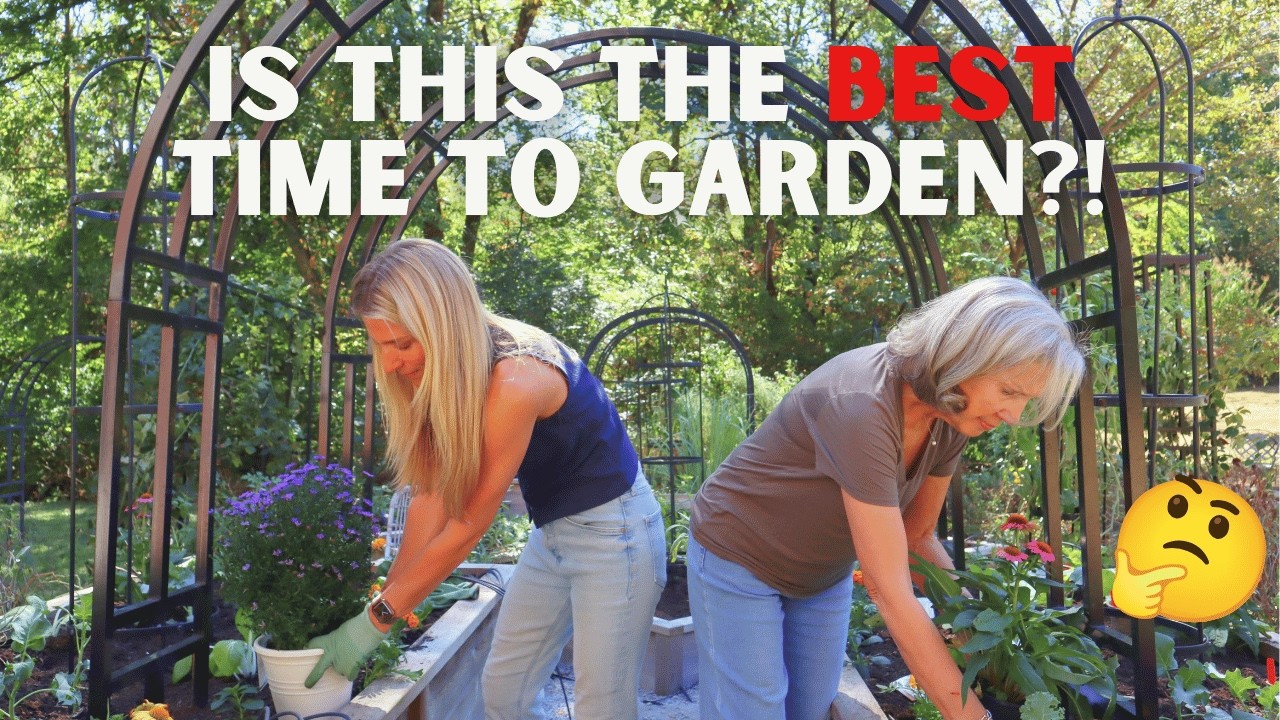
In this instructional video, Nicole Johnsey Burke shares the five‑step process she uses to launch a spring kitchen garden, drawing on a decade of experience planting over 300 gardens across the United States. She begins by timing garden preparation to the first signs of thaw, clearing debris, pruning overwintered plants, and calculating the exact amount of compost needed to restore soil depth. She then explains how to border beds with perennial herbs and annual flowers to add beauty and create a natural pest‑deterrent barrier. The third step covers planting the large “fruiting” crops (broccoli, cauliflower, peas, fava beans, cabbage) and using trellises for climbers. Step four focuses on economical seed planting, dividing the garden into root‑crop, leafy‑green, and fruiting zones, and explains why direct‑seeded plants are both cheaper and healthier for the soil. Finally, she stresses the critical watering regimen—daily watering for two weeks—to ensure seed germination, and points viewers to supplemental resources such as her 103 soil blend, Gardenary seasonal planners, and a seed system video. Throughout, she offers budgeting tips, spacing formulas, and practical advice for gardeners of any climate.
Chapters
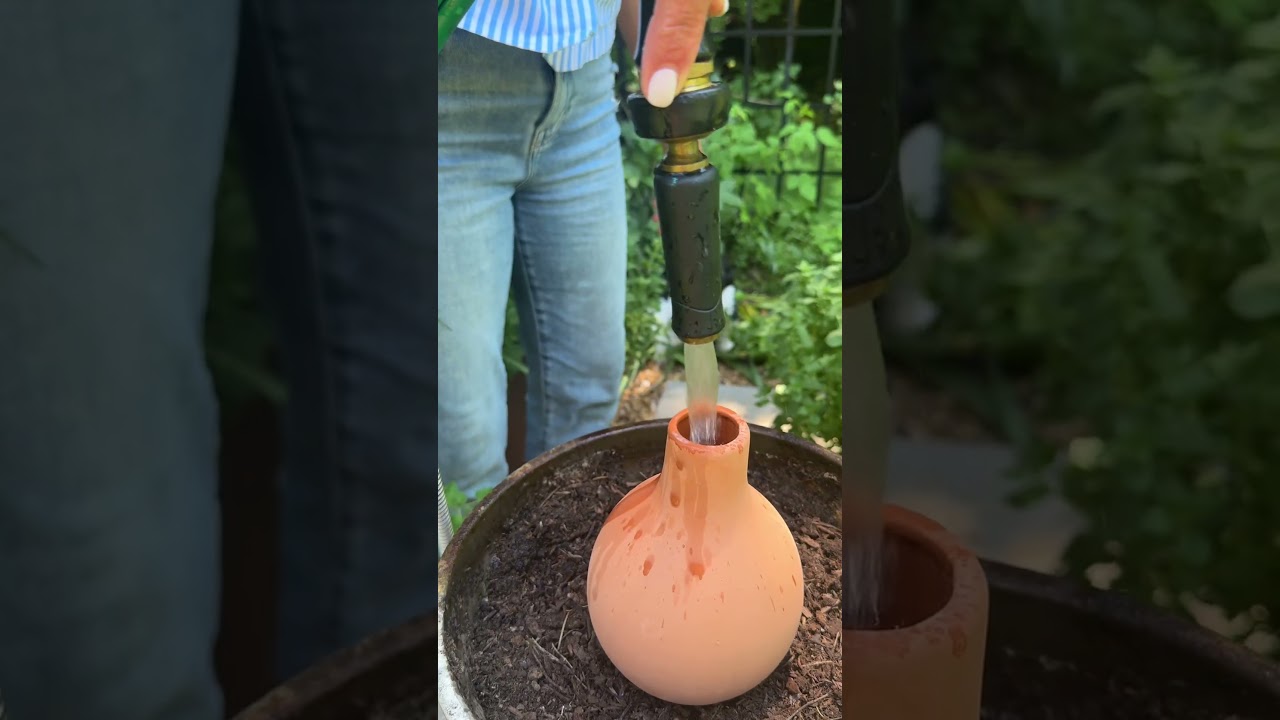
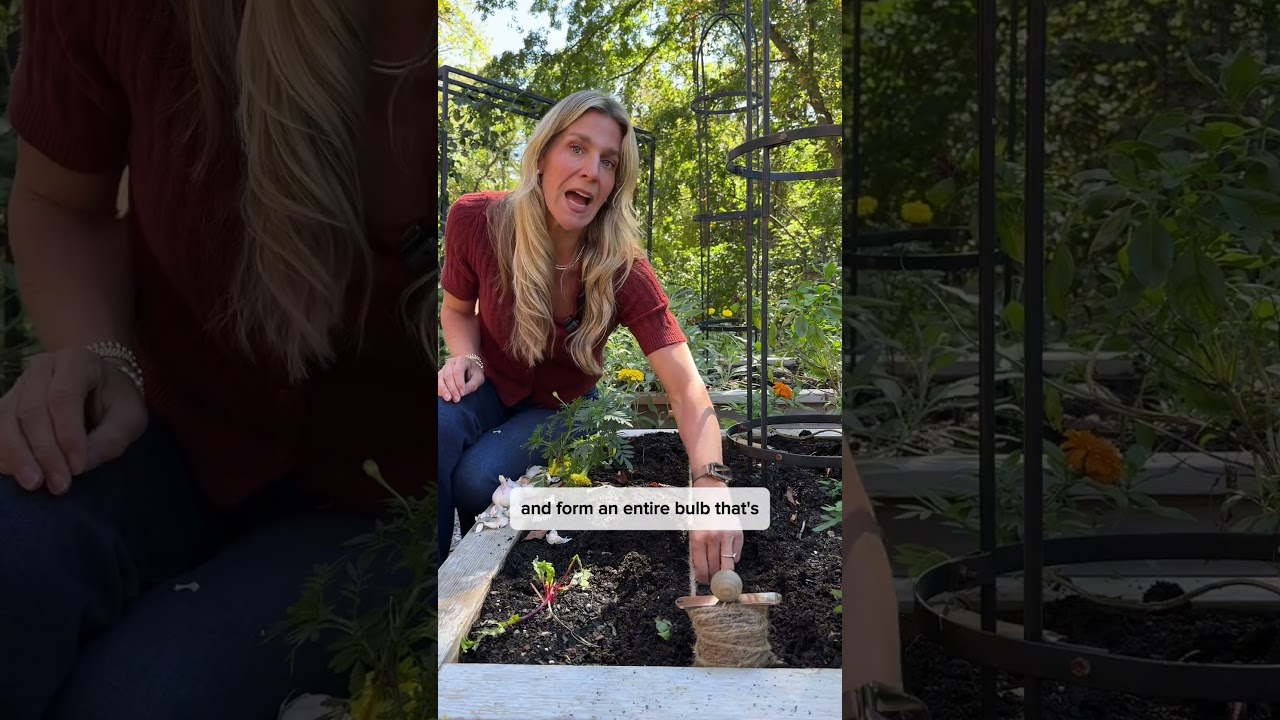
Everyone is always shocked to see how early I plant my kitchen garden. I mean, it's the beginning of April, and look at this thing. What most people don't know is there is a big difference between a summer garden and a spring garden. And over the last 10 years, I've planted over 300 kitchen gardens for spring in the South, in the North, and then here in the middle of the country. And I just finished up planting all my clients' gardens for the spring season. So in the next few minutes, I'm going to show you the 5 steps to plant up your spring garden so you can start growing much earlier no matter where you live. And if you're growing on a budget, you're gonna love step number 4. So everybody grab a shovel and let's dig in. Step 1 is to prep and clear your garden space. I try to do this as soon as the weather shows a little sign of turning. So up in Chicago, I would do this on the first day that the snow started to melt in the garden. Here in Nashville, I do it as soon as I can put my finger in the soil and feel like I could get down maybe 1/2 or 1 inch into the soil space. At that point, you're ready to clear the debris from your garden. Now you may have plants that overwintered in your space. You may have things that you thought would come back that didn't. You may have herbs that are going to come back up from the root but have some dead branches on the top of the soil. You want to head out to the garden with some good pruners and prune back all the branches from the top of the soil, and then you'd want to dig up any root balls of plants that are going to be too big and they're going to interfere with planting seeds your garden. I also at this time obviously am going to take up any weeds or things that have grown over the winter that I don't want to have in my garden in the next season. Now the soil in your garden over the winter has likely gone down a few inches, so this is a time to measure the space from the top of your soil to the top of your garden bed and see how much soil you're going to need to add back in in order to get your soil to the top level of the garden. Now as you can see with the way we grow, I grow a ton of plants over the edge of my garden bed, so I would not want the soil level to be 6 inches or a foot below this edge. Otherwise, I miss a lot of my growing space that I use over the edge and down the sides of my garden. Once you measure the height difference, you can simply calculate how much compost you're going to need to add to the garden space. You're going to find the width of your bed, the length of your bed, and then multiply those two numbers by the height difference between the soil and the top of your garden. For instance, this bed is 4 feet wide and 8 feet long, and let's say there was 6 inches missing of soil from the top of the soil to the top of this bed. I'm going to do 4 by 8, which is 32, and then I'm going to multiply that by a half foot because 6 inches is half a foot. So I've got 32 times a half, which gives me 16. So that means I need 16 cubic feet of compost to add into this garden before I start to plant it for spring. Now you can add my 103 soil blend—I'll put a link to that video down below—or you can use just straight mushroom compost or a leaf mold compost and fill up your garden to the top using that. So right after I've cleared the debris from my garden, I come in and add back some compost or my 103 blend to get the soil back up to the surface level, and then I'm ready for step number 2. Now you might be thinking, "Nicole, I can't do step 1 because I don't even have a garden yet." Well, I've got just the thing for you. I'm teaching a class all about how to get the setup, the timing, and the planting right when you're getting your garden started. You can go watch that class right below this video. Step number 2 is when we're going to both beautify and protect our spring garden, and we do that by planting herbs and flowers alongside the borders of all of our beds. Now, some of your herbs are going to come back from the previous year if you planted the Gardenary way. We like to add perennial herbs, things like sage, oregano, rosemary, thyme. We add those to the edges of our garden, and they do die back during the winter, but then they're one of the first things to come back in the spring. So this sage right here, it's been part of this garden for at least 2 years, and it'll keep coming back and getting bigger and bigger. But in places where we don't have perennial herbs, you want to add other things, maybe some cilantro, dill, or parsley. Those are great spring or cool season herbs, or you could add things like chives or shallots. Anything in the onion plant family is going to be great for your garden to put along the edges of your beds. Then interspersed between those herbs, I like to place annual flowers. I stay away from perennial flowers in my garden beds. Those generally do fine on the outside, but things like snapdragons, pansies, violas, calendula, chamomile. All of these flowers do great on the edge of my raised bed. They just fall right over the edge. They bring a ton of beauty and color to the garden. They attract butterflies and bees and all kinds of birds, and this herb and flower combination does a great job at protecting my very fragile plants like leafy greens and root crops from pests. They put off a scent and distract with their colors so that those pests are less likely to get to my spring crops. Which we're just about to plant in step number 3. Knowing what to plant and when to plant it based on where you live can be so confusing, and that's why we created these 4 seasonal planners. You'll hear me a lot of times say cool season, warm season, hot season. You may be thinking, "What is she talking about?" Well, we divide your garden by 4 seasons, and for each season, we divide them into 3 months: a planting month, a tending month, and a harvesting month. And these planners give you everything you need to know to get you through the entire season. Depending on when you're watching this, we are currently running a special where all 4 seasonal planners together are 50% off, so we'll link it up right below this video if you're into having something that tells you exactly what to do and when to do it. I know I am. Step number 3 is the big guys. We're going to plant the big plants in step 3. Now I saw someone here on YouTube say, "In what world is broccoli a fruit?" And I just have to clarify. So in my planting method, Leaves, Roots, and Fruit—that's my second book that I wrote—I classify plants as either leafy greens, root crops, or Fruiting crops, and I put broccoli, cauliflower, romanesco all in the fruiting category. And I know you may think, in what world is broccoli a fruit? But if you think about it, for a broccoli plant, you've got leafy greens first growing, and then you're going to have this thing that's called a floret. When you eat a broccoli, you're actually eating the floret, which is right before it flowers. And so no, it's not technically a fruit, but it's the fruit part of the plant that we're eating. We're not eating the root or the leafy greens. So the big plants are going to be plants that produce some kind of fruit, something that comes after the leaves. It's either going to be the flower or the actual fruit that's produced by the flower. So in the cool season, in the spring, those are things like broccoli, cauliflower, romanesco. Those are also sugar snap peas and fava beans. Now fava beans and sugar snap peas are also confusing because who would call those fruit? But they do come right after a flower, and instead of them growing really big on their own in the soil, they actually have to attach to a growing structure, something like this arch trellis. So peas, instead of planting just one in the way you would with this cauliflower or broccoli, you're going to plant a bunch of pea seeds because it takes that many in order to get a large enough harvest to actually make a meal. So on this arch trellis, I'll plant my fruiting crops, things like fava beans or sugar snap peas, and I'll plant maybe 20 seeds in just one little space. But then down a row for my spring garden, I'll plant those big fruiting plants. Broccoli, cauliflower, romanesco, Brussels sprouts, anything that's going to be producing from the flower or the fruit. Those things need to get at least 1 full square foot. So you're either going to plant seeds along a trellis, or you're going to plant large plants right down the middle of your garden. If you have a garden that we call a border garden, where it backs up to a fence or a driveway or even your home, then you want to take this step 3 plant, these big fruiting plants and put them on the back side. They would be the last row of your plants, and then you'll build forward in step 4. One exception to this rule of only fruiting plants going down the middle would be Napa cabbage or just a normal heading cabbage, and that's because these plants have a very similar growing style. They're actually even in the same plant family as broccoli and cauliflower, so they need a lot of space to spread out. A lot of time. Cabbage heads are going to take 90 to 100 days to fully form a cabbage head, so you would give them the exact same space and put them and include them in step number 3. Step number 4 is your new best friend if you're trying to save some money when it comes to gardening. So step 4 is planted entirely by seed, and if you've been counting your pennies when it comes to growing in your garden, seeds are the way to go. So when you plant from seed, you're going to get 30, 40, maybe even 100 plants out of just one seed packet. And if you're buying gardenery seeds, they cost less than $3 a pack. But if you were to go to the plant store and buy a mature plant, you're going to spend at least $3 per plant. In most places these days, they're $3.99, $4.99 a piece, especially if they're organic and naturally grown. So you can get one plant for, let's say, $4, or you can get 100 plants for $4. I think we need to grow from seed. Now the best part about planting from seed is it's not just more economical, it's actually better for the plants we'll be growing in step number 4. These plants do not like their roots to be disturbed. They have these nice little shallow roots when they first start growing, and if they get moved from one place to the other, they often don't make it. So choosing seeds isn't just about saving money, it's actually about planting the better way. So for this entire step, all the plants in step number 4, we're going to start right with a seed, and we're going to put it directly into the garden soil. No in-between. Step 4 is going to be divided into two plant categories. In the same way that we did Step 2 as herbs and flowers, Step 4 includes two different plant categories as well. The first plant category is the root crops. These plants are going to grow right underneath your fruiting crop. Now the way fruit crops grow is quite different from the way that root crops grow. Fruit crops send their roots way down deep in the soil to grab up as much nutrients and moisture as possible, and then they're —going to grow nice and tall to get as much sunlight as possible. Root crops grow almost in an opposite manner. They're going to form their roots right underneath the soil surface, and then they're going to push up leaves that'll get a little bit taller, maybe 6 to 12 inches, but nothing like our fruiting plants. Fruiting plants need at least 8 hours of sunlight a day, but root crops, they do fine with about 6. So it makes complete sense to take these root crop seeds and plant them right underneath a fruiting crop. So in this case, for the spring garden, we'll do things like beet seeds, radish seeds, and carrots, and we'll plant circles going around this obelisk trellis so that these root crops can grow, put their roots right underneath the soil surface, and grow right underneath the shade and protection of the fruiting plant. Now if you're planting in rows, if you've got your large fruiting plants down one row, you'll simply plant your root crops to either side of that fruiting crop. So in some of my clients' gardens this season, we did something like cabbages all the way down the middle, and then we might do carrots or onions or beets to either side of that large cabbage plant down the center. Once you've planted your root crops, now it's time to move on to the last plant category, which is your leafy greens. Leafy greens are also going to be planted by seed, and we've got tons of leafy green varieties. If you're getting sick of romaine and arugula and spring mix from the grocery, then you are going to love growing your own leafy greens. In our Gardenary 2026 seed system, I'll link it right below this video, I think we have over 10 different leafy green varieties, so you are going to love the changes in flavors and textures and colors that are possible when you grow your own. The good news about these leafy greens is they only take about 30 to 45 days before you're ready to get your first harvest, so we plant these on the outside of the root crop. So if you're planting in rows, we would plant, say, a row of beet seeds, and then we'd plant a row of spinach or a row of arugula or a row of spring mix. If you're going down the row, you'd plant the outside lines with your leafy greens, and if you're growing in a 4x4 like this, you would plant the outside edges with your leafy green seeds. You're still going to have that herb and flower border that protects all of your garden from pests and keeps everything beautiful, but you'll have your leafy greens right on the inside. Once you get to step 4, there should be no bare spots in any of your garden space that doesn't have a seed growing right underneath it. Now let's make sure that every single seed you planted actually grows in step number 5. Now, if you don't do step number 5, all the work you've done in steps 1 through 4 is completely worthless because step number 5 is to water your garden every single day for the next 2 weeks to be sure that all those seeds you worked so hard to plant actually come up. I get asked all the time how I set up the water system in my gardens, and I made an entire video to show you how you can do it too, just from your backyard spigot. You can watch that whole video right here.