How to Turn Your Lawn into a Vegetable & Cut Flower Garden (Part 1)
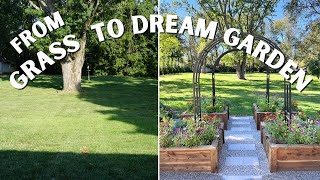
Nicole Johnsey Burke transforms a client's lawn into a kitchen garden with raised beds and irrigation. The garden grows both vegetables and cut flowers, designed to supply fresh produce and blooms for the home.
Questions this video answers
December 12, 2024.
About 15 ft wide.
Four raised beds, each 4 ft × 4 ft.
64 square feet (16 sq ft per bed × 4 beds).
Allison.
Chapters
Today, we are going to be turning this space into a magical kitchen garden. So our good friend and client Allison wants to have a kitchen garden right outside her kitchen. It's just the way it's meant to be. So we're combining the magic of flowers and bushes and perennials alongside the incredible experience of growing a little bit of your own food. So stay tuned as we turn this space into this over the next few days. 5. Here go 7 and a half for the pathway is this center. It would be more at 12 and a half. Hold on. It's not quite there. So it would be. Oh, you were there. Sorry. Yes, exactly. Yes. All right, so let's scoot it over. And then the middle would be right here. Okay. So it's going to be taller, but step back this way, Molly, feel. And I'm going to show you two options. So one is this would be, you know, you're coming out your back door, and that's. That would be the center. So that would give us more flowers on this side, and then less. You'll have five feet of flowers on that side, eight feet on that side, and it skews a little bit just to be right. Lined up with your back door. Right. That's one option. The next option, the benefit to this is we get to use this brick line so you don't end up with, like, another line, which generally in a kitchen garden, I like as few lines as possible. Okay. So that's the benefit there. The other option would be, we're going to move this one more time. We're going to move this more to be centered on your patio, and that would be about right here. So that would give you a lot more flour on this side, less on this side, but it would be centered on the. The cement. Yeah, I think it makes more sense. I do, too. As long as you're keeping the door here, then I. I would go with the door. Yeah. Yay. All right, so we got everything laid out. That's honestly one of the hardest things to do because you have to make these key decisions of where those lines are going to go. And once you start to remove grass, you don't want to have made a mistake. So we opted to center the kitchen garden on this back door. So that shifts the garden design a little bit to the side. And it's going to give us five feet of flowers over there, and then eight feet over on this side. We are going to have about 15ft will be the kitchen garden in the center. 15ft wide. And so we got that Decision made. Then it was time to stake the garden and to start pulling the grass. We attempted to use a sod cutter, and this is actually a relatively new sod. They've still got netting underneath it and clips. And we were just running into lots of trouble. So we're scrapping the sod cutter and going straight to just digging it out. So these guys are doing all the heavy lifting for us, which I'm so grateful for. And, yeah, it's just now it's just a manual project, so. So kind of a bummer. But sometimes machinery doesn't save the day and cut the work in half. So these guys are getting at it, and hopefully in about an hour or so, we'll have this sod removed, and then we'll be ready to put in the steel edging and start pulling this garden together. All right, so the guys have done the heavy lifting. Most of the sod is out, and they just unloaded the raised beds. We're doing four 4x4 beds that are going to be right here in the center. And we confirmed, again, the measurements, figuring out where all the lines go. We do have somewhat of an unlevel space here. So the yard slopes down quite significantly. And so we're working out that what I like to do is make sure that the raised beds are level, even if everything else has a slope. And so we're going to bury the front two beds by a couple of inches, and then we're going to raise the back two beds by a couple inches. That'll give us a level playing field right at the top. So now it's just about time to start putting the beds in place. I, like, did the voiceover myself as well, as. It's. Like, all the summer when I was like, all were not able. All right, the raised beds are in place, and things are looking extremely promising. We got four beds, 4x4 each. So 16 square feet a piece. 16 times 4. 64 square feet of gardening space. And we're gonna have tons of flowers, cut flowers, perennial plants, all kinds of things on the side. So this space is going to go from grass to gorgeous in just a few more days. I am loving the way they set up these beds. And as you can see, even though the space is not level, the beds are level. So if you get down low like this, they look like they're all on the exact same plane. And that's what digging down and putting everything in place the right way at the beginning does for you. So. So I love it. I'm so impressed. They did the hard work. I just sat here, and I get to talk about it, so I think it's awesome. And now we're almost ready to move to the next phase. Okay. Metal. I understand that you can't justify Toxic Me. Juniper green. Yeah, Yeah, I got a little bit of both. All right. It is the beginning of day two of this kitchen garden installation, and check out the progress. My goodness. Things have completely changed from 24 hours ago. So the four beds are in place. They're all nice and level, even though we are on a very big slope. And these gardens are looking amazing. I just love them so much. We got the arch trellis in place, starting to fill up with soil. We've got our irrigation pulled up into each and every bed, and we started to put the edging there on the end. We're going to have our flower gardens on both sides of the raised beds. So it's going to feel like this just, like, beautiful space. I cannot wait to see it come together. Plants are arriving today. Gravel is arriving today. Everything should pretty much get all done, minus the plants that are going into the raised beds. So stay tuned, watch the progress, and be inspired to do this in your own space. Can you guys help unload these real fast? So unload it. I was like, you guys, I'm really sorry, but Ted rocked it for, like, months. I know. That's why. That's why I did this, because I think I may have ordered too many plants. Have I ever said that sentence before in my life? I don't know how this happened, but, oh, my goodness, I am so happy. We are doing a wide variety of plants in the cut garden space because I want Allison to have something to look at all year long. So we've got a mix of evergreens. We've got just some typical ornamental flowers, and then we have a lot of. Of cut flowers. And we're also keeping in mind food for the bees and butterflies, too. All right, so what I'm doing is dividing the plants by side, and that side is three feet less. So I'll still have the big. Well, I'm trying to think about this one. I think I will have the big, tall plants at the back on both sides. Those will be the same per garden, but what will be different is this one's going to have more cut flowers in the front. So I'm going to lay out the tall plants first, and then we'll fit in the smaller ones. So thinking the backdrop of both sides is going to be similar. You get. You definitely get fire back. Up just a bit. Perfect. You're good, you're good. Thank you. All right. Things are really taking shape. We have got soil in place. We've got the two arch trellises. All the plants arrived for the cutting garden. And I am in love. I think I decided that from now on I have to have cutting gardens next to the kitchen garden. So let me show you what we did. I was a little overwhelmed when the truck drove up and I thought, I think I ordered too many plants. And that's like a. That's a sentence in the English language I've never said before, but I really was concerned. But it turned out it was just the right amount. So we're going to have a little bit of a mirror on each side side where both planting beds kind of reflect back to one another. We've got hydrangeas and the laurels, the hibiscus and some boxwoods at the back. I've got boxwoods peppered throughout. And I highly recommend that style if you want some formality to your garden to last throughout the whole year mixed in with flowers. And so you can see I have a little bit of a design of boxwoods throughout the garden. Some roses, we have some frost proof gardenias and then we have our flowers. These are going to be beautiful from like May to October, basically during our whole frost free time. We've got Echinacea napata, We've got this Veronica rudbeckia and some salvia. So this is all more toward the front of the bed. So we've got a couple of roses in here. And awesome. Allison got a bird bath. So. So we're going to have that right in the center of this whole space. And then over here, the beds are finishing up. We're almost ready for them to lay irrigation. And then we can put in the kitchen garden plants. And then on this side we've got really a reflection of what's over there. This side is a little bit smaller. It's 5ft wide instead of 8. But you can see very similar planting style so that it feels symmetrical somewhat. So. So, yeah, I'm very excited. This is when things start to feel like they're coming together. Like the project is making sense. Like we did know what we were doing. And we're almost to the finish. Okay. Okay. So it's gonna start at 6 inches. 16 to her crosses. 6 inches down 1. And then this one's at 1.1 18 inches. You'd have a break for a foot 12 inches. And then the next one would be 6 12, 24, 6. This is 12 inches. 24, 6. This is going to be at 30 inches and then 12, 12. So that's 1, 2, 3, 4, 5. Yep. That's 7. I don't know. It was better than. Okay, what we need from you. To be like, this far away from the edge. Does that make sense? So I don't want a tube right here. The first tube would go inside here. Six as well. No, in the middle. Nothing. Yes. Here, here. Okay. Or you can just do lines. Maybe 1, 2, 3, and square one. 1, 2, 3. And then you don't have to do. You don't have to do the. Like. You don't have to do all those joints. Yeah. Easier. Yeah, I like that. But coming from the. Don't touch. Don't get so close. Give me like a six inch line. All right. It is day three, and things are looking amazing in the kitchen garden space. Since you were last here, some of our flowers have gone into the ground, and we've added stepping stones right along the middle. Took a little bit for us to get those measurements right, but, man, they are looking great. So this is made so that Allison can literally walk all the way to her grass barefoot and never have to step on the gravel. So pretty excited about that. And the irrigation is in place for all these four beds, and now it is time for us to do some planting. We're going to put in some herbs and some flowers, large, medium, small size plants. Everything's going to fill up these raised beds, and then we are going to be just about done. So stay tuned for the final product.
More from Nicole
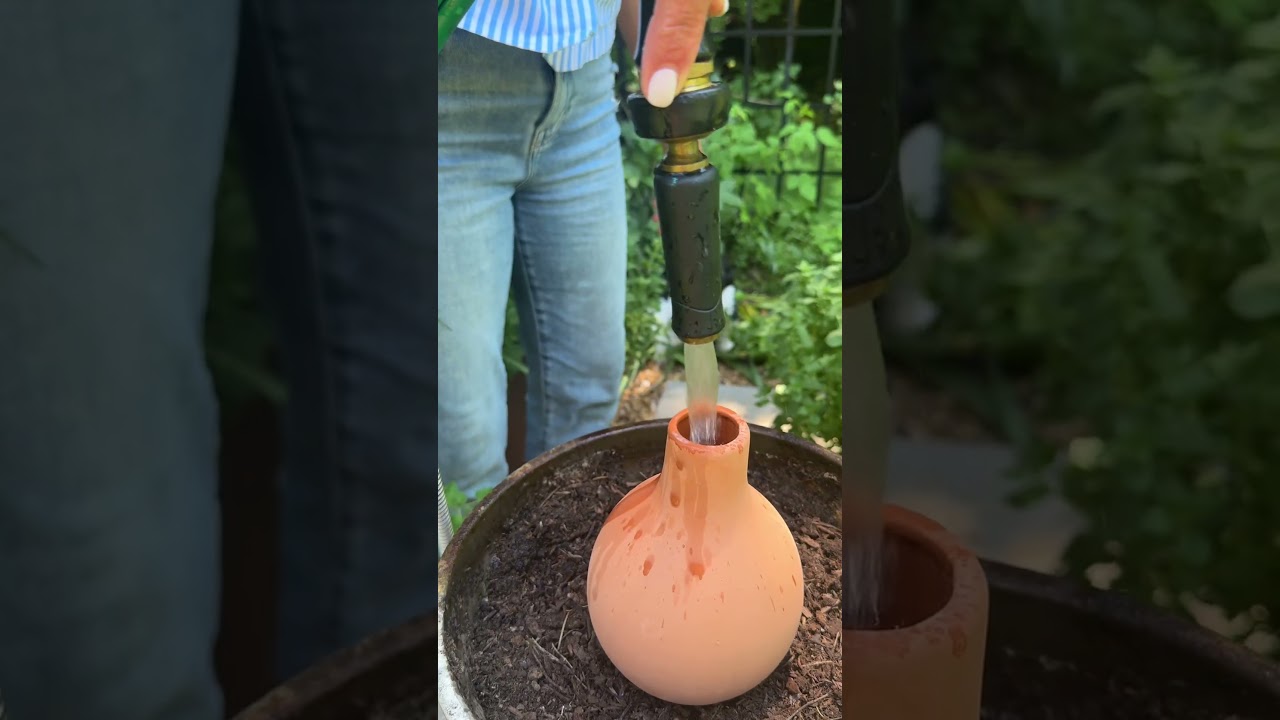
Propagation is the secret to turn 1 oregano plant into 100 that’ll last forever! #garden #herbs
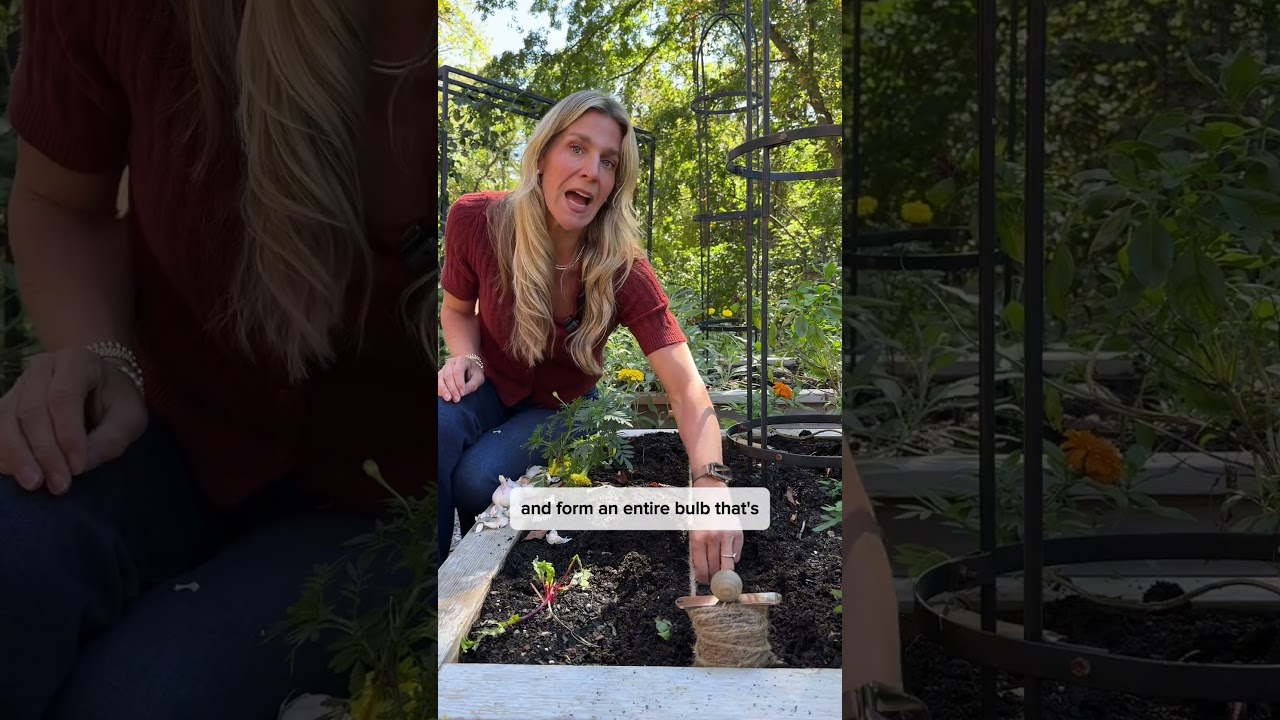
Plant some garlic this fall and you’ll never run out. Just follow these steps #garlic #gardening

Head to Gardenary.com to try out my FREE custom planting plan creator #garden #gardendesign #plants

Frost is coming so harvest all your tomatoes and make this soup🍅#garden #recipe #tomatosoup #tomato
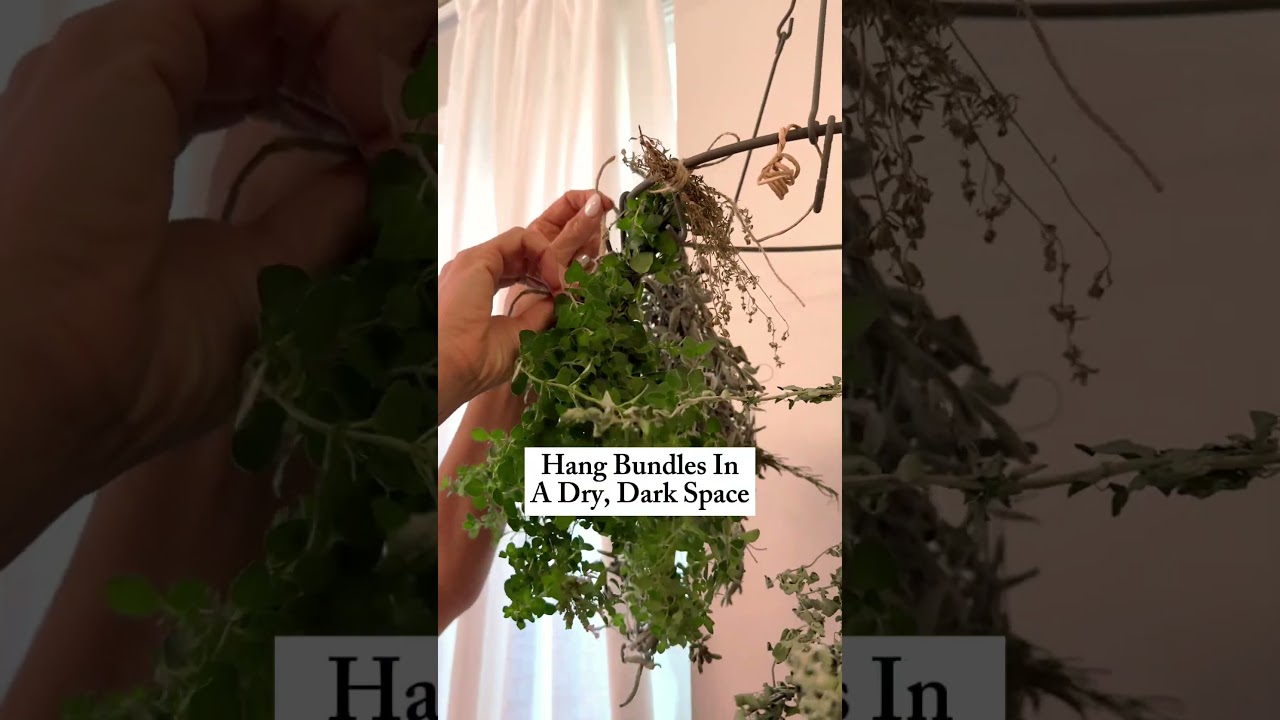
Say bye to grocery store herbs this winter if you harvest and dry some of your own👀#garden #herbs
Can you grow your own Ube?! Let’s see if I grew anything besides purple vines🍠#garden #ube #plants
If your garden didn’t turn out how you wanted, it’s time for a fresh start😌#garden #fallgarden

Turns out you don’t have to sit at a desk all day…you can stay in the garden☀️#garden #meme #9to5

Do NOT buy soil with artificial fertilizers if you want a natural, organic garden😬#garden #soil

I wasn’t meant to send emails or work 9 to 5, I’m meant to stay in the garden all day🌿#garden #meme