
Nicole Johnsey Burke walks through brewing kombucha at home with a scoby starter, tea, sugar, and a crock. The primary ferment takes 1-2 weeks, then an optional second ferment another 1-2 weeks. Keep it clean, preserve your scoby layers, and flavor it however you want.
Questions this video answers
6–8 teaspoons of loose black/white/green (not herbal) tea.
2 cups of hot water.
About 10 minutes.
1 cup of organic cane sugar.
At least a one-gallon (gallon-size) crock.
Chapters
I'm about to show you how you can make your own kombucha at home for a tenth of the price and half the sugar. Almost all of us are gardening because we know it is so good for our health. And over the years, we've all started to figure out that our gut health is most important. Recent studies have shown that fermented foods are the best things we can do for our gut health. But it's hard to figure out how to fit those fermented foods into our everyday diet. Kombucha is one of the ways. If you've been shopping at grocery stores for kombucha, you know that they are super expensive per bottle and packed with sugar. So last year I set out to make my own kombucha at home. And I figured out a system where I can keep kombucha brewing on my countertop for pennies on the dollar. And in the next few minutes, I'm going to show you exactly how you can do this too. Here are all the supplies and the ingredients that you're going to need to start brewing your own kombucha at home. First, you need a small Scoby starter. You can order this online. You want to be sure it's from a reputable supplier. This is all you need to get started. Once you buy one, you are set for life. Next, you need some organic loose leaf tea. You want to have black tea, white tea or green tea. You don't want to use herbal teas at the very start of your brewing process. You can also order these online or get them from a local tea grower. Next, you want to have at least a gallon size crock. This comes with a glass top, but you're not going to use it during the brewing process. And in place of the glass top, you need something that's breathable. I just use a simple kitchen napkin and a rubber band from the grocery store. Next, you want to have some organic cane sugar. And of course you're going to need a good bit of water. Then you just need a few supplies from your kitchen. I just use this little glass measuring cup to brew my tea. A one cup measuring cup, a teaspoon and a strainer. All right, so the first step for this is you're just simply going to brew some black tea. You can also make it with green tea. I read that you can make it with oolong tea. All you need is six teaspoons of this loose tea. And it does. I did look into, could I just use like herbal tea from my Garden and everything I read said that herbal tea doesn't have enough of the tannins and things that are in these stronger black and white teas and green teas. So you can use that in the second ferment, which I'll show you at the end. But we don't. You don't want to do your first brew with an herbal tea. So black tea, white tea, green tea, six to eight teaspoons. I've been using this little guy. We'll put a link in the description, but it's organic English breakfast tea. This lasted me for six months. And I mean, I don't know, I think this costs like 20 bucks or something. Easy can get it. You know, if you have a local tea company, highly recommend supporting local brewers or local growers. But anyone who's growing black tea, green tea, white tea, I even read you can do oolong tea if you're into that. Then you're just going to put two cups of hot water. So you want to steep this tea essentially for about 10 minutes. So you're going to just cover that tea with two cups of water. I usually start this while I'm doing dishes or cleaning up from dinner or even starting dinner. I usually do mine on the weekends. And so I'll just have this brew while I'm doing other stuff around the kitchen, and then I'll be ready to add it in and get my next kombucha brew going before I go to bed that night. It's a super quick process. We're going to set this aside for about 10 minutes to let this steep and then cool off. And if you love this idea of habit stacking and getting as healthy as possible, you're going to love my new book, the Five Minute Gardener. I wrote it after reading so many books, all about creating new habits, especially healthy ones, and I wanted to make it so easy for you to fit little garden tasks into your everyday life. So if you love the idea of steeping some tea for kombucha to help your gut health while you're cleaning up the kitchen, you're going to love my new book, Five Minute Gardener. We'll put a link to it right below this video. Okay, so every week or every two weeks, whenever you are replacing your kombucha, you want to be sure that you separate out the scoby. Now, scoby stands for symbiotic culture of bacteria and yeast. It is essentially the powerhouse that ferments your tea and turns it into kombucha. So scoby the way I got started with this is I just ordered a little Scoby online. So this is the one I ordered. We'll put a link to it right below this video. And it's so crazy, it comes as a little tiny disc. I ordered this in January when I was listing out all my resolutions. Have you ever done this where you have all. All these plans for the year and you just buy all the things that are going to help you start all these new hobbies and then kind of forget to do them? Well, that was me in January. I ordered all the supplies and, sad to say, didn't get started until the middle of the summer. And this thing was literally about to explode. They do come with an expiration date, but mine, obviously had not passed yet. My husband Jason was like, nicole, that thing is dangerous. Please, please detonate it before it ruins our pantry. So pulled it out. And this. Yeah, I'm looking for the expiration, but I don't see it. But it does expire. I opened it up. This little thing was like a little disc, and just slid it into what I'm about to show you the process. And over time, it grows and expands and becomes this thing that just multiplies itself again and again and again. So you'll see, after you grown your kombucha for maybe two, three weeks, you're going to see these layers start to form on this side. Your disc will. It will literally expand to the size of your container, and it floats to the top. So it floats to the top, expands to the outside of the container, and then it starts to just build layer upon layer upon layer of itself. The newer layers are on the top, and the older layers are on the bottom. Affectionately. The bottom is called the mother, and the top is called the child. And so every few. So what you want to do is divide those layers from one another. You're going to keep the child, so keep the youngest Scoby. And then you're going to have this mother that you don't want to throw in the trash. No, we don't do that to our mothers. Instead, you're going to go put it in your compost pile, because this will break down the bacteria. The yeast will feed your compost and make it even more rich and healthy for your garden. And another thing you can do is gift this to your friends and family and get everybody brewing their own kombucha, too. So every week, week, I'll try to, like, send out some texts and see if anybody wants to do this really weird thing with me. And once I gross out all my friends and they all say no, then I just toss it in my compost pile. But I have had a few converts so far. Eventually I'm planning on my entire neighborhood making their own kombucha. I mean, wouldn't you love to get this for your birthday? So once you've separated it, then you are ready to add in your next brew of tea. Once your tea is steeped for about 10 minutes, it's time to strain it and turn it in to kombucha. So we're going to take this and just pour it into another container. And the longer you brew it, the better if you more flavorful, but this gets the job done. You don't want to be adding this to your scoby while it's still hot. So you want to be sure this has come back down to room temperature. But before you do that, you want to add your sugar. Now, to this two cups of tea, you're going to add one cup of sugar. Now, I know it sounds like a lot, but trust me, this sugar is just going to be food for your scoby. So you want to add the sugar to your tea while it's warm. That's going to ensure an even distribution of the sugar in the tea before you add it back to the scoby. All right, so we're just stirring in this sugar, making sure that it gets fully dissolved. And don't worry, this is going to get so watered down as we add this back to the kombucha. You're going to see, as I prepare for this batch, you want to leave at least a few inches of kombucha in the pot as you're adding the next batch. You don't want to drain it entirely. It's similar to working with a sourdough starter or even working with compost. So by keeping a little bit of your existing kombucha in this crock, you're jump starting the process for the next batch. So I found at the very start, when I first started brewing my own, it took about two or so weeks for the fermentation process to really take off. And since that time, I make a fresh batch every single week. So because I keep that already ready ready kombucha at the bottom, it jump starts the process every single time. And I can make twice as much kombucha in half the time. All right, so we're going to pour this in. You can see how it kind of mixes everything up. And then all you do is top off the entire thing with filtered water. This is the simplest thing we can make from home, you guys. Oh, my goodness. It's just like brewing tea. And the only thing I'm doing differently here is just keeping Ascoby alive in the middle of this sweet tea. That's it. And I get such a healthier drink. So much less sugar, but it's just like making sweet tea like my mom did. So once this is all set up, don't worry, the Scoby will eventually find its way to the top. You do want to leave about 3 inches of airspace at the top of your crock. Don't worry. Sometimes I've gone all the way to the top. My husband's like, that's not three inches. But it still all worked out fine. And then you just want to cover it. So I just get a fresh napkin every time. I redo my brew once a week, and I just cover it up just like this. And then you do want to seal it because it's going to have some sweetness, especially at the beginning that might attract, like, fruit flies or something like that. So you want to be sure that you completely seal the crock. But this napkin is breathable, right? So as the fermentation process happens and you get all these little air bubbles, they have a way to escape without exposing, exploding your container. So after you do this, you are done. You just want to put these, this in a mild temperature space. You don't want it to be in sunlight or bright light. I just stick mine right next to my toaster in the kitchen, and it just has its own little cozy corner where it hides out and does its thing and miraculously becomes delicious kombucha. So after a week or two week, you're going to see lots of bubbles and fermentation happening, and it's time for you to test your kombucha. So. So I just pour mine out in a little glass and give it a little taste test to see how fermented it is. And honestly, you get to decide how long or short you want to ferment your kombucha. The shorter you ferment, the sweeter your beverage is going to be. The more sugar content is going to be there. The longer you brew it, the more sour and vinegary it's going to taste. If you've ever taken shots of organic apple cider vinegar, you have a good clue of what the flavor tastes like. If your kombucha brews three or four weeks in the crock, when you're ready to drink your kombucha you essentially have two options. One, you can just pour it right from the crock and drink it right away. That's what I choose to do. Others choose to do a second brew. So in this case, you're going to just empty your kombucha into some sealable bottles. Now you can just put the tea that you brewed in your crock directly into the bottle. That's what I've done here. Or at this point, you can mix it with other flavors. You could have fruit syrups, you can have herbal teas. Any kind of flavors you want to add to your kombucha. This is the time to do it before what's called the second brew. The second brew is where you just put it in these sealed bottles and you're going to keep this here for a week or two. This is going to definitely increase the bubble factor and carbonation in your beverages. And you want to be sure that you give them a little pop and a burp every few days so that all that fermentation doesn't explode and crack the bottle. But after a week or two, your second fermentation is done and you're ready to pour this one out and taste it with all the flavors that you've wanted to add. But I just love drinking it straight from the crock. In fact, I'm so obsessed with this drink that I have a hard time keeping up with my demand. I like to have a quick drink after lunch pretty much every single day. The sugar content is super low and the fermentation has proven to be so good for my gut health. Now, before we close up, I want to be sure you know a few ways to stay healthy and be certain that nothing goes awry with your kombucha. First rule of thumb when dealing with making your own tea or really anything at home is lots of cleanliness. So you want to be sure when you're going to be handling your scoby or your tea, any of your containers that your hands are super clean. So I always give my hands a good scrub down before I start working with my kombucha. You also want to be sure that all your containers you'll be working with have been sterilized and cleaned well too. You can just run them all on a hot cycle in the dishwasher. And of course, you want to be sure you're working with high quality ingredients, organic teas and getting a scoby from a reputable supplier. And of course, I love using organic cane sugar. Now, you've seen today that the Scoby can look kind of weird. In fact, as we started to film, all my team gave some pretty crazy faces. As I started to pull apart the Scoby and you might be thinking, there's no way this thing is good for me. Well, the only time that the Scoby has gone bad is going to be when you see see fuzz on it. Now remember that the Scoby's job is literally to ferment something to digest it. It's full of bacteria and yeast, so it's going to look a little funny. That's going to have bubbles on it, it's going to have some different colors on it. None of those should be alarming to you. But as soon as you see any kind of fuzz, any kind of colored fuzz, that's a sign that your Scoby is molding or mildewing and it needs to be tossed out and you should start over. If you keep the process that I've taught you today of just simply separating the Scoby every one to two weeks and re brewing a new set of tea, you should not have any problems. When you do separate the mother from the child Scoby, you want to be sure that the Scoby stays intact. If there's any tearing or ripping, you might have trouble getting your fermentation process going again. But I've generally found that the Scoby is so hardy and strong, it generally grows back. But if there's any ripping or tearing, you might need to start over. Otherwise, all these supplies, you buy them once and you use them again and again and again. The only things that you have to refill would be the tea and the sugar. And don't forget, these aren't shelf stable. So you do need to drink these one to two weeks after the second fermentation is done. And that's how you end up brewing so much kombucha for so little money with so little sugar. All right, what do you think about this kind of content? I have never taught from the kitchen like this, especially if it's not attached to the garden. So I'd love to know in the comments if you want to see more hacks and tricks and tips on how to make your own food at home and things that I do in the kitchen to keep my gut and my body and my family healthy. Tell me what you think about it. And are you going to brew a little bit of your own kombucha? I'm dying to know. And while you're at it, don't forget to subscribe to the gardenary channel because oh my goodness, we have got so many incredible videos lined up for you this season. You don't want to miss a single one. Be sure you also share this with somebody who needs to work on their gut health and feel a little bit better this year. This is such a simple way to do it and so much less sugar and oh my goodness, so much money saved. So cheers to you and your gut health and all of us feeling so good this year as we save money on groceries and feel amazing at the same time. I'll see you next time.
More from Nicole
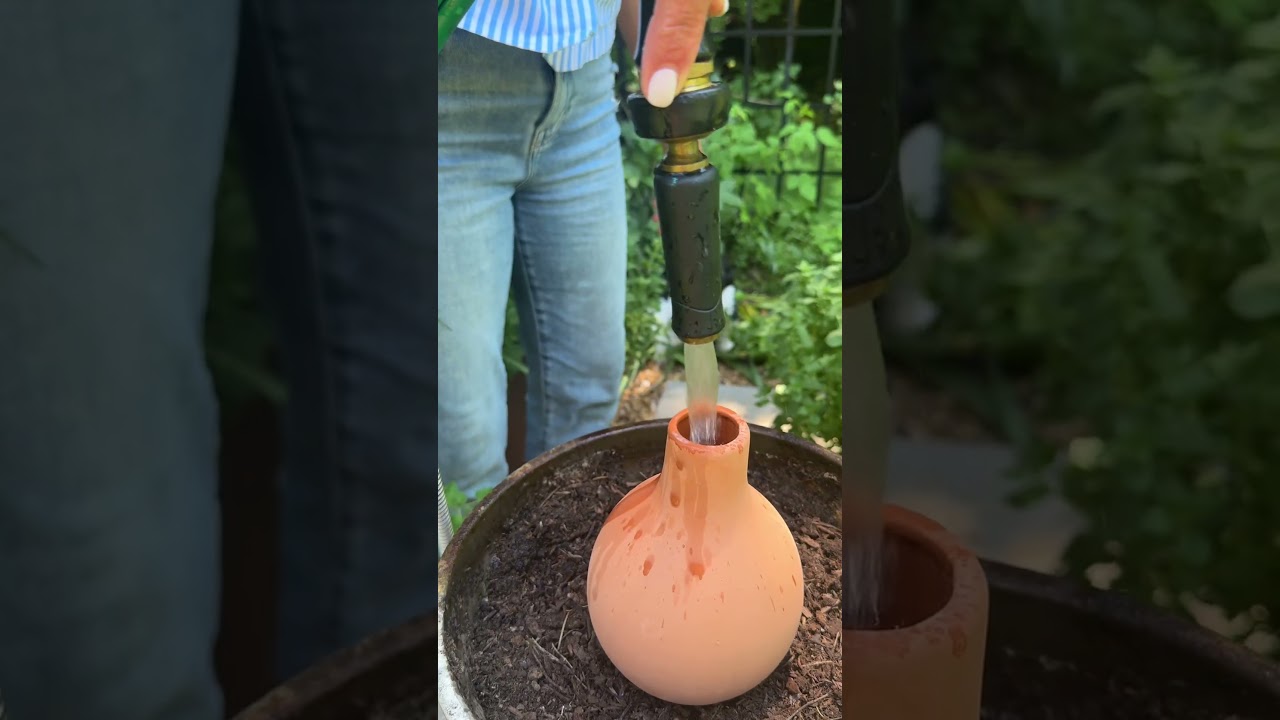
Propagation is the secret to turn 1 oregano plant into 100 that’ll last forever! #garden #herbs
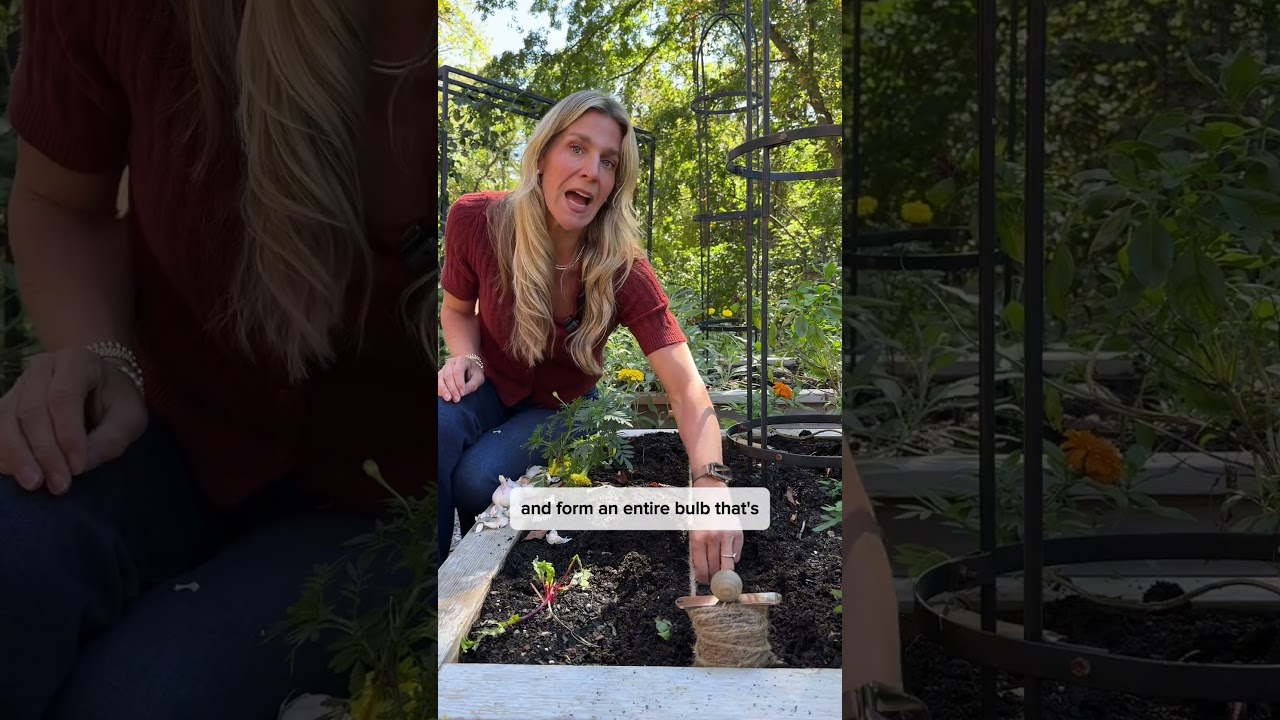
Plant some garlic this fall and you’ll never run out. Just follow these steps #garlic #gardening

Head to Gardenary.com to try out my FREE custom planting plan creator #garden #gardendesign #plants

Frost is coming so harvest all your tomatoes and make this soup🍅#garden #recipe #tomatosoup #tomato
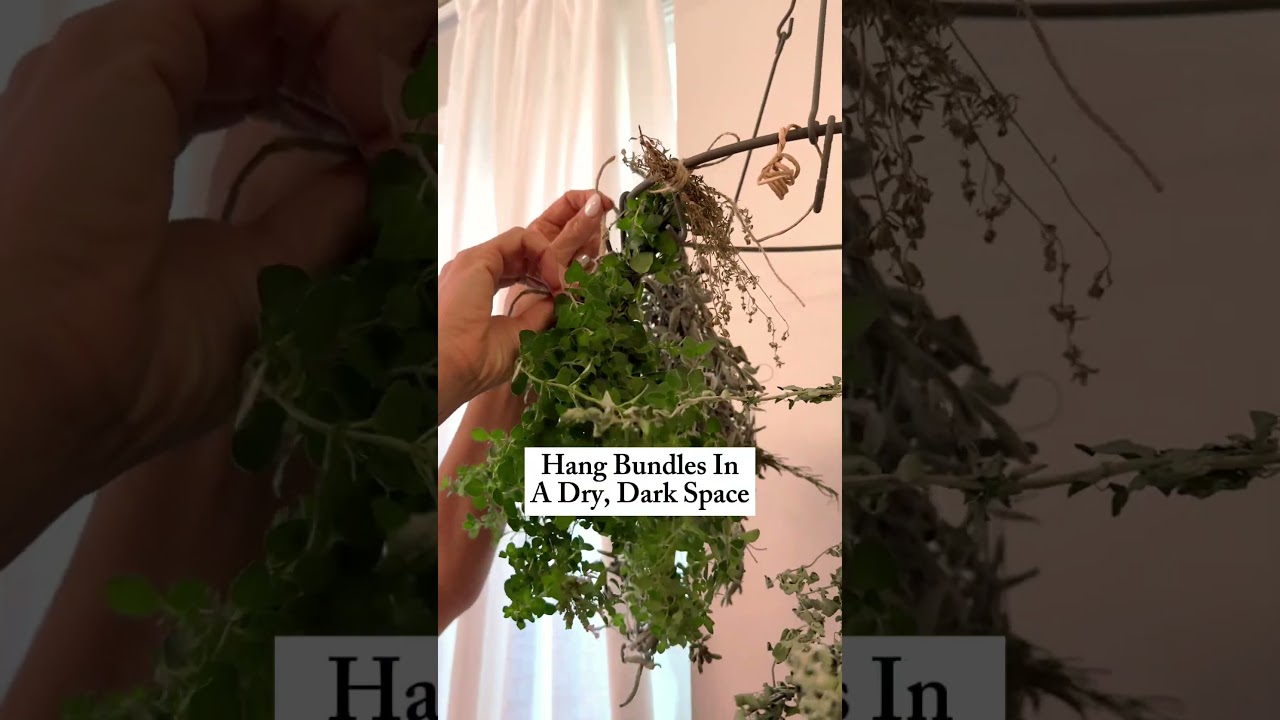
Say bye to grocery store herbs this winter if you harvest and dry some of your own👀#garden #herbs
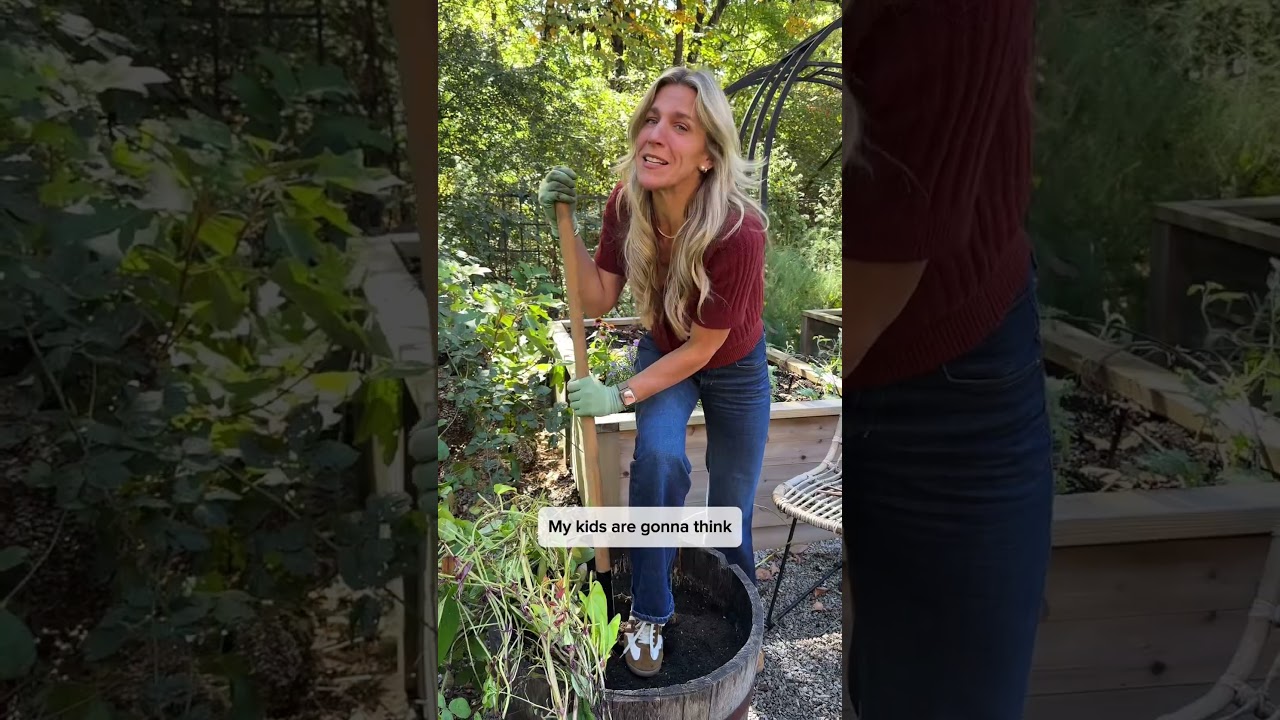
Can you grow your own Ube?! Let’s see if I grew anything besides purple vines🍠#garden #ube #plants
If your garden didn’t turn out how you wanted, it’s time for a fresh start😌#garden #fallgarden

Turns out you don’t have to sit at a desk all day…you can stay in the garden☀️#garden #meme #9to5

Do NOT buy soil with artificial fertilizers if you want a natural, organic garden😬#garden #soil

I wasn’t meant to send emails or work 9 to 5, I’m meant to stay in the garden all day🌿#garden #meme