Measurements You NEED To Know For Your Raised Bed Garden
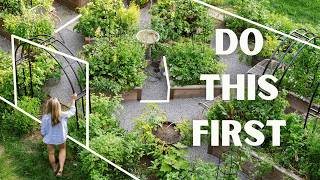
Nicole Johnsey Burke shares the key measurements for raised bed gardens. Make beds 2 feet wide against walls, 4 feet if you can reach from both sides. Soil depth depends on what you grow: 6 inches for leafy greens, 12 for root crops, 18 for fruiting plants. Pathways should be at least 3 feet wide.
Chapters
If you're thinking about starting a garden this year, don't make a plan, don't start digging, and definitely don't buy a single thing until you watch this video. Over the last 10 years, I have helped thousands of clients and students go from grass to a beautiful raised bed garden. And I figured out the measurements that you need to know to make your garden beautiful, productive, and so accessible that it is a dream to take care of. Over the next few minutes, I'm going to walk you through all the key measurements that you need to know to make your garden dream a reality. This season. The first measurement we're going to cover is the measurements needed for your raised beds. Now, I only garden in raised beds because it makes it so much easier. Plus, it's really beautiful. But you got to get the measurements right. So let's cover the width first. I see so many people make a mistake when it comes to the width of their gardens. The first thing you want to think about is the length of your arm. Yes, you want to measure your own arm span. So I'm at about two feet, and that's what most people are. Two feet are somewhere around there. And that's going to shape and determine how wide you want your raised beds to be. Because the whole point of having a garden is to be able to get into the garden. So as you can see, this is a 4 foot wide raised bed. And with my arm span as it is, I can reach right about to the middle of the bed. So if you have a raised bed that you're going to be able to access from all four sides, then you want your raised bed to be just about 4ft wide. You can see this bed is literally 48 inches. So a 4 foot wide bed is going to allow you to be able to reach in from both sides and get all the way to the middle of the bed. Now, if you have a raised bed that's going to be up against a wal, a fence, a home, a driveway, you're only going to be able to access it from three sides. Then you want to shorten the width of your raised bed to about 2ft. This is going to allow you to reach to the back of the bed, get full access to the entire garden, even though it is up against a wall. So start with 2ft wide, expand to 4ft wide. The widest you would want your bed to be is 5ft, and that's only if you're going to have tall trellises right down the center so that you don't have to reach all the way to the absolute middle of the bed, or if you're like so 6, 7 and your arm span is like 3ft, then go as wide as you want. Now, the next thing to consider for your raised bed measurement is the height. This is also a place where most people get it wrong. Now, the height of your raised bed is determined by two factors. One, what you're going to be planting and growing in that raised bed, and two, the comfort quality that you're looking for when it comes to raised bed gardening. So let's talk about first, the type of plant you want to grow and the height that's necessary. So you want to think about the root system for every plant that you're growing in the garden. At gardenary, I devise divide plants into three categories, leaves, roots and fruit. That's what you're going to be harvesting from the plant. So if you want to think about that first level, leafy greens, those are the easiest to grow. That's why I named them first. They're the fastest to produce and they have the smallest root system. So if you are growing leafy greens in the garden, you really only need a 6 inch tall bed. This is going to give you just enough height off of the ground level. It's going to give you a place for new fresh soil. And believe it or not, that's plenty of root room for your leafy greens. The roots on these leafy greens are like this small 3, 4 inches long. And so they don't need a really deep bed. Six inches is all you need. Now, if you move it up to the next level to the roots, these are going to be things like beets, radishes, carrots. Just think about it. Naturally, the root is the main thing you're harvesting. So naturally, you'd want more space underground, right, to let these grow. So for root crops, you want to expand to about 12 inch height in the bed. This is going to give you plenty of room for those roots to really reach down into the soil, grab up all the nutrients and get nice and big before your harvest. Finally, if you're growing fruiting plants, so we're talking tomatoes, squash, zucchini, eggplant, peppers, beans, peas, then you want your bed to be about 18 inches tall. So these plants are going to have much larger root systems and they're going to have sprawling root systems. So giving us 18 inches in the raised bed for the depth is going to allow that plant to sprawl out, spread out its roots, and be super strong and really productive above ground. Now, you can see my bed is taller than 18 inches. In fact, this bed is actually 24 inches tall. It got buried a little bit to level it out. So 24 inches. At that point, we're doing it just for the comfort. So over the years, I've created thousands of gardens for clients and we started to realize that a two foot tall bed is just super comfortable and easy to tend. You can actually sit very easily on the edge of the bed and work in it. So if you're a person who just wants your garden to feel comfortable and easy to care for, the two foot tall bed is the preference. Not because of the plants, plants, just because you want to be comfortable. So my four middle beds in the garden, they are 4 by 4 by 1.5ft tall. So 18 inches. I did this mostly for the aesthetics, for the height to change in my garden, but also practically, I use these middle beds mostly for growing root crops and leafy greens. So it's the perfect height. I can still sit on these, but they're not nearly as tall as my 2ft ones. Now, I promise you, these measurements would help make your garden super accessible and easy to take care of. And this one is the most important for that. And it's the pathways. So pathways in between your raised beds are a make or break when it comes to making your garden accessible, fun to tend. And if you make your pathways too wide or too narrow, it's not a good thing. So the standard measurement I want you to remember when it comes to spreading out your pathways is three feet. And this is kind of like a landscaper standard because it takes about three feet to get a wheelbarrow through a pathway. So you're looking at your garden, right? You're thinking you're going to have to bring in soil and gravel and new plants. So being able to push a wheelbarrow through your beds is a make or break. Plus, when you're working in here, you could work with a friend, a partner, your kids. It's nice to have two people in this pathway kind of working side by side. There's plenty of room in here. So three feet is my standard. Now you might be saying, but Nicole, I don't have three feet. I have a smaller space to work in. Two feet would be my bare minimum. So if you need to squish your beds together a little bit more, two feet would be the minimum I would put my beds in. If you can't make a two foot pathway, then I would suggest just widening your bed a little bit and possibly just having One big bed rather than two beds with a really narrow pathway. I want to show you next the stepping stones. And this stepping stone is perfect to show you because it is literally two feet wide. So it'll show you what that two foot space is like. I enjoy putting stepping stones in between my pathways because I like to come out here barefoot and I love putting gravel under my beds. It makes them last longer and keeps the garden cleaner. But it's not that fun to step on. So adding a couple stepping stones through the garden makes a huge difference in garden enjoyment and accessibility. When you're placing your stepping stones, you don't need an entire path made only of stepping stones. In fact, I found that the perfect deal is to spread out your stepping stones by about one foot. I found when I'm taking like natural gait, my natural steps in the garden. I'm 5 8, so add a little, a few inches if you're taller or shorter. But I generally step about every foot. So by spreading out my stepping stones with a foot in between, then I can kind of go from step to step without reaching too far or being too squished. So. So it's a great idea to keep in your mind when you're putting in your stepping stones. Put a foot in between each one. These stepping stones are so affordable. I think they're just a few bucks and they are 2ft long and 1 foot wide. I love the shape and the way they like kind of elevate the garden space. But they are such a good deal. So I'll put a link to these below the video. Now, you can't set up a raised bed garden without vertical gardening too. You want to add trellises to your raised bed gardens. They're going to allow you to grow two times as much food in the same amount of space. There are three kinds of trellises that we use in the garden. Panel, arch and obelisk. And I'm going to walk you through the measurements for all three and how to best use them. So the panel trellis, this is going to be good. You remember we talked at the beginning about those two foot wide beds, the ones that go up against a fence or a house or a driveway. These are the kind of trellises you want to use for those beds. You put a panel trellis right alongside the back of that bed and boom, you just doubled your growing space in that really narrow be grow up instead of out. You want your panel trellis to be at least 2ft wide to make the most materials you purchased and Then we want to go at least 6ft tall. I see these little short panel trellises on sale at the hardware store, and it is a total waste of money. Six feet tall, that is the bare minimum in two feet wide. Next up are arch trellises. These are my absolute favorite. If you look on any of my books, anything I do, it's definitely got an arch trellis included. So arch trellises will connect two beds together and they more than double your growing space, because all the way to this side, all the way back. But you've got to get the measurements right, so you need to be sure that your arch trellis is wide enough to pass the pathway. Don't get an arch trellis that's less than three feet wide. Right, because your pathway is three feet wide, because you watched this video. So these are actually about five feet wide. It gives me one foot of planting space on each side, which I love because I love to pack in the plants. But your arch trellis probably needs to be a minimum of four feet wide. And then once again, we need the arch trellis to be at least six feet tall. You're going to be growing vining plants on this arch, and if the arch is lower, you're going to have a hard time getting through the garden and your plants are going to run out of Runway to grow on. Now we're going to talk about the obelisk trellis. And if you're looking at these trellises and thinking, I've never seen any of these at, like, Walmart or Home Depot, and there's a good reason for that. So I created these trellis designs with my clients over the years, and we finally worked with a manufacturer who makes these into kits that we can ship right to your doorstep. These trellises are not cheap, all right? They're going to last for years. They're made of the highest quality materials. I use them in my garden and you're going to love them in yours, too. So I'll put a link to them right below this video. They're all in the gardenary shop. So this is obelisk trellis, kind of like a pyramid. And one thing you want to look out for with obelisk trellises is not having one that's too wide. Some of the first ones I ordered online are from Amazon. The things were like two feet wide and they took up so much growing space in the garden, you don't want to do that. So with the obelisk trellis, these are great for putting right in the center of the bed. Remember at the beginning I talked about the possibility of having a five foot wide bed. If you do that, you want to line the middle with obelisk trellises. Because you can plant around the edge and that middle piece, you don't really need it. So it allows you to have a wider bed if you want to do that. Obelisk trellises, great. In the middle of the garden. And when you have them nice and wide and open like this, you could plant three or four plants all around the exterior of this trellis. And then, ta da. They all have space to grow up all the way to the top of the trellis. These should not be wider than one foot across, otherwise they're going to take up too much of your very, very, very valuable soil space. And then once again, we want the obelisk trellis to be at least six feet tall. That's going to allow your vining plants to reach their full growing capacity. Now that you know the measurements you need for your garden, it's time to get your garden started. So go and watch this video now. It's my five steps to start your garden. From an expert.
More from Nicole
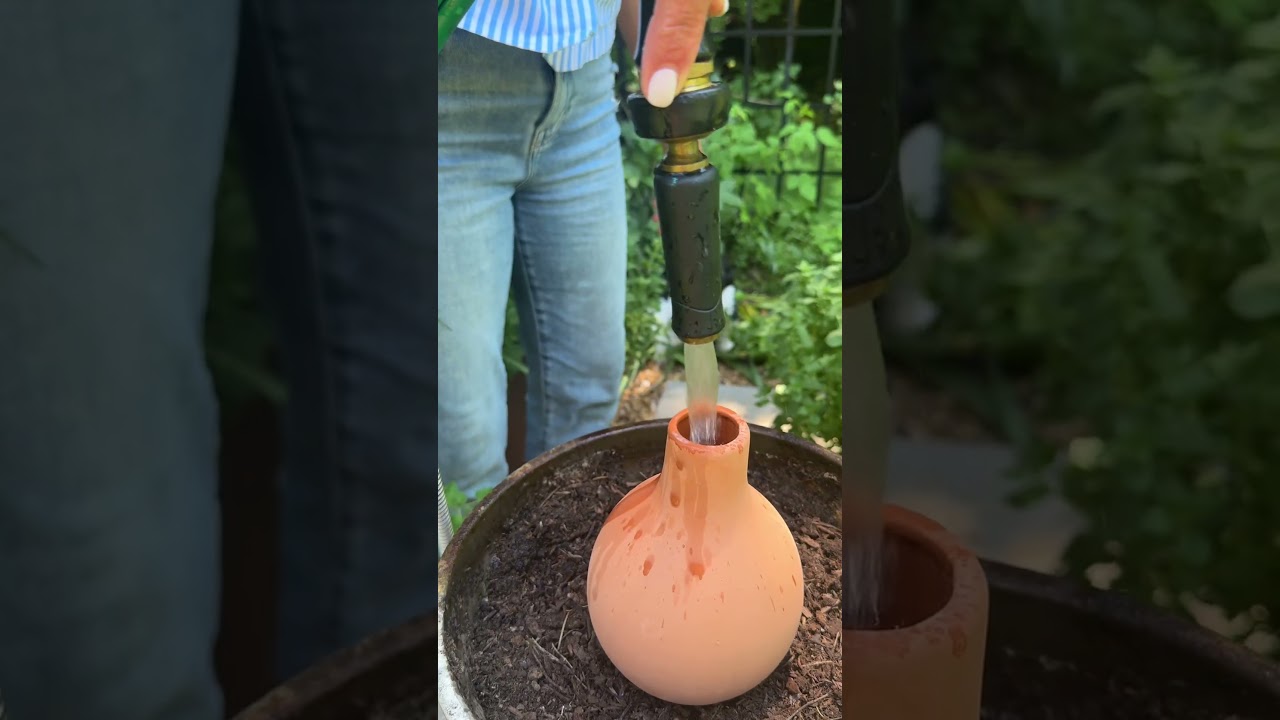
Propagation is the secret to turn 1 oregano plant into 100 that’ll last forever! #garden #herbs
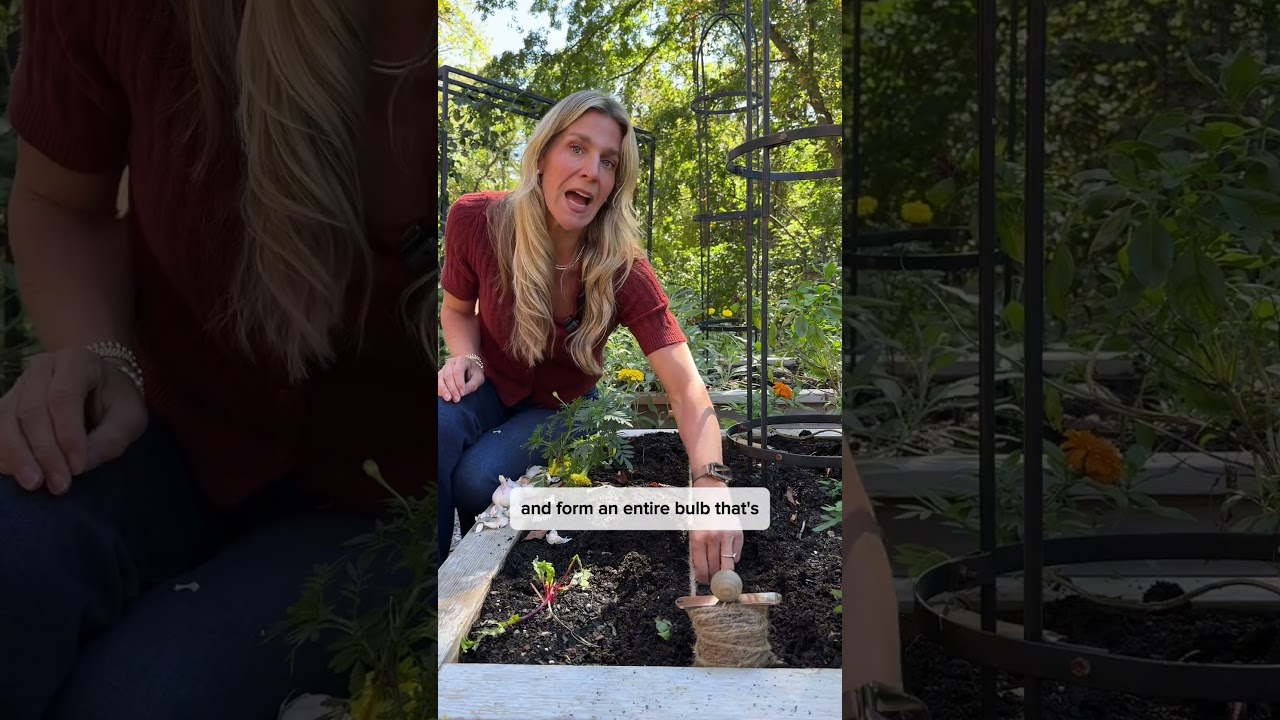
Plant some garlic this fall and you’ll never run out. Just follow these steps #garlic #gardening

Head to Gardenary.com to try out my FREE custom planting plan creator #garden #gardendesign #plants

Frost is coming so harvest all your tomatoes and make this soup🍅#garden #recipe #tomatosoup #tomato
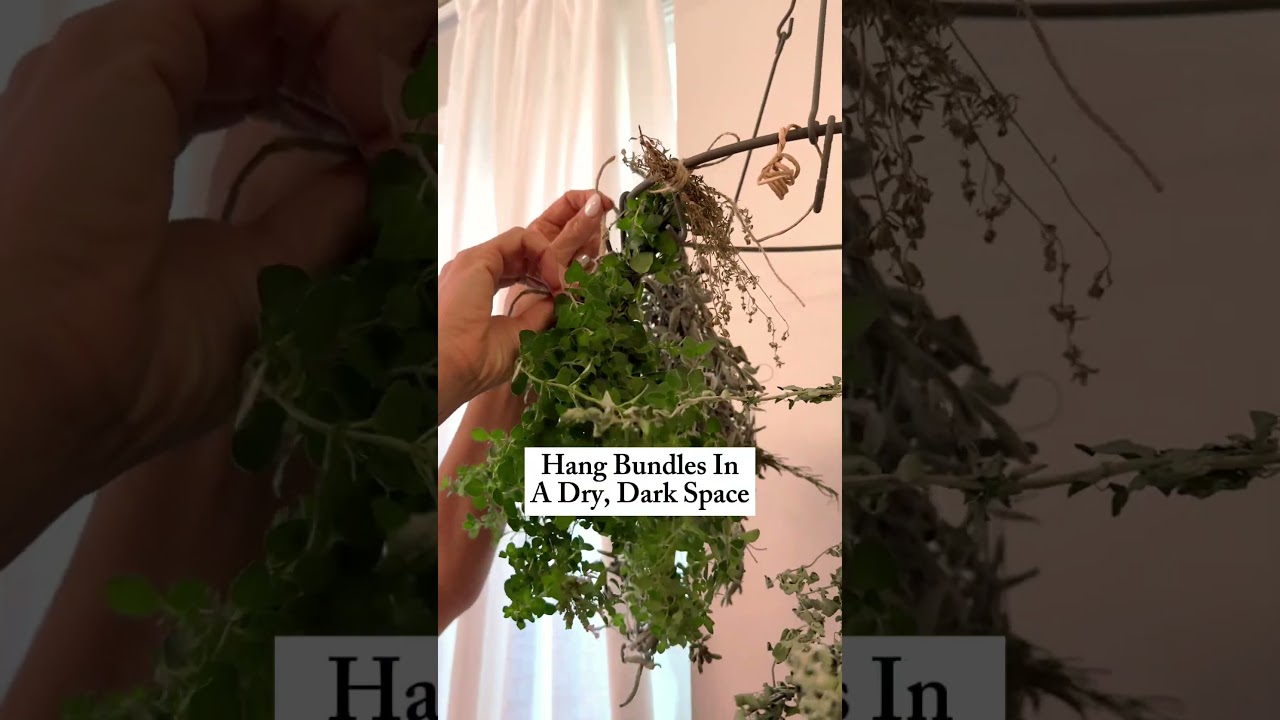
Say bye to grocery store herbs this winter if you harvest and dry some of your own👀#garden #herbs
Can you grow your own Ube?! Let’s see if I grew anything besides purple vines🍠#garden #ube #plants
If your garden didn’t turn out how you wanted, it’s time for a fresh start😌#garden #fallgarden

Turns out you don’t have to sit at a desk all day…you can stay in the garden☀️#garden #meme #9to5

Do NOT buy soil with artificial fertilizers if you want a natural, organic garden😬#garden #soil

I wasn’t meant to send emails or work 9 to 5, I’m meant to stay in the garden all day🌿#garden #meme