This One Tool Completely Transformed How I Garden

Nicole Johnsey Burke explains why plastic seed cells fail and shows how soil blockers work better for starting seeds indoors. Soil blocks eliminate plastic pots, develop healthier roots, and produce transplant-ready seedlings in 2-4 weeks. She walks through moistening the mix, forming 4x4 cm blocks, planting seeds, and using bottom-watering and grow lights.
Chapters
This one tool is one of the best advancements I've seen for the home gardener in the last decade. Seed starting at home is one of the best things we can do for our garden. You get better quality seeds, you can start earlier in the season, you get more variety, and you'll get healthier plants. But after trying to grow seeds at home for years and having massive failures because those little plastic cells would dry out so quickly, I'd forget to transplant the small plants into bigger pots and then end up throwing all the seedlings away and just going to the plant store anyway. After years of those failures, I finally started using this little thing, and it completely changed the game for me with starting seeds at home indoors, and I know it's going to help you too. Today I'm going to teach you step by step how to use this tool, a soil blocker, to start your own seeds at home, have the most beautiful seedlings for your garden, and never have to buy a plant at the plant store again. The best news about soil blocking is you don't need a lot of supplies. First, I love to use a big tub for mixing my seed starting medium. I just bought a bunch of these from Target. Then you need some kind of seed starting medium. I'm using just a normal seed starting mix here, but you could also use my coco coir and earthworm casting mix. I have a whole video showing you how to make that mix, and I'll link that right below this video. Next, you obviously need a soil blocker. This one creates soil blocks that are 4x4. They do have them for smaller, tinier little seedlings, but I found the transplanting process is not worth it, so I go straight in for this size. This is actually a Gardenary soil blocker, so we'll link that right below this video. Then you need 2 trays for each set of plants. You need one tray that is going to have drainage holes. Can you see those holes? Mm-hmm. That's going to let the water through, and then you need a tray that does not drain, and that's going to go right underneath that tray just like this. And you need as many trays as seedlings you are going to start. Then you obviously need some seeds. Here I'm going to be starting some greens for a cool season garden, So I've got some herbs, things like dill and parsley, and then I've got some little lettuces. I've got some butterhead lettuce, I've got red leaf lettuce, I've got red mustard, and then of course spinach. Then the only other thing you really need is some kind of tool to mix things up, and you need a couple gallons of water. So I'll show you how to put this water into the mix and make it happen. Step 1 is to moisten your seed starting mix. If you are using my coco coir and earthworm casting mix, then you might want to soak that coco coir overnight. Here I just use a bag of seed starting mix, and then I think this is a 3-gallon container. I'm looking to Carter for help. You're going to mix the water, and I just do it in portions. I'll pour in a bunch of water, let it soak in, and then mix it in and see what the consistency is like. You are going to want a wetter mix for your seed starting mix than you would normally have if you're putting these into little planting cells because— Why? Your soil blocker really works best with a mix that's kind of dripping, if that makes sense. So if you grab this with your hand and you squeeze it and you can get a couple of drips out of it, you're pretty much at the right consistency. If you're in another part and you squeeze it and nothing comes out, that means it's a little too dry. So you just keep mixing your water in, trying to get an even consistency across the entire mix, and then you're ready for step number 2. Step number 2 is to start to make your soil blocks. You're going to have your draining tray on top of your non-draining tray, and then you're just going to take your soil blocker, and you kind of just push it back and forth inside your soil mix like this. I like to kind of shake it on the bottom to make sure it's nice and even, and then when you pull it up, it should be fully covering each of these holes. If it's not doing that, you're not going to get a complete soil block, so I just like to kind of run my hand on the bottom and make sure it's flush there, and I've filled up all 4 containers here of this soil blocker. Then I just take it, slide it down my tray, and go to the very back of the tray, and then I'm going to press this little presser guy, and that's going to release the 4 soil blocks all in the right place. And then I just lift it up and make sure they all keep their shape, just like that. So now I've got 4 soil blocks, and you can see each of them has a little hole in it, and that's perfectly shaped for the seed you're going to put in. Now, I go ahead and I try to fill my entire tray with soil blocks before I start to plant my seeds. That way I know what I have room for, and I can see all the seeds at once, and if I mess up and need to move some things around, I'm not messing up the seeds I just planted. So again, making sure all the spots are full. You can always take your hand too and add a little bit more Soil medium in there, press against the 4 you just created, and then squeeze again, just like that. And then we do it again. You can see I filled up almost the entire tray. I try to squeeze and fill up every single square inch, one, to make the most of the space, and two, it helps them not to dry out. I'm gonna get this last one filled up, and I already started— this is only 4 wide, but you can actually fit 5 down across, so I just come in and turn the soil blocker the different way. That way I can fill up the entire thing, and then I'm going to attempt to just do 2 for the final block, and I'm doing that just by filling it up with my hand. So this is step 2, and you are almost ready to plant your seeds at this point. You've got a nice moist soil medium, and you've got everything you need inside this medium to help your plants grow. So I just kind of squeeze it like this and put them right in the spot. There you go! So we filled up the entire thing. Now we're ready for step number 3. The 3rd step is to plant the seeds. Go figure! I'm going to be doing spinach and red mustard on this tray, maybe some parsley, and you're just going to take one seed and put it in each hole. I don't cover up the holes until I have filled them all because I've been known to accidentally put Twice or 3 times as many in a hole. You can double seed them. Some people do that. Our seeds are really reliable with germination, and so I find if I double seed these holes, I end up having to go back and thin the seeds, and I just— I'm not good at doing that. So I'm just putting 1 seed per hole, and then you'd want to put a little plant tag. Sometimes I'll even just lay my seed packet next to the tray so I don't forget what is planted where. Spinach seeds are very easy to plant 1 per hole, but these red mustards, That's going to be another story because these are tiny, tiny seeds, so I'm going to do my best to use my thumb and— what's that? Is it called a forefinger? My first finger here to rub and just drop one seed at a time. I can already tell I'm doing more like 2 at a time, so going down the line like that, and I'm doing about— I did 4 rows of spinach. I did 3 rows of purple mustard, and then I do want to do some parsley. Parsley is such a good plant to have in the garden. It brings in beneficial wildlife, and it's so delicious, but it is very slow to start from seed. I'm going to get these going sooner rather than later. Parsley loves cool weather, so if you're watching this before a cool weather season, you'll really enjoy it. So that is the end of step number 3: 1 seed per hole, and then make sure everything's labeled so You actually know what comes up when it does. Let's move on. Step 4 is to take a little bit of your seed starting mix and just cover up that little hole where you have your seed. You're just going to do this all across the entire tray, and now you are ready to grow. So a couple of notes on growing your seeds in soil blocks. First, you want to place this under a light, and you really want that light to be as close to your seedlings as possible. If you're growing something for the warm season, something like tomatoes or peppers, you're going to need to have a warming tray underneath. set to the typical temperature that those seeds germinate at, probably, I don't know, at least 55, 60, maybe 70, and then you need that light really close as soon as you see the very first sign of green. You don't need the light before that, but once the green pops up, you need a light very close to your seedlings. That light needs to be on your seedlings for 12 hours a day. I like to use a timer on mine that comes on around 6:00 AM, Turns off around 6 PM. Then for watering, you are set up to water these. You do not want to water them from the top. That's going to destroy your soil blocks that are so beautiful and little works of art. Instead, what you want to do every day that you come to check on your little seedlings is just touch your soil blocks from the top, and if they feel dry to the touch, then you're going to lift up this tray, and you're going to use your water. And you're just going to add a little bit of water right to the bottom of the tray. You don't want to overdo it because you can easily flood these seedlings, and flooding them means totally destroying the shape of the soil blocks. So a little bit of water at a time, and what happens is that water wicks up from the bottom and then gradually makes its way into all the soil blocks. Don't water regularly, don't water on certain times. You really need to respond to whether or not the soil blocks have dried out. And then you water, and that's about it. So these little seedlings, because they're greens and they're herbs, they're going to be sprouting in less than 5 to 7 days, and then they'll be ready to move out to the garden within about 2 weeks. If you're doing bigger plants like tomatoes or peppers, those might take more like 3 to 4 weeks before they're ready to move out. The beauty of soil blocks is that this is the only time you have to touch these seedlings. You don't have to transplant them to a bigger cup or a bigger pot. You don't have to worry about them becoming root-bound. because the roots are going to be exposed to the air, so they will not be winding themselves around the little soil block. They'll be ready to transplant. You don't have anything to throw away when you're done with this soil block. You just literally grab the block, stick it in the soil— no pots, no plastic. It's amazing. Soil blocking literally will change the game for you and help you to have much healthier, more variety, and prettier seedlings than you've ever seen before for like 1/100th of the price. I'm such a believer in the soil blocker that we created our own here at Gardenary, and we have a free guide that comes with the soil blocker every time you buy one so that you're not left in the dark to know how to use this thing. So if you don't have a soil blocker yet, then you can get ours right below this video, and you can get the guide to go with it for free. Speaking of free or almost free, I have a way that I create this seed starting mix that is even less expensive than buying this from the store, and I think it's better for your plants. I made a whole video breaking down how I make that seed starting mix, and you can watch the whole thing right here.
More from Nicole
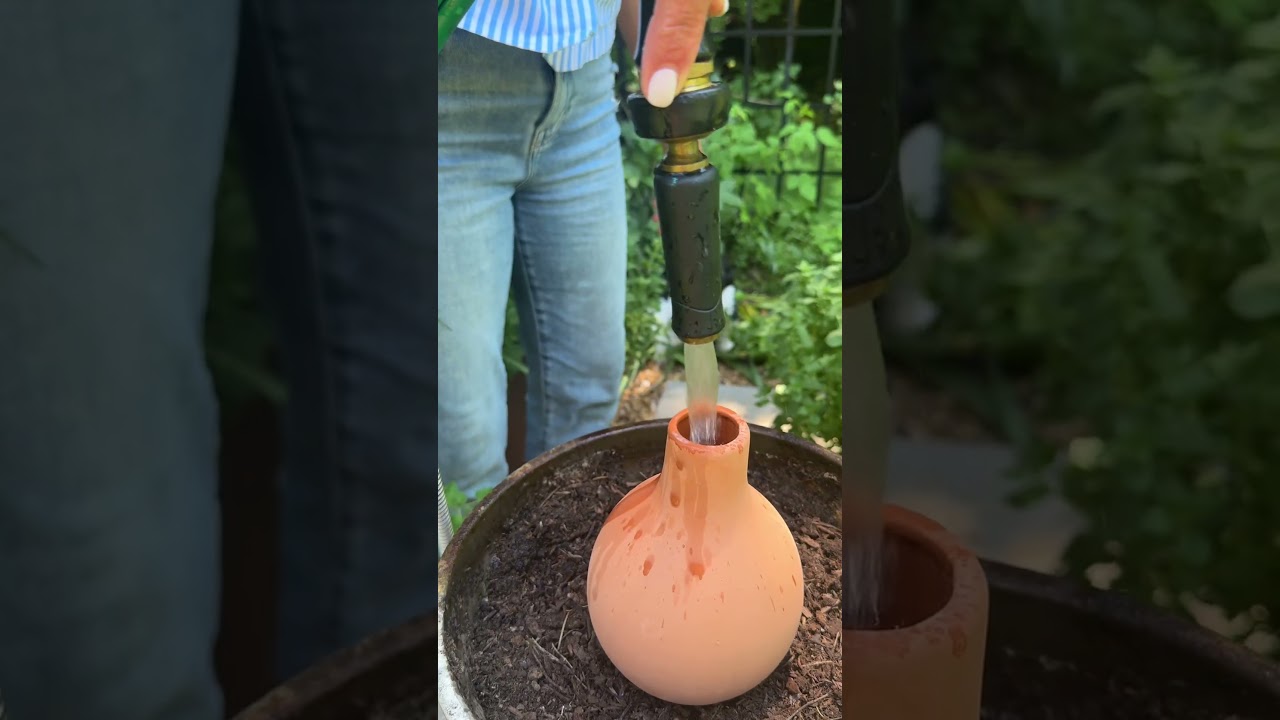
Propagation is the secret to turn 1 oregano plant into 100 that’ll last forever! #garden #herbs
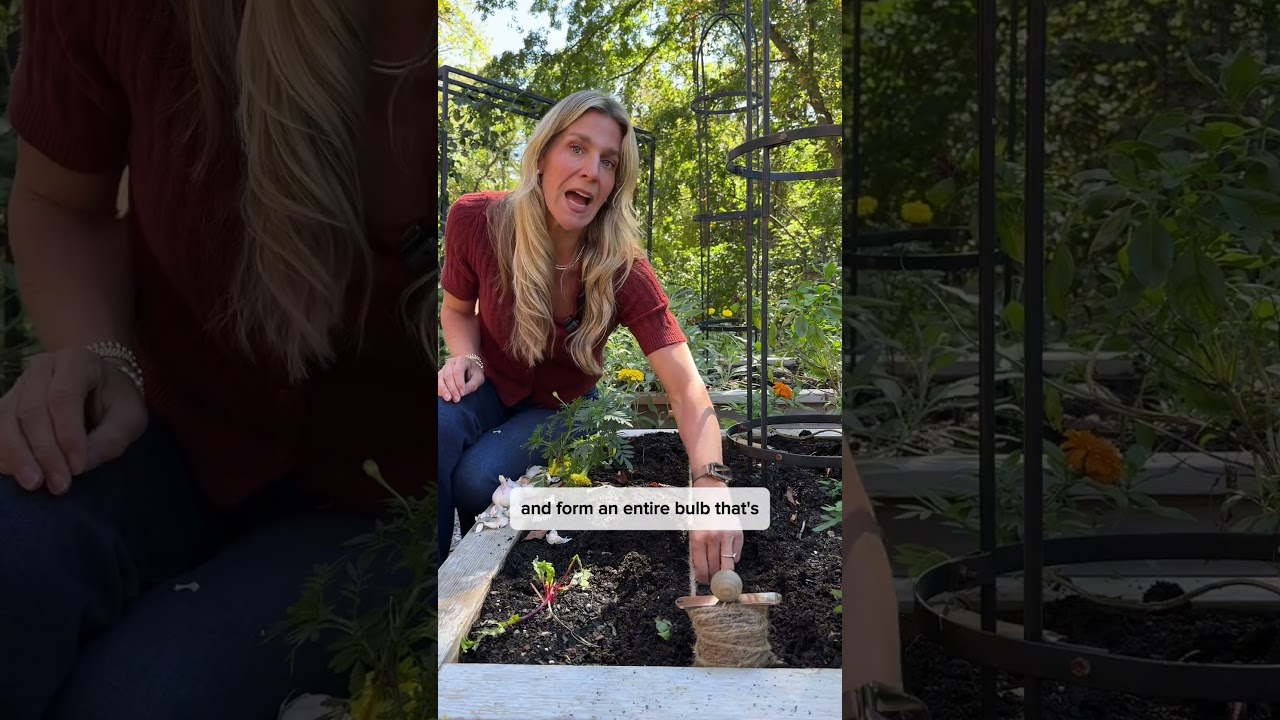
Plant some garlic this fall and you’ll never run out. Just follow these steps #garlic #gardening

Head to Gardenary.com to try out my FREE custom planting plan creator #garden #gardendesign #plants

Frost is coming so harvest all your tomatoes and make this soup🍅#garden #recipe #tomatosoup #tomato
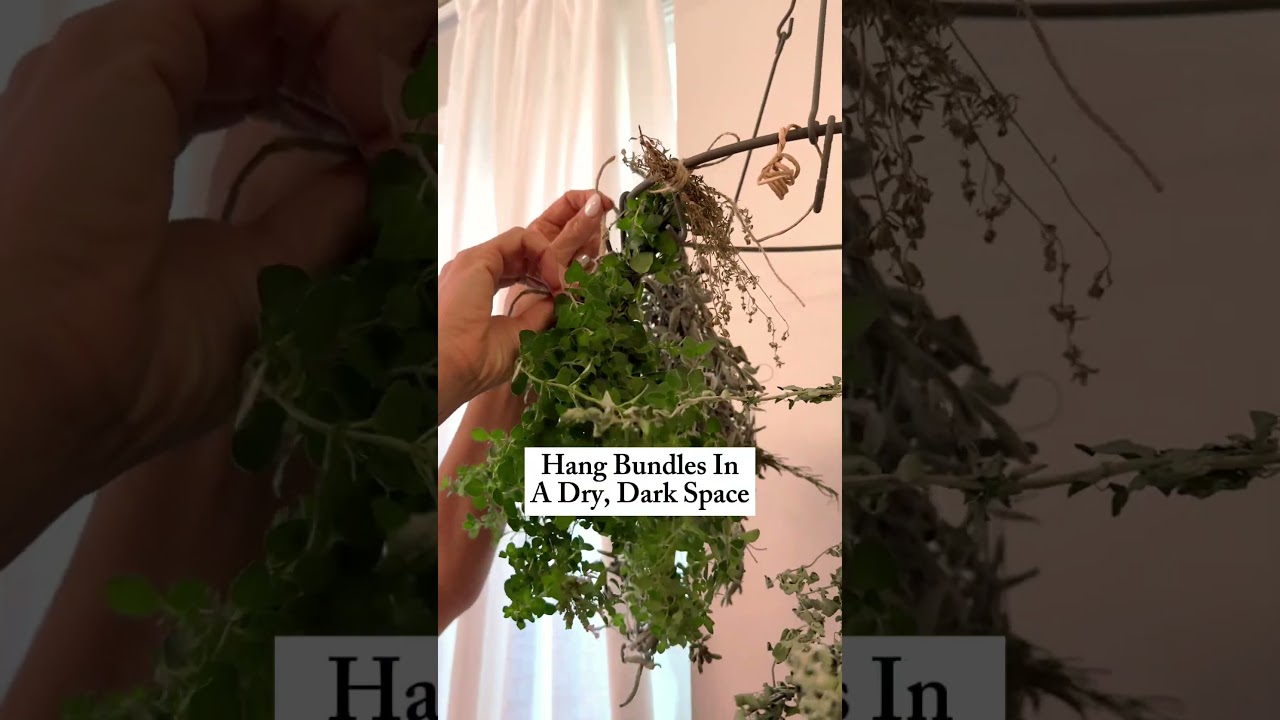
Say bye to grocery store herbs this winter if you harvest and dry some of your own👀#garden #herbs
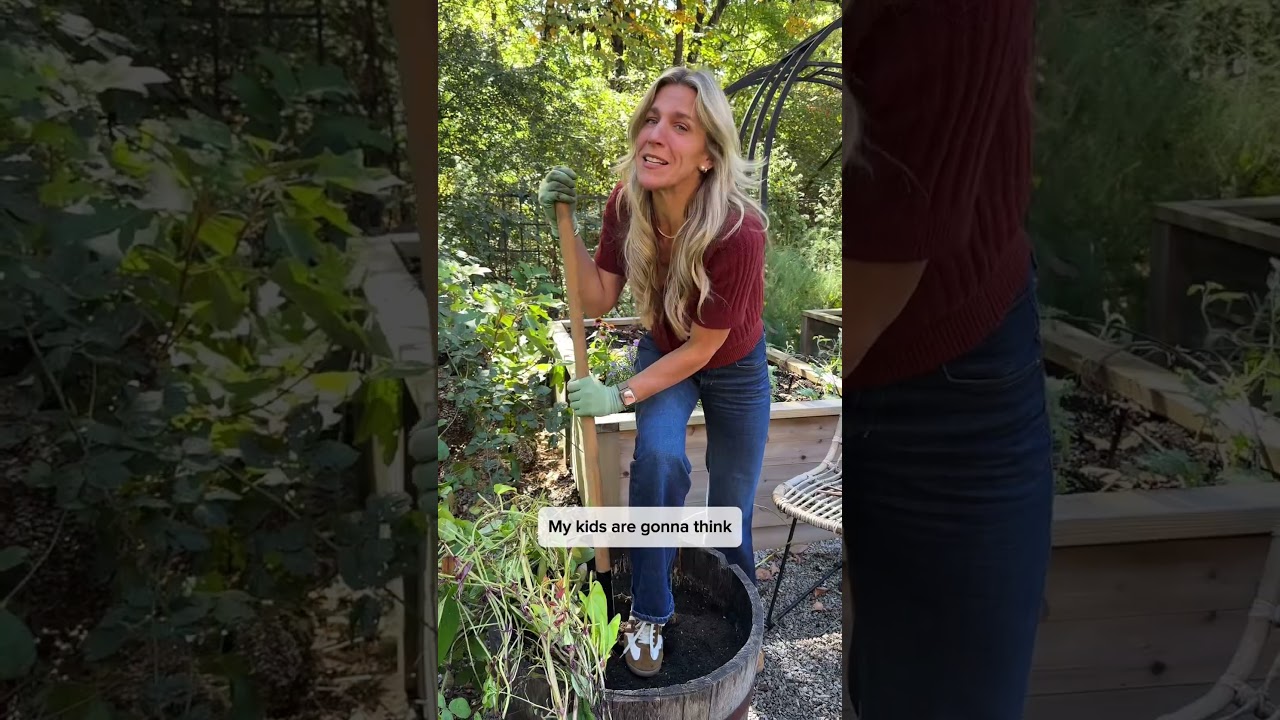
Can you grow your own Ube?! Let’s see if I grew anything besides purple vines🍠#garden #ube #plants
If your garden didn’t turn out how you wanted, it’s time for a fresh start😌#garden #fallgarden

Turns out you don’t have to sit at a desk all day…you can stay in the garden☀️#garden #meme #9to5

Do NOT buy soil with artificial fertilizers if you want a natural, organic garden😬#garden #soil

I wasn’t meant to send emails or work 9 to 5, I’m meant to stay in the garden all day🌿#garden #meme