How to Create KICK A$$ ADS - Filming Basics
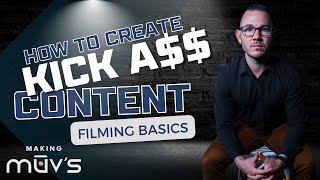
A chiropractor's guide to filming ads that convert. Use an iPhone 14 Pro with 4K at 30fps, a three-point lighting setup, and a Rode or DJI mic. Stabilize with a tripod or gimbal, keep backgrounds clean, and nail your audio levels.
Chapters
If you're a chiropractor and you've been wondering how to create kick-ass captivating ads that targets and converts your ideal clients into new patients that are ready to commit to your transformative care program, then this is the series for you. Welcome to the Makin' Moves 4-part series on creating kick-ass ads that's focused on one thing: getting new patients. So let's get started with Part 1: How to Create Captivating Creative. In this video, we're going to go through the gear, the settings, and the scene setup that will help your content stand out on social media timelines, and then we'll show you the exact framework we use to grab and hold attention long enough to tell a compelling story. Quickly, I sincerely appreciate you watching and hope you're getting immense value from these projects. All I ask is that you consider subscribing to the channel and leave me a comment below on what was the most helpful takeaway or anything you'd like to see in the future. It really does help out the channel and help us to reach more chiropractors. So let's dive in. The first step to creating captivating content is learning how to use your lighting, camera, and audio to produce the highest quality of footage possible. Let's start with lighting. This is arguably the most most important factor in whether your content looks professional or not. It can literally make or break your video. Here's an example of using a Sony camera in 4K resolution with improper lighting, and here's a clip using the same camera with a proper 3-point lighting setup. I told you the difference was massive. It can literally take your video from hero status to zero status. So let's dial it in. We'll start with the default setup called the 3-point lighting system. Light number 1 is called the key light. This is your main light source illuminating the subject. For this light, I like to use a Lume Cube that has built-in diffusion, or you can use a softbox that keeps the light gentle and flattering instead of harsh and sharp. You want to set this light up about 45° off the side of the subject, typically set to around 5600 Kelvin to mimic natural sunlight. This is your main light source and should be set at the highest level of intensity of the 3 different lights. Pro tip: to optimize the look and feel of your key light, you'll want to create the Rembrandt triangle on the opposite side of the subject's face. If you're looking for an emotional feel to your video, this immediately increases the quality of the footage and gives it a professional feel. Light 2 is called the fill light and should be placed at a similar 45-degree angle on the opposite side of the subject, but should be set to a much lower intensity to balance out the key light. Light 3 is the background light used to create separation of your subject from the background. You can get super creative with these lights using colorful tube lights, lamps, or whatever else you have laying around. Just ensure that the background lighting is a much lower intensity than your fill and key light to prevent the scene from being washed out or creating a starburst effect that lowers the visual quality of the video. My last tip: if you want to use natural lighting or just don't have enough lights for the 3-point system, that's all right. Just place your subject with the windows to the front or off to the side, just like you're using a key light. Then you can use a fill light at a lower intensity from the opposite side to give your video a nice natural look. Remember that one of the cons to using natural light is the chance of inconsistent lighting conditions due to any cloud coverage or sun blockage. This can change the look of the video throughout your recording and force the camera to try to balance the exposure using its digital enhancement feature, making the video look more granulated than if your lighting or exposure stays consistent throughout. Next, let's talk cameras. You really have two options when it comes to choosing a camera. If you spend the money on an expensive DSLR or mirrorless camera or you shoot with your iPhone. It's currently 2024 and nearly every smartphone has an incredible video capability with 4K resolution. And if you nail the lighting and video settings, you often can't tell the difference between an iPhone camera or a $4,000 professional camera. But let's break down the best way to shoot professional-looking videos using my iPhone 14 Pro. Setting number 1 is resolution. We wanna make sure that we're shooting in 4K resolution. This means that we're capturing with 4,000 pixels, allowing us to maintain video quality when we punch in and out during the editing process. Even if you're uploading in 1080p, you always want to make sure that you're shooting in 4K if you can. Setting number 2 is frames per second, or FPS. This setting is exactly as the name implies, the amount of frames recorded per second. The human eye sees about 24 frames per second, allowing natural motion blur to occur when an object is moving. Shooting in a higher FPS removes the motion blur and looks unnatural to the human eye. The only time you'll want to shoot in a high frames per second is if you're gonna slow down the footage into slow motion. When we're shooting ads, we typically like to shoot in 30 frames per second because it's close enough to the way that we see the world, and it's the preferred frames per second for social media platforms. So we'll shoot most of our videos in 4K resolution and 30 frames per second. An easy way to change this setting is by opening your camera, swiping over to the video mode, and making sure the top right corner shows 4K 30. If it doesn't, just click each of those toggles until it does. It's as simple as that. Setting number 3 is focus and exposure. First, we want to ensure that our main subject stays in focus throughout the video and it doesn't try to auto focus on anything else while you're moving throughout the frame. Typically, the iPhone does a great job of staying locked on even in the auto focus mode. However, to be super safe, you can hold down the subject until the square pops up, locking the focus for the entirety of the video. The camera doesn't shift the brightness up or down while you're in the middle of shooting. I like to keep my exposure slightly below zero to give our videos a slightly darker aesthetic to match our brand image. Play with these exposure settings until you find the exact look that you're going for. But remember, a slightly darker video will look better on a timeline than an overexposed washed out video. So I'd always err on the side of underexposed. Then you can brighten in your editing software if you need to. Now we'll talk orientation. If you're shooting video for organic Shorts or Reels, or you're gonna place your ads in Stories, Reels, and timelines, you'll to shoot these vertically. However, if you're shooting ad-specific content only to be placed on timelines that you'll be uploading to the Ads Manager, it's better to shoot in the horizontal orientation because when they're placed on a timeline, they actually place as a square with a call to action bar across the bottom. Make sure that when you're shooting the vertical videos that will also be placed on timelines through the Ads Manager that you leave space above and below the subject because when it auto-crops, it will zoom in. This also applies to captions. Don't put captions too high or too low on the video, or you'll risk cutting off the top or the bottom of the text. Also, really quick, although handheld dynamically shot ads do perform best, if you need to shoot on your own, you can either use a tripod for fixed position shooting, or you can get a fancy gimbal that has an AI tracking feature that will actually follow you around the room. The tripod I recommend is this Atumtek 65-inch tripod that easily fits into the of any backpack. It's easy to set up, break down, and it keeps the phone level whether you're in vertical or horizontal mode. I'll leave a link in the description to grab it on Amazon. I think it's like $25 and well worth the money. The fancier option is a gimbal, also known as a stabilizer. If you want to spend the money, this is a great option to add a little better stabilization and handling on the run. And like I mentioned, some of the newer versions have an AI software that will stay locked on a subject even as you move around the room. This is like giving you a personal video recorder even while you're shooting alone. All right, so we've talked lighting and we've talked camera. Now let's talk audio. Audio is a crucial piece to captivating an audience and holding their attention. I'm going to break this down into what I like to call the 3 Ps and an A, but it didn't start with a P, so it didn't sound as cool. Placement, power, plugged in, and audio gain. I know these sound simple, but let me save you the painful mistake of thinking you crushed an entire content recording session only to find that your mic didn't record a single second. And yes, it's happened multiple times to us for each of the 3 Ps. The first P is placement. When placing the mic, you want to have it at a balanced distance from your mouth with the inlet angled up. You'll also want to ensure that the way you're securing the mic to your shirt doesn't fold it up, droop it down, or have it pressing into your skin or clothes. This can muffle the sound or add unwanted static to the audio. This is one of the reasons I prefer the DJI lav mics, because they come with a magnet that allow you to place it anywhere on your shirt. Instead of the Rode mics, which have to be clipped to an open edge, increasing the chance of drooping down or pressing into the skin. The second P is power. Make sure that both the mic and the receiver are fully charged and that both units are powered on. Don't trust the auto power coming out of the charging case. Always double check. The third P is plugged in. Make sure that the receiver is snapped all the way into the smartphone or the camera. This receiver has two clicks and must be pressed firmly to fully seat into the proper position. Last up for audio is audio gain. This is the volume of the audio into the recording devices. You'll want to set the audio gain to the lowest setting possible that still records quality sound. This prevents any crackling or blown out audio, which can ruin your entire video. On the iPhone, the audio gain is automatic, so you'll have to adjust the gain on the microphone receiver. If you're using a camera, you'll turn down the audio gain until the volume is roughly -20 dB. Always record a test video with the subject repeatedly saying audio, audio, audio, audio, then play it back to make sure your 3 Ps and audio gain are dialed in, ready to go. Now let's talk about the scene. When you're shooting professional quality videos with the intention of bringing in new patients, it's important to have a clean and professional background that aligns with the quality of care that you provide. I literally see it all the time where people put tons of effort into writing, filming, and editing videos, but the overall feel is still just really sloppy because they don't take 30 seconds to clean up and organize their background before pressing record. So first things first, make sure you have a clean and consistent background. You may even need to remove things from the room to reduce the overall clutter. Second is framing. When you're framing the subject, you want to create a good amount of space between them and the background. This is known as depth of field. It separates the subject from the background and is also how you create that blurry background effect that adds screen quality to top walking head style videos. You'll also want to ensure that the subject is centered, and this is especially true if you're shooting dynamic footage like an adjusting walkthrough. It makes editing much easier and prevents cutting out any pertinent footage when the auto crop in the Ads Manager occurs. Next is headroom. This is where a lot of beginner-level videographers make mistakes. They place way too much room over the head of the subject, which makes the footage look like it's straight out of Willy Wonka with the subject shrinking or sinking to the bottom of the frame. So now that we've covered all the fundamentals to shooting professional quality footage that stands out on social media, you're almost ready to press record. In our next video, we're going to give you the exact framework to hook, retain, and compel your audience into taking action and becoming a lifetime chiropractic patient in your office. Thanks for watching the first video of our Kickass Ad Series to help you leverage social media with one focus: getting new patients. If you're ready to learn more and dive even deeper into how you can bring your Facebook and Instagram ads in-house, then click the link in the description to learn more about our Chiro Ads Academy that is helping docs all over the world cut the cord with marketing agencies and generate a repeatable ROI without paying retainer or service fees. I appreciate you watching, and I'll see you in the next one. And as always, keep making moves.
More from Ryan




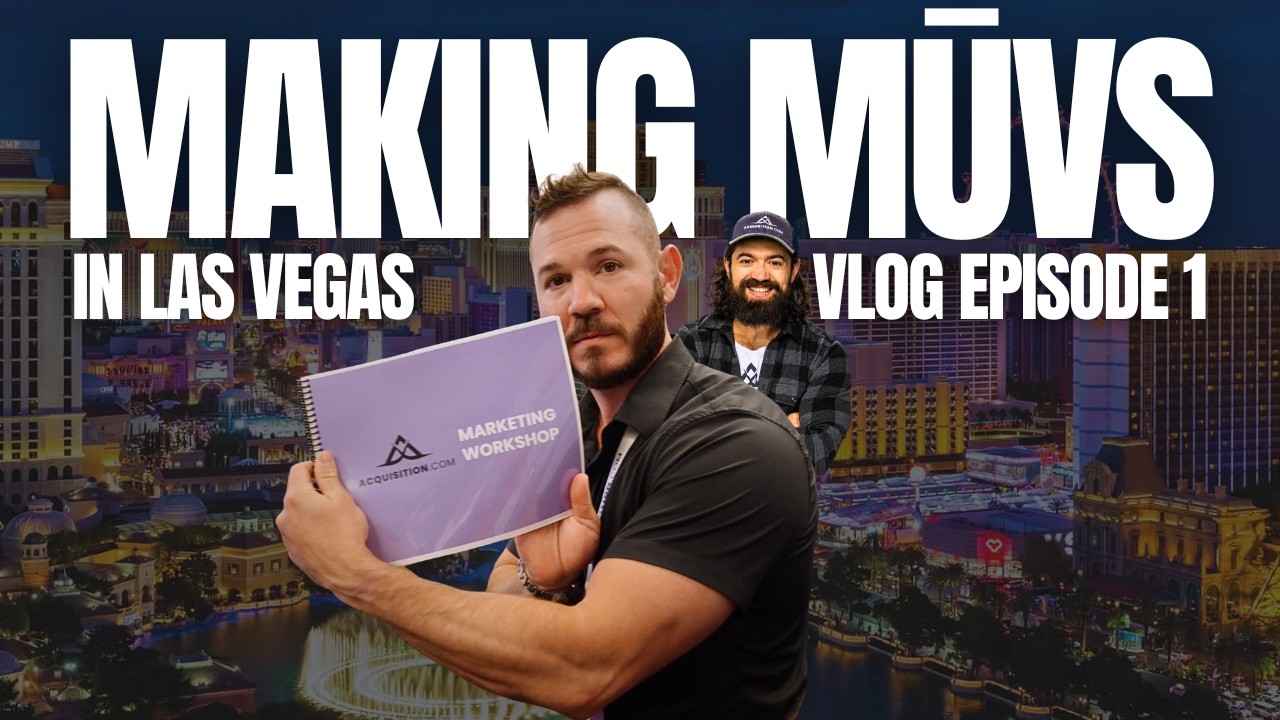
Making MŪVS (Vlog) - Episode 1: Inside Acquisition.com's First Ever Marketing Workshop