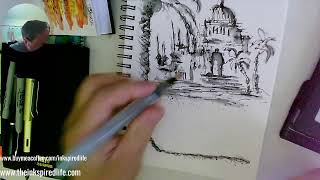
In this informal lunchtime livestream, artist Jason Nicholas guides viewer Becky through a quick sketching session using ink on 140‑lb Canson watercolor paper. He demonstrates how to draw palm trees—starting with the frond shape, adding squiggly trunk lines, and applying diagonal cross‑hatching for bark texture. He then expands the scene to an archway, stairs, and a sandy ground, employing stippling for sand, water‑brush ink bleeding for atmospheric depth, and vertical “growies” to suggest grass. Throughout, Jason shares his preference for fast, fluid sketching, mentions his tools (Lamy pen, medium‑point and wider water brushes), and frames the activity as a creative break to refresh his mind before the new school year. The tone is conversational and instructional, with enthusiastic encouragement for viewers to try the techniques themselves.
Chapters
Hey Becky, good to see you.
Hope you guys Hope you're having a great Friday afternoon. Just popping off for some quick lunchtime music and sketching. That would be fun. Sitting here at my desk, a little different setup than usual. I just felt like doing something, some kind of sketching. I hope you guys are having a great, great day. Let me know if you can hear me. Hopefully you can, or maybe not. Maybe you don't want to hear me, which is totally understandable. So I'm just making a scene up here, kind of just something in my brain, some kind of palm trees happening, maybe. Becky says awesome palm trees. Thank you, Becky, I appreciate that. You especially coming from you, you are the tree guru. Palm trees are probably the only trees I can sketch decently. And I think going to school in Miami kind of helped with that. Not many palm trees around here in northern New Jersey. You have to rewatch how you sketch awesome palms. Hey, no problem. I can— I will sketch a palm now if you would like to see. I can show you how I sketch palms. Let me I'll just grab a sheet of paper. So right now, this is 140-pound Canson watercolor paper, and I'm using my Lamy pen. But let me just switch to some scrap paper, and I'll show you how I sketch a palm tree. So I like to start with, um, kind of the front. So let's go through kind of a slow version of it.
It's kind of like this, kind of repeating this similar shape.
This is real— it comes out better when I sketch it faster, but this is kind of the idea. And then for the the, uh, what do you call that, the trunk. I kind of just do some squiggly lines and I kind of do that, some squiggly lines kind of at the top. You know, you can curve them if you want, right? Palm trees sometimes have bends in them. And I just kind of flare out the bottom a little bit. So let me draw a smaller one over here. This one, a funky curve. And sometimes I'll come back and maybe I'll add some more. Um, sometimes I'll come back to the leaves or the fronds and I'll just do some— just to give it some texture, give some jaggedy lines on it. And then on the trunk, I just like to do cross-hatching, diagonal cross-hatching for the trunk. So I'm gonna sketch diagonally one way, just come back over it the other way, and it gives gives you the idea of the texture or the bark on the— I guess that's bark on a palm tree. The bark had texture. And if it's a coconut palm, you could throw some coconuts in here, right?
Some round shapes for coconuts.
That's, that's a quick Gai to palm tree sketching. Hopefully that helped. Again, for me, they come out better when I sketch faster. If I try to think about it, they don't really work out.
So we'll just sketch some here.
You know, get— you can get playful with the shape of the trunk. They're not perfectly straight up and down. I mean, well, that's not true. You see palm trees straight up and down, but I like to add a little bit of character. Palm 101. Palm 101. Give it a try, let me know if it works. Here's some kind of archway going into this building. Hey, if you're on, say hello. If not, that's okay. Hope you're enjoying this quick little sketching and music. Fun to pop on, taking a break from prepping for the new school year coming up. I needed an injection of some creative time. This will help get the creative juices flowing again. Maybe there's some kind of stairs leading up to this doorway. So just, just to show us some stairs or steps, just doing some horizontal lines really to give the idea or illusion that you're kind of walking up into this building. Maybe it's an old cathedral. I kind of like this in black and white and gray. I don't, I don't think I'm going to add color to it, not now at least. I do want to indicate maybe some kind of, uh, some kind of sandy texture maybe happening in here. So I'm just going to add some stippling. Stippling is just dotting, adding dots to your paper. Using a different camera, so I can't really focus in, get too close. I'll hold it, hold it up in a second. You can see what I'm doing. Stippling is very therapeutic. Here, I'll just show you up here. So I'm really just kind of just want to indicate some sandy texture happening here. Maybe I don't want to be too fussy with it. I mean, this could look really cool if I spent an hour adding a lot of stipples here, but this is just a quick sketch. I'm just adding a little bit of water on top of some of these dots here just to let the ink bleed a little bit.
There you go. Cool.
Hey, welcome Becky! Hope that helped. Love the ink bleeding.
Yeah, yeah, me too.
Add some more stippling down here. I'm actually— there's, there's water on here and I'm just kind of adding the stippling right on top of it. I can lightly go over it if I want and maybe just drag my brush. Create almost like ridges in the sand, right, just to give some depth to this view. I feel like I need some, uh, some kind of growies or something happening down here, and to do that I'm just gonna do some vertical lines down here. I like adding these growies and kind of in the front of these sketches just to help frame the view and create a little more interest in the depth. And I'll just take my water brush. Usually I use a medium point water brush. This is a wider one. Um, I like the smaller one better. I'm just too lazy to get it. It's right behind me. That's okay. So I'm just gonna kind of flick up over where I drew those vertical lines, flick it up, and we're just going to create some— there's some grasses or something growing along the bank here. So, and it's going to bleed, it's going to bleed, which is give it a nice effect as well. Hey, have a great day, take care, thanks for watching. There you can see how that's just bleeding there a little bit.
Cool.
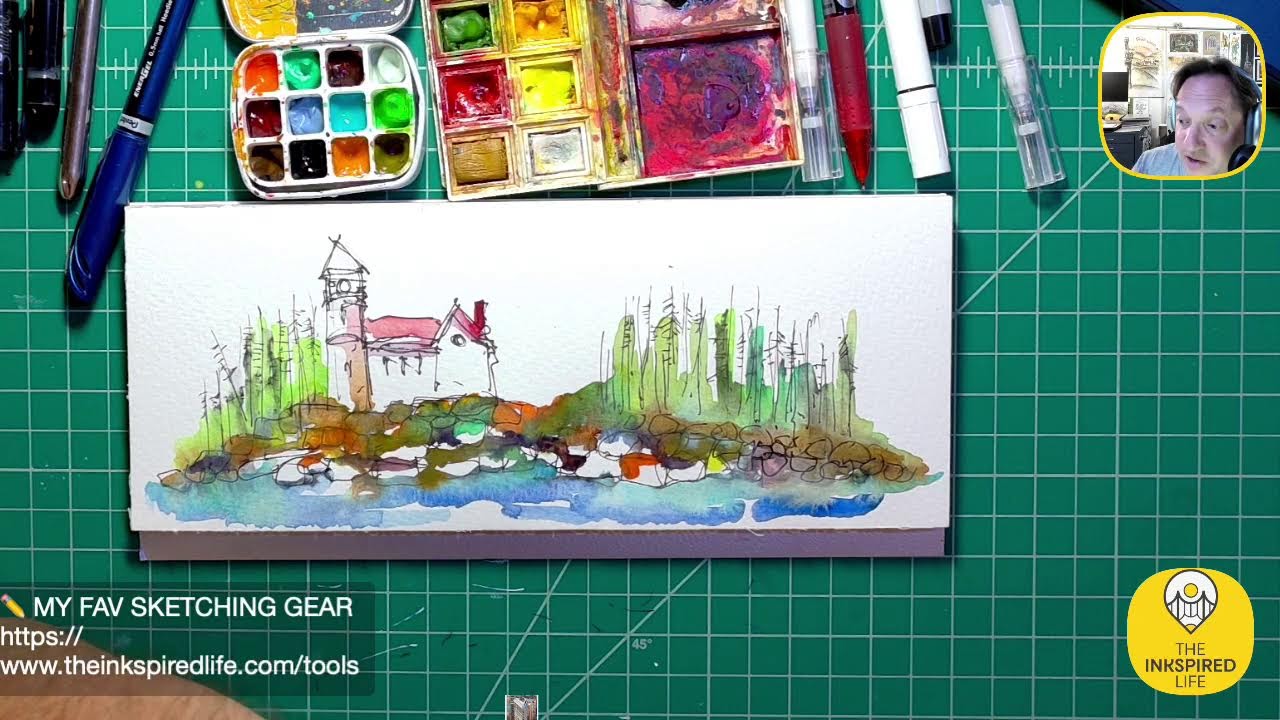
So this piece is looking good. I think it's almost done. I might come back later and add just— maybe add a background color in here. You can see how the sketch is here, the skyline sketch. I just added some blue to help make the buildings pop a little bit. I might do something similar to this, uh, just to make the silhouette kind of this building pop a little bit, but I don't want to do it right now because I feel like I would rush it. Mess it up. And I'm gonna let it sit in black and white and take a look at it. All right guys, thank you for watching. That was a quick little lunchtime sketching session. I appreciate everybody. Have an awesome, awesome day. Peace and live creatively. See you soon.