How to connect Stripe to ClickFunnels and manage multiple accounts. Walk through the Apps menu to Payment processors, log into Stripe, enable Stripe Tax, then set a default account in Workspace settings.
At ClickFunnels, we're thrilled to add Stripe as an option for seamless, secure payment processing across all of your funnels and stores. Let me show you the process of adding Stripe.
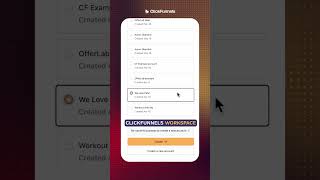
Into your account. You're going to want to head on over to the apps and find Stripe here under the payment processors. Tap on it, then click Connect Stripe. Go ahead and log in with your info. And then from there you can select the account you want to link to. Your ClickFunnels workspace. Stripe and ClickFunnels integrate seamlessly. You can see some status indicators here in the middle. And then we have the ability to enable Stripe Tax towards the bottom. Let's say you want to collect payments for a spec funnel, but you want it directed to a different account. You can do so by tapping here on the right hand side, which will send us back to our Stripe accounts. Now you can select the second account to link to that same ClickFunnels workspace. Tap at the top here to go to our Stripe installations and we can see both of the accounts we just linked. If you ever need to remove an account, go into the details and tap the button at the bottom. Now let's go ahead and jump into our Workspace settings right here within the general settings under Payments. Both Stripe accounts we just set up can be selected from the dropdown. Selecting one will set that as the Defaul Stripe account to collect all payments related to this ClickFunnels workspace.
Once I select and save it, it's.
Now all set.
With Stripe, you're now able to accept payments with confidence, customize your checkout and keep everything running smooth inside of ClickFunnel.