Non Toxic Lotion Recipe with Natural Ingredients - How To Make 2 Ways
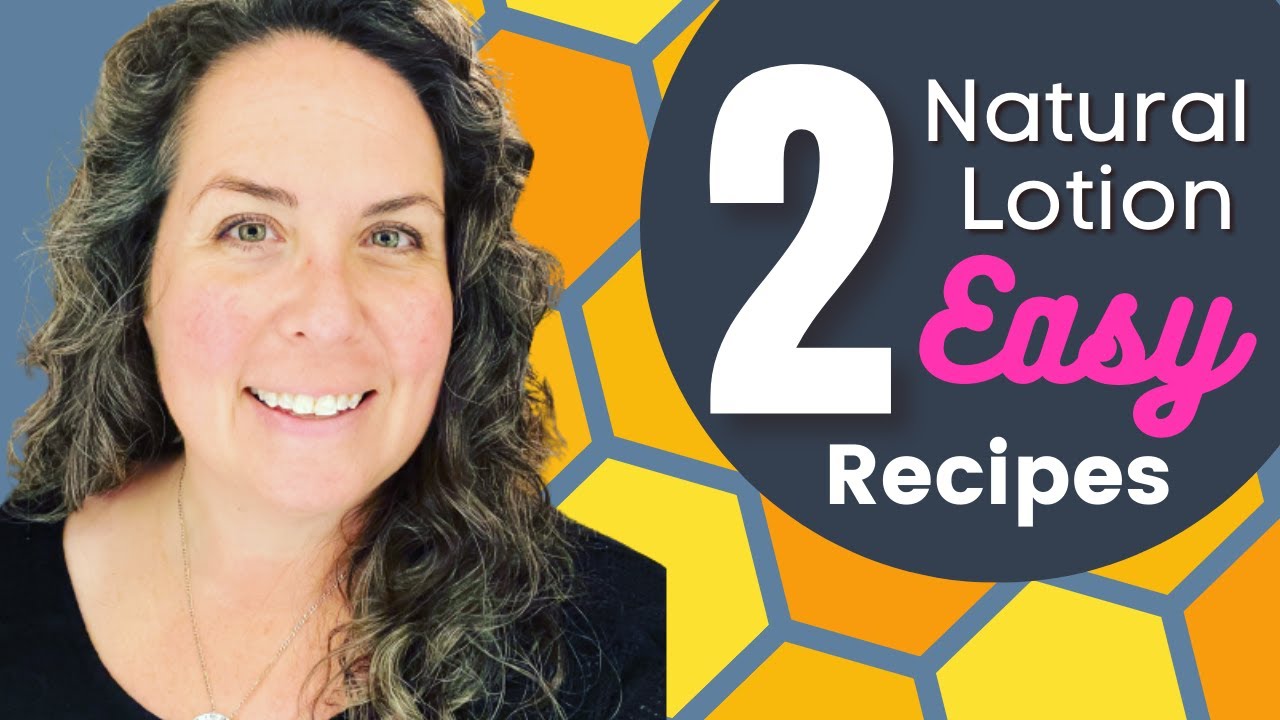
Tracy Lydiatt and the host make two non-toxic lotions: a Gardener's Hand Salve and an Everyday Light Aloe Moisturizer. They show how to source beeswax from local beekeepers and fair-trade shea butter, melt ingredients in a double boiler, and use aloe vera gel for proper texture. Scaling by weight and using bulk containers cuts plastic waste.
Chapters
Hello and welcome to today's video where I turn all these ingredients into this and this. Are you ready? Let's go!
First lotion is the Gardener's Hand Salve.
Here's what you need for equipment: a small kitchen scale, a scoop, a spatula, a whisk, a large pot, a Pyrex glass bowl of a couple of different sizes, and some measuring bowls. And to make this first recipe, here's the ingredients. You'll need coconut oil, beeswax or soy-based wax, castor oil or almond oil, shea butter, and essential oils of lavender and lemongrass. These ingredients will make 2 4-ounce mason jars of recipe, and if you want to scale the recipe up, it's super easy when you do it by weight. You can just multiply by whatever factor you need. So for example, if you want to make 6, you can just triple the recipe. So it might be a little weird for those of you that are used to using cups and tablespoons, but I do find that it's super convenient to scale recipes up or down using the grams. Never forget to tare your scale.
I choose to order really big tubs of these ingredients to try and save on plastic.
Stick.
I also use beeswax that I get directly from local beekeepers, and you can see they melt them down into these tiny little pucks.
And I've been making this recipe for probably about 5 years, so I've got some fans, which is why I'm making a big batch. Yours will look much smaller.
Okay, I want to talk about bees. Bees are amazing creatures that we need to protect and make sure that they're healthy, and a lot of that involves making sure that we're not using pesticides on our food sources, and has less to do with squishing them when beeswax is extracted. I know a good handful of very amazing beekeepers, and a lot of bees only have 6 weeks to live in their normal life, and they sometimes get squished, and they sometimes get hit by windscreens of cars, and sometimes they get lost. You know, there's all kinds of things that happen to bees.
By directly supporting these beekeepers, I'm also supporting my local economy and I'm supporting the work that they do to keep these insects healthy and keep pollination strong in my local area.
So I buy my beeswax directly from the farmers that work with the bees one-on-one. Some of them are second and third generation beekeepers and are really in sync with these little creatures and are supporting them to thrive and survive. They care deeply about the health and welfare of these insects and that they work to make sure that they stay as healthy as possible and really advocate for avoiding the use of pesticides in your gardens and on your food, which is very, very damaging to these, these insects and have been linked to what is called colony collapse, where an entire colony of bees will collapse due to being weakened by potential exposure to these chemicals. Where I do draw the line using beeswax is if I can't access local beeswax, then I do choose to make these recipes with as little beeswax or none at all if I'm using commercial-grade beeswax. Um, the Gardener's Hand Salve will be slightly less moisturizing, but you can still make it work without the beeswax. And for the next recipe, we'll also talk about the use of soy-based waxes because you do need some type of an emulsifier. So if you don't want to use the beeswax, then I encourage you to look at soy-based or plant-based emulsifiers as a substitute. Previously you saw me pouring out some castor oil, and now I am scooping out shea butter, which is also deeply moisturizing and is extracted in Africa by women. Because shea butter supports women's livelihoods, I choose organic and fair trade shea butter. And now I'm going to put them in my big pot. I'm at coconut oil, my shea butter goes in the pot, my castor oil also goes in the pot, and eventually we'll add the beeswax. So this is what it will look like as it starts to melt on the oven. I constantly stir it on a low heat, low to medium heat, and it will slowly start melting into a beautiful liquid. Probably I've sped it up. It probably takes about 15 minutes to get here, and then I usually add the beeswax. Now I choose to stir my pot frequently on this low to medium heat, and mostly because I like to watch the beeswax melt. I doubt if you walked away from it for too long, you could do other things and multitask, it wouldn't burn as long as you keep it on the low heat. But it is kind of fun to watch. The beeswax does have a higher melting temperature, and I would say that this time-lapse sped up video is probably covers about 20 minutes of me standing at the oven and stirring. So if it's a bit monotonous for you, you can choose to walk away. Just don't walk away for too, too long because you definitely don't want it to burn. And then eventually it will look like this. This beautiful golden liquid.
I slowed it down. I'm a bit of a nerd.
Once it's done, you can take it off the heat like I have here. I have a heat pad underneath. This is when you add in your oils. I really like peppermint and lemongrass, but you can use any kind of skin nourishing oils. I drop them in and count them on my hand. This is a large batch, so I'm definitely not gonna bore you making you watch it all. Then finally, I do all the pouring into the containers while it's still warm to touch, and I use a glass Pyrex. I find it the easiest to use, and the reason I also do it while it's warm to touch is the liquid will cool down and congeal, so then you can just scoop it back in and stir it around and it will melt. The fun little time lapse of what it looks like at the end. Voilà, you are done.
So some of my fans for this recipe are people that work with their hands, like carpenters or gardeners or the beekeepers I buy the beeswax from, they sometimes suffer from those really deep skin splits that are super painful, and they find that this recipe is really helpful. So here it is again if you want to take a screenshot. Okay, recipe 2: Everyday Light Aloe Moisturizer. I love this recipe and use it on my face and my body all the time. So you're basically going to use the same equipment, so you need a a scoop, a spatula, a whisk. You might also use a hand blender. We need a kitchen scale. You need a pot, measuring pots, and a big Pyrex glass. Here is the ingredients. This will make 12 4-ounce jars, so if you only want to make 2, you just divide everything by 6. Don't forget to tare the scale. Always make it zero before you start adding ingredients. I buy my big tubs of coconut oil from a soap and candle supplier near Vancouver, British Columbia. If you have these suppliers nearby, you can check. Otherwise, Costco sells pretty large tubs of coconut oil. I like to use the big tubs because they last a really long time, and they're— and I also use the plastic pails. And this recipe has calendula oil or almond oil. I'm pouring out almond oil into this container. This is almond oil. You can also use calendula oil, which is a little bit more expensive, but if you happen to be a gardener, you can make your own. Calendula oil is very healing for the skin. Next up is aloe vera gel.
Do not buy the liquid.
I don't know how many times I've made them— this mistake. You need it to be the gel, so it has that goopy consistency.
And then finally, I use beeswax.
In this recipe again. For, for those of you that want the recipe to be vegan, you can use a soy-based wax. Whatever wax you decide to use, it is an important ingredient because it's going to help emulsify the recipe and pull the aloe vera gel into your, your mix. Next up, into your Pyrex, add the coconut oil and the beeswax. Eventually we'll add the almond oil and then later the aloe. I choose to use a double boiler for this recipe, and I happen to have a pot that perfectly fits my Pyrex glass container. So I am melting the coconut oil and just the beeswax alone, and I do this again on low to medium heat on a double boiler. Be careful that you don't burn yourself on the steam. And I would say that this probably takes about 20 minutes on this time lapse to melt everything together. Then I take it off the heat and I get a big pot ready. I let the oil mix cool down a little bit. I also get a whisk and a hand blender and the essential oils. Once the oil mixture is cooled a little bit, I add my almond oil to the melted mixture. Then I can add my essential oils. I'm using lavender and cypress, which are both really healing oils for the skin, and eventually I will either use my whisk or the hand blender to pull everything together in the big pot. So stay tuned for that. So again, add your almond oil at this stage to your melted oils. I recruited my mom to help me because her love language is acts of service. So here she goes, she is pouring the melted essential oils, almond oil and coconut oil, and beeswax into the big pot. And then we get the gloopy fun of putting in the aloe gel. I usually do half at a time. Be careful that the oil doesn't splash back out at you. And this is where your whisk, or even if you have a hand blender, it's way easier to use, and you can start to mix the oil and the aloe together. It's so strange because the first time I made this recipe, I was so upset because I thought I totally ruined it. And you might think the same thing too, but trust me, if you follow the recipe and you've done an accurate job weighing all of your ingredients out, this recipe works like a charm. Just stick with it, don't be scared, and just keep mixing.
Mm-hmm.
Once you can see the aloe and the oils start to pull together, you can add the rest of your aloe vera gel at this point. And if you just keep mixing, you will see that this is why you need the wax. It helps to emulsify the mixer and to blend the oil-beeswax mix as well as the aloe gel. And eventually, if you do this well and stick with it, this is the result. It's a beautiful, creamy, fluffy lotion. Nicely done. Tracy?
Yeah, smoothing out.
Awesome. It's pulled together. So I measure this out using a scale because I'm a bit of a nerd like that, and I also had quite a few that I was making in this batch. Normally I put these in glass jars, but would you believe all of the stores in my local town were out of the small glass mason jars, so I had to resort to using the plastic ones. And the best part about this recipe is you will be moisturized forever. Here's the recipe again in case you want to use it in a smaller way. So this one has been broken down so that you only get 2 jars. Also, I just want to point out in the video I was using lavender and cypress oil, and the recipe can also have frankincense and geranium. Those are a little bit more expensive than other oils, so you're okay to just use lavender and cypress as needed. Thank you so much for being with me today. I'm grateful for your time to tune in, and if you found this video valuable, I'd really love it if you'd hit the like button and the notification bell so that you can tune in when new content is released.
It helps our channel grow too. And if you haven't already subscribed to this channel, I hope I've earned your subscription today.
Bye for now.
More from Tracy

Episode 17: Investing with Purpose: A Deep Dive into Responsible Investing in Canada


Episode 13: Get Mouthy Dental Care Box - The Hidden Truths about Toxins in Your Dental Care Products

Episode 12: Waste Knot Weddings - How to Easily Plan Environmentally Conscious Weddings
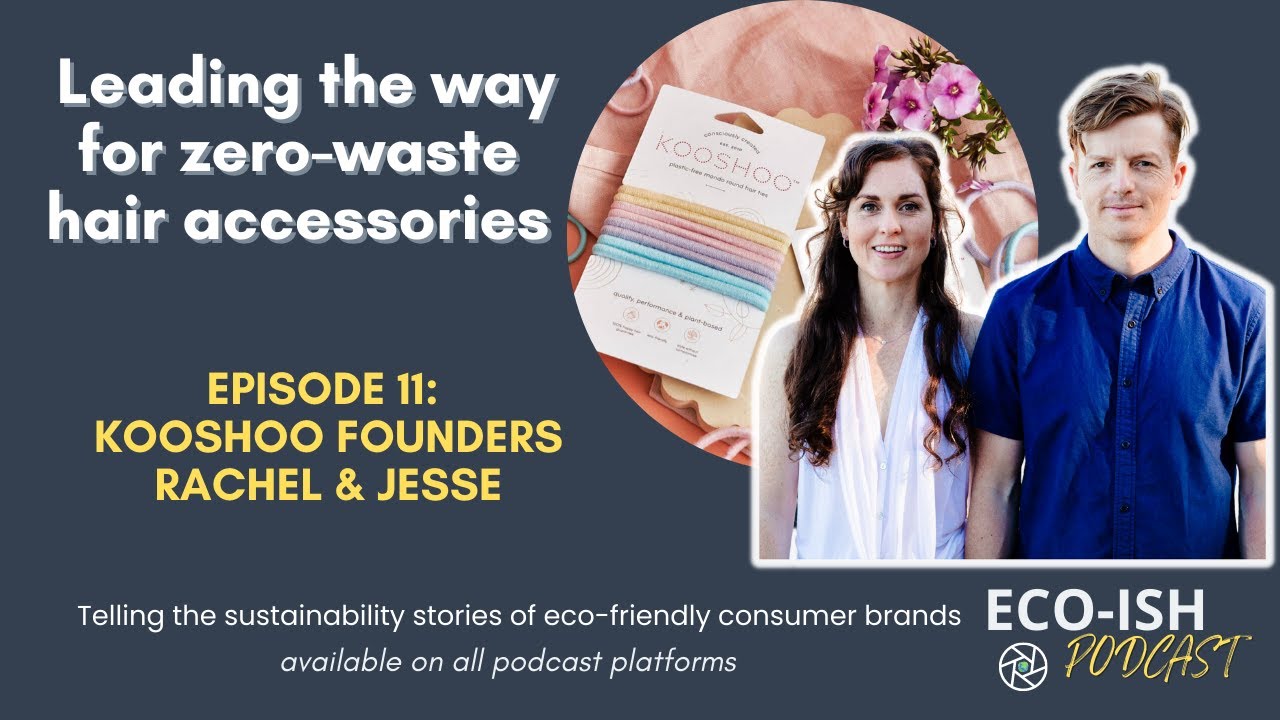
Episode 11: Rachel and Jesse - Kooshoo: Leading the way for zero-waste hair accessories
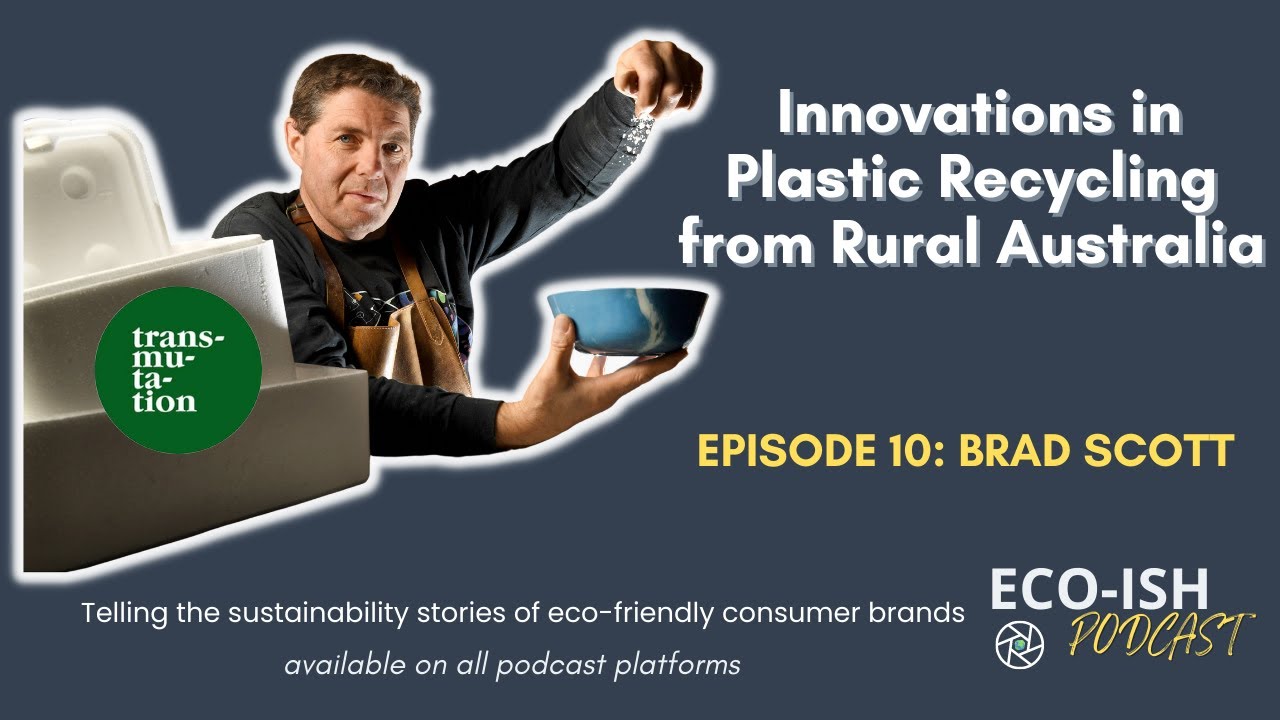
Episode 10: Brad Scott - Transmutation: Innovations in Plastic Recycling from Rural Australia

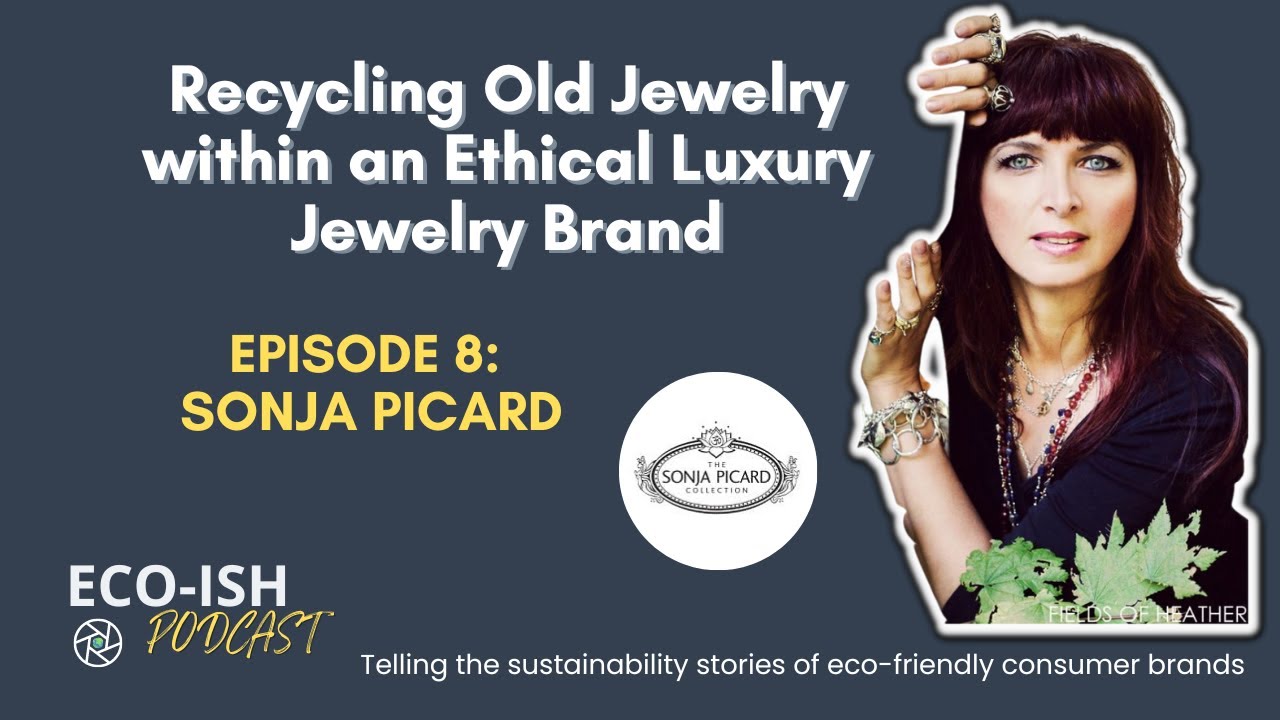
Episode 08: Sonja Picard - Recycling Old Jewelry within an Ethical Luxury Jewelry Brand