Align Your Hips in 5 Easy Steps
Misaligned hips cause lower-back and knee pain like a skyscraper on a crooked foundation. This five-step routine uses foam rolling, stretches like the Spider-Man lunge, and stability work to reset and stabilize your hips. Do it daily in your living room to fix most lower-back pain.
Chapters
If your hips are out of alignment, it can cause lower back pain, knee pain, all kinds of pain. In this video, I'm going to show you a daily routine you can do from your living room to reset your hips and cause them to be stable. Now, when those hips are out of alignment, it's kind of like the foundation of a skyscraper being off and every joint above that is affected. So a lot of times I would say honestly, out of 10 lower back pain people that we see coming in at ResetU, 9 of them came from their hips being off of alignment. So if you got a foam roller, in a couple of seconds, I can show you how to reset those hips and make them feel strong and powerful and get rid of most of your lower back pain for good. So the first thing we're going to do is a hip flexor foam roll. Your hip flexor is this band that goes around the back of your hips and goes down in front of the hip. Most people that we see have tight hip flexors from sitting at the desk all day, tilting your hips forward and causing more lower back pain. So what you want to do is you want to use just the corner of your foam roller. That way you don't steamroll your penis and destroy your chance of ever making children. We don't want that. So don't do— go just with the corner. And then we're going to set up like we're army crawling. So I'm going to have one leg like a kickstand, one leg straight. I'm going to army crawl forward for 3 times for 10 seconds. Back and forth, 5 seconds each, so it equates to 10 seconds. You're going to do that with each side. So first, start at the actual hip flexor itself. Don't hyperextend your back and don't round your back. Keep your spine neutral. We want to practice a neutral spine. And then you're going to pull yourself forward. Now make sure you're just using the corner, so you're— again, you're not steamrolling your penis. Go to the edge of the foam roller and then work your way back nice and slow and easy. And you're going to do 3 passes each side. Now on the other side, what you can't see is that I'm using this opposite leg to keep my spine neutral, kind of like a kickstand on a bike. Nice and slow, army crawl forward and backward. If there's any knots, you can just rest on the knot about 30 seconds and it'll release itself for you. On to the next one. Next one we're going to do is a groin foam roll. Open up those hips. So we just started like this. Now we're going to flip it over here and do almost the exact opposite. We're going to go side to side again. Do not steamroll your reproductive organ. Stay away from that, but get real close to it. Lay it, nuzzle it against the side of this. Bone roller, and then we're going to sideways army crawl. So just like so, you're going to get real close to the foam roller, lay your leg on it, and then you're going to pull across, keeping your spine neutral. Again, 3 times, 3 passes, 10 seconds each. So it should be about 5 seconds to the knee and then 5 seconds back to the hip. You would do each side and make sure if there's a knot, you sit there and you release it, let it go on its own. Once you've foam rolled, then we can dive into the stretches. Now we've got our hips loosened up with the foam rolling and released our nervous system. We want to stretch and elongate the tissue. This first one is my favorite. It's called the greatest stretch ever or the Spider-Man stretch. Either way, It's a great stretch for you. How we're going to set it up is you're going to go kind of into a hip flexor lunge, but you're going to go with a diagonal angle this time so that the ankle here and the knee back here are diagonally placed away from each other. Then you're going to take the opposite hand of the leg that's in front. So my left leg, my right hand on the ground, and you're going to do some external rotations. So you're going to push the knee away from center and then look away. Now you're going to want to do this at least 5 times, and you should feel the back of this hip capsule bind up just like so. Again, push away, look away. Once you've done 5, then I want you to drop your elbow down next to the front heel like so. If you can't get here, you can yoga block this or even use your foam roller. Just rest on there. And pull your chest away from the knee. And then the last part of this stretch, once you've held this part for like 30 seconds, you're going to reverse your chest and look at— pull your chest towards the ceiling, lift up your hand, and then drop this back hip into the ground and open up that back hip. So you're getting a hip flexor stretch. You're getting the psoas stretch, you're getting the glute stretch, the hamstring, you're getting everything in this one stretch. Obviously switch sides so that each side gets mobilized, and then we're going to move on to the next one. The next stretch we're going to do is a 90-90 stretch, literally two 90-degree angles. So make your back leg a new 90-degree angle, make your front leg into a 90-degree angle. And we're going to mobilize this hip capsule first. What I want you to do is press both knees into the ground as hard as you can for like 2 seconds, then release. Alternate, press the back hip down with this hand here, then press again with the knees, not pressing here, release, and then press here. You would do this about 5 times and then switch. Once you've got get the stretch finished. Then we like to mobilize the tissue and release everything in the body. So we're going to do a 90-90 switch. This exercise is a little bit more difficult, so if you can't do it, it's okay. It's something to work up towards. But you're going to start with your 90-90, and you're going to look at this back leg as your goal. You're going to drive this knee into the ground Keep your chest and your hands pointing the same way. Go towards the back leg. This part might hurt. Back towards the front leg and back to the back leg again. And then you're going to flip it. So you're going to lift up that back leg and drop it down. And then you've switched. And now you have the opposite. Again, lifting the back leg, which was the front leg, and you're back to the starting position. Now, if you do this 5 times each side, you're going to have some loose hips. You're going to feel real good and you're working external rotation of the hip, internal rotation of the hip. You're going to have some healthy hips. Healthy hips make a healthy spine. On to the last exercise. All right, your last exercise is for stability. There's 2 different versions. One is the easy version. From here, you're just going to go into a tabletop. Make sure that your spine is straight, not rounded, and not overextending, and definitely not twerking. You want straight, locked spine. From here, you're going to do a glute kickback. You're going to push your heel back, hold, keeping the neutral spine, abs turned on, glutes turned on, shoulders turned on, the leg on the ground holding you stable, and then slowly bring it back in. Now, if this is too easy, we're going to make it a little bit more difficult and we're going to do a kneeling hip airplane. So from here, you would extend, hold, and then put all your weight on that other hip. Slowly lift your body up, open this hip up, open the knee up and the toe so that everything is facing the other wall, and then slowly rotate back down. Under control so that the hip, the knee, and the foot are facing down, and then bring it back in. That's one rep. You want to do about 5 each side of holding, and this is an isometric hold, so you want to hold it for at least 3 seconds before you start to lower back down. And in this last hold, you want to hold for another 3 seconds. Now, this is going to stabilize your glutes, which is basically like the foundation for your hips. And keep you away from any lower back pain symptoms. Now, if you do this every single day, this should get rid of lower back pain symptoms and mobilize your hips and, and also keep them stable. So when you're running, you're jogging, whatever you're doing, whatever sport you're playing where you feel like you're out of alignment, squatting, whatever it is, it feels in alignment. That's what we want. Now, if this video brought you value, let me know in the comments. If you haven't already done so, I don't know why, subscribe. I don't need to guilt trip you. Just subscribe.
More from Glenn


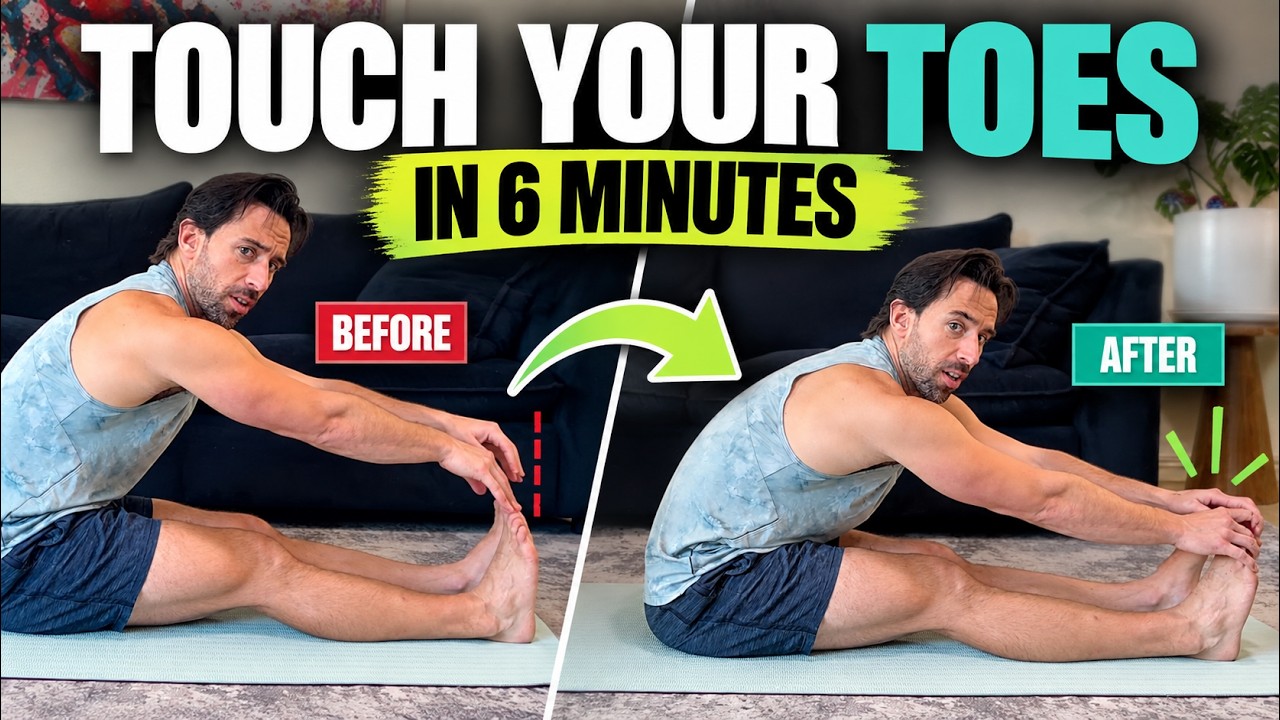
Touch Your Toes in 6 Minutes | Release Muscular Guarding for Better Flexibility