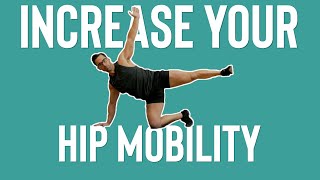
In this instructional video, Glenn Dawson of Reset U Fitness explains how hip misalignment is a primary cause of lower back pain and guides viewers through a comprehensive daily hip mobility routine. The program begins with targeted foam‑rolling of the hip flexors, quads, and groin to release fascia, followed by a series of mobility drills: a Spider‑Man hip opener with progressive elbow‑to‑heel positioning, a 90‑90 hip stretch with femoral glide, and an advanced hip‑opener sequence that alternates internal and external rotation. The session concludes with glute‑stability work, offering both a basic heel‑extension/knee‑hold exercise and a more challenging kneeling hip‑airplane variation. Throughout, Dawson emphasizes a neutral spine, controlled slow movements, breathing, and specific rep/hold ranges, encouraging viewers to share results and spread the routine.
Chapters
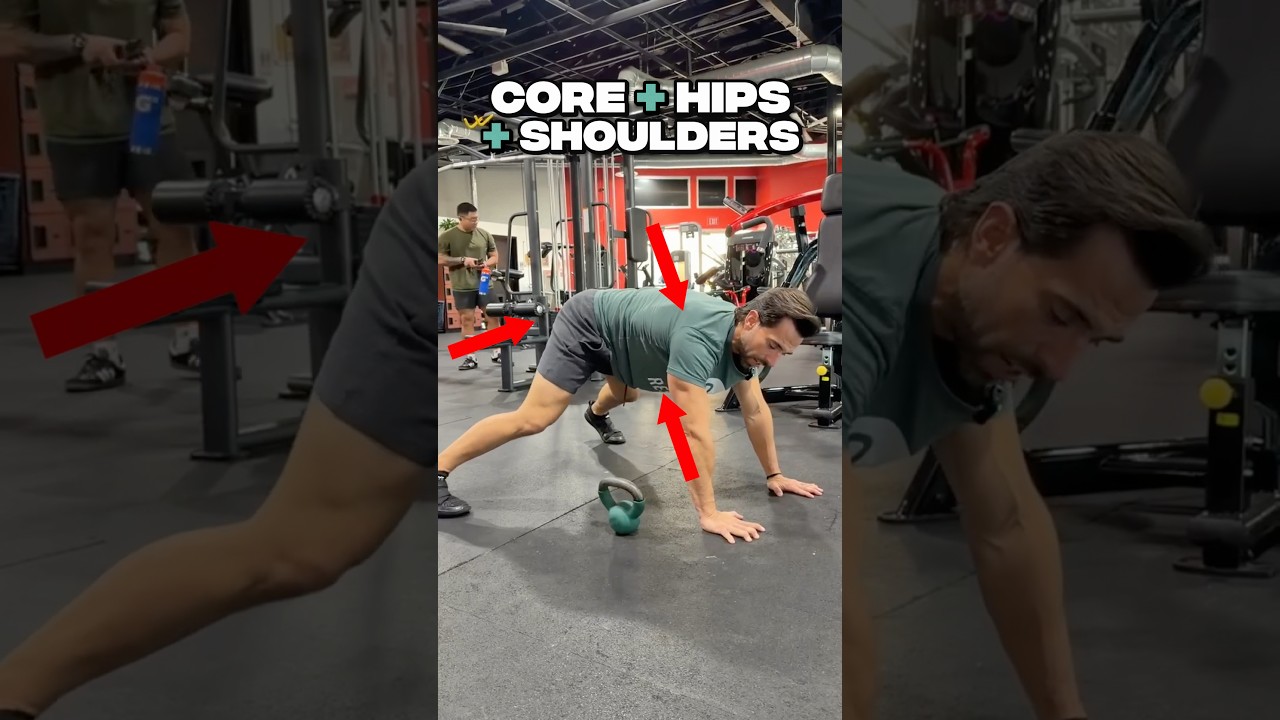
Do your hips feel like out of alignment? Like so bad that you feel like you could pull a muscle in your lower back or hamstring at any moment? That's scary. I'm Glenn Dawson with Reset U Fitness, and literally if we see 10 people with lower back pain, 9 of them, their lower back pain is coming from their hips being out of alignment. Now you've probably already got a chiropractor adjustment and you might even see that chiropractor every single week, but what do you do on your own for maintenance? Or if heaven forbid, you feel your hips out and you're afraid they're going to go out and throw something else out that's even worse. What do you do? So I'm going to go through a daily hip mobility circuit. Follow along. This will give you the most rock-solid hips you've ever asked for in your entire life. You'll feel great, flexible, strong, and you'll have your confidence to do anything, not to worry about another flare-up. All right. So the first thing we're going to do is we're going to foam roll your hip flexor and your quad. We're going to foam roll the areas around your hips so that they can release. and then we can stretch them. You're going to just use the corner for this first one. You're going to place it right on top of your hip, and hopefully you'll get the corner to dig in. Now I'm going to line up with my opposite leg up like a kickstand. I'm going to keep a neutral spine. No extension, no flexion, none of this shit. Keep your spine neutral and happy. Otherwise you're going to end up in pain. Then from here, you're just going to sit and rest on the foam roller. If you don't feel it, it's not tender. I want you to raise your heel just like this. Press yourself into the foam roller for a couple of seconds, then release. I want you to do this until the actual hip flexor itself releases, and then you can foam roll by going real slow forward on your elbows over the quad. Now, the quad connects to the hip flexor, so it's very important to do it. And then watch as I'm doing this, I'm keeping that neutral spine. You want to train your spine proper movement and stay neutral the whole time. You don't want to be all over the place. You don't want to hump. You want to stay neutral and happy the whole time. Next, we're going to foam roll your groin. So we're going to start real close to your reproductive baby-making organs, and you're going to lay your thigh on the foam roller just like this. Now from here, we're going to do that army crawl, but we're going to go sideways. Before we do that though, I want you to lift your knee into the foam roller. This should create more pressure on the groin. And also activate the glute, which you'll learn in a second. We want to activate your glutes as we're doing this. Once you've released that groin on the inside, pull to the side, drag your leg across like it's a dead body and you want to just pull it all the way across. And remember, go slow. No one likes a fast massage, so don't give yourself a fast massage. Go nice and slow and really, really break up those layers of fascia. All right. Last one we're going to do. You're going to stretch out the leg that you're not going to work. You're going to cross the other leg over the top. So for me, this is my right leg. I'm going to work this one. I'm going to slide up this knee here. This may be enough for you. If this is enough, just roll back and forth over that. You can feel like the, the bone in your glute. If not, rotate your torso over the top of that glute. And this one, there's not a lot of surface area, so you may have to just sit and wait for that tissue to release because you— there's not a lot of like rolling. You're not rolling your whole long quad. Next, we're going to do a Spider-Man hip opener. So you're going to take a normal like hip flexor lunge stretch. You're going to elongate it. So I'm going to move my leg forward and then I'm going to move my body down in this like little hole. Keep your lower back straight as you do this. Don't round it like this. And then I'm going to push my knee away and look away. Nice and easy. You should feel a binding in the back of that hip capsule. That's a good thing. You're going to do this 5 to 10 times depending on how tight it is. If it's tight, go 10. Nice and slow and easy. Then after you've done your 5th one, you're going to take your elbow and place it next to your heel. Now, if your range of motion is trash and you don't have this flexibility, it's okay. Just put like a block here, or even your foam roller will work, and just set your, your elbow there. You want to be able to release. So make sure as you're doing this, you're breathing, you're relaxing, because the whole point of this is to stretch out. Now, after you've done this for about 30 to 90 seconds, depending on how tight the stretch is for you, I want you to push up your chest, and then drop the hip down. Now we're stretching the back hip flexor. You want to focus on that, and then you're going to rotate your torso and stretch out your T-spine and lift your hand to the sky. As you do this, drop this back hip into the ground as much as it'll go so you can get that nice hip flexor stretch. So the next mobility drill we're going to do is a 90-90. Now, in the 90-90, you want to make two 90-degree angles with your knees. Make sure the knees are padded. If there's pain as you do this, you're not going to stretch. And I want you to drive your knees into the ground. So push them both into the ground at the same time. Take your hand and you're going to press down on top of your glute. This is going to give you a femoral glide, or it's going to give you a glide with the bone that goes into your— from your thigh into your glute. So you're pushing down lightly and then you're going to alternate. Push the knees down and push the hand down. You're going to do this for about 5 reps and then switch. Now, in a second, after you've done both sides, we're going to turn this into a mobility drill just to open up the hips. Now, if you're not— if this stretch is hard for you, skip the mobility drill. You're not ready for it. But we want to make sure that as you're doing this, you're opening up those hip capsules. You have internal rotation with one leg, external rotation. One leg's going in, one leg's going out, and you're really just focusing on your hips. Now, once you've got that down, we're going to do a hip opener. So you're going to go from here, press those knees into the ground, tilt your arms back, keep them in front of your chest towards the back leg, go back to the front. Then when you go back to the back leg again, you're going to flip just like that. Now you're going to do the same thing, repeat those steps and then flip. This is an advanced move. It's not easy. It may look easy, but it's not easy. I would do this at least 5 times each side if you want those hips to be healthy. And if you can't do it yet, it's something to work for. Last but not least, we got to work on glute stability. So I'm going to go over 2 different exercises. Pick one of them. The first thing you're going to do, the entry-level glute stability exercises, is just keep your spine flat and straight. And extend your heel. This is going to activate your glute. Now, this is the easy version. From here, you're also going to lift the knee and hold that glute as well. So you're going to work both of these, activating the glute and really just stabilizing that pelvis. I would do this until you're fatigued, not failure, till you're fatigued, and then switch sides. Make sure you count your reps on each side. Now, if that's too simple for you, what we're going to do is an, uh, like a kneeling hip airplane. So basically you're going to go out, hold— this is going to be one pause— you're going to slowly lift up, hold your knee, and as you turn, turn the hip, the knee, and the toe towards the wall. And then you're going to slowly turn down, and you're going to turn the knee the foot and the hip all back down and then go back up. So 3 different pauses. Pause 1, pause 2, and come back down to pause 3 and back to the starting position. Now guys, that brought you value. If you're doing this and you feel great, let me know in the comments. And if it did feel great, make sure you share it. Share with your friends, share it on your pages, blast it out. I want to help as many people as possible, and I can't do that if you're just keeping all this info to yourself.