No More Knee Flare Ups! (How to Mobilize & Strengthen your Knees)
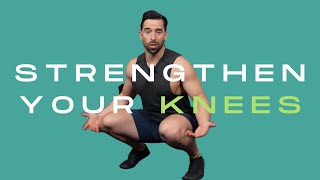
Glenn Dawson shows how to fix knee pain during running or squatting with mobility and strength drills. He uses a broomstick to assess your mechanics, then walks through ankle mobilization, hip activation, and a Zurcher squat with heel elevation to address the biomechanical causes underneath.
Chapters
If your knee's flaring up when you're running or squatting, today I'm going to show you how to strengthen it so you don't ever have to worry about that again. Hi, I'm Glenn Dawson with Reset U Fitness, and this is something we actually specialize in. I'm going to show you a couple of mobility moves because you have to get this bad boy to track correctly, and then some strengthening moves to strengthen the knee so that the knee pain never has to come back. But first, I'm going to show you a little preview of one of the assessments we do. We use a broomstick. I couldn't find one in this entire gym, so I'm using this band. What you want to do is make 90-degree angles, press the band over your head, put your feet shoulder-width apart, and then squat 3 times to the front and then 3 to the side. Now, what you'll probably notice is a couple of things that are going to happen to the knees. If this band or bar or, you know, broomstick tilts forward at all, you've got tension in your hips or your ankles, which we're going to talk about. Or if the knees go in like this and just rotate in and dive in, or your weight's shifted like this to one knee because your hips are twisted out of alignment, then there's no, like, thought in my mind why you don't live pain-free without knee pain. Think about it. The knee is just a hinge joint. It's like a door hinge, just does this. It's not supposed to rotate, twist. The ankle twists, the hip twists. If those are impinged or tight or out of alignment, all the torque and tension is going to go through your knee, which isn't supposed to have torque or tension. It's supposed to be straight and happy like this. But if it's twisting, this doesn't feel good at all. So the first thing we want to do is assess. Figure out where the knee pain is coming from, and then I'm going to give you two mobility moves you could do to mobilize the joint right now. All right. So the ankle, the ankle is a huge reason why the knee is messed up. If you think about it, if you're squatting and your heel comes off the ground, your knee dives forward way farther than it should and you're going to have pain. There's going to be way too much tension here. So what we're going to do is we're going to mobilize the ankle joint, get it to work correctly. So I'm going to take this monster band, go right to the crease in my ankle joint where my talus or the ankle foot bone meets my tibia and fibula, fibula. And then we're going to go and we're going to drive this thing forward and backwards and create space and gapping. So I'm going to push my knee forward nice and slow within your happy range of motion that doesn't cause pain. And go backwards just like so, the whole time focusing on keeping stability through the knee and the ankle. Now, I would do this 10 times. This is creating too much tension. Drop the back knee down, take the weight off the knee, and just go slowly with no weight on the knee at all. You have to get this ankle to free up, otherwise you're not going to see the knee free. If there's an impingement here, it's going to travel north and mess with your knee. All right, on to the next move. Next, we're going to go north of the knee. We're going to use the quad to release and the hip to release in the same move because I'm going to save you time. I like to use this Voodoo Floss band. You can get them on Amazon. I'll throw a link below. And all you have to do is just wrap it around above the kneecap itself, just like this. On a scale of 1 to 10, 10 being the tightest, I would wrap it at like a 7. You don't need to go super tight. And then once you've wrapped the quad perfectly without fail or messing up, you're going to go into a hip flexor wall lunge. I'm going to use the bench because it's easier. So you're going to go down to all fours, hook your back foot to the bench and make sure your knee is padded. If your knee is not padded and there's pain there, you're going to lock up your nervous system and nothing's going to move. Okay, now I'm working on this right knee. I'm going to create extension and flexion, so I'm going to go forward with the hip, open up, and come back nice and slow, pushing my butt into my heel back here. I'm going to do this for about 10 reps, and what it's going to do is loosen up the quad and the tension around the top of the knee. The patella that runs through the top of the kneecap itself, and really just create new fluid too. Once you've done this, remember the second area that can cause the knee to get all bound up and everything is the hip. So we're going to stretch that hip and just do a hip flexor lunge stretch. So arms up, you should feel the stretch back here in the hip and a little bit in the quad. And after about 30 seconds, rotate. Now, once you've done this, we can finally strengthen. First we need to do is stabilize the hips. If your hips are out of alignment like this, this is going to strengthen them, strengthen the glutes, and take a lot of pressure off your knees. What we're going to do is called an assisted hip airplane. I'm going to be very specific with showing you how to do this because it's not easy. Now, the first thing you want to do is hold on to a bar or a wall We're going to use a bar for this one. Bend both knees, and then you're going to hip hinge and keep the leg that's in the air— the toes pointed down and the knees pointed down. Don't start twisting like this, that's not stable. Then from here, you're going to tilt and lift your hip up to here. The goal is to pull these two knees apart and hold stability. Then slowly, not collapsing here, slowly rotate down and hold back in that same starting position. Then go back up to standing. So in, in real time, it'll look like this. You'll pause here, pause here. Pause back here and then stand up. I'll show you the other side. I want you to do at least 3 each side so you can create stability through the hip. And if you have back pain, this will also take away a lot of back pain as long as your spine isn't already inflamed, because as you can tell, my spine's moving a lot while I'm doing this. So like I said, 3 times each side. Make sure you're pausing when you do this. And that'll create a lot of stability through the hips, which will give you stability in the knees. All right. So now we're going to do a Zurcher squat. This is to help with those tight ankles. Now, if your ankles are tight, chances are if you elevate the heels, just the back part of your foot, you're going to squat a lot better and a lot deeper because it's like giving you an extra inch on your Achilles tendon. You can even test it. Do your squat test with your heels elevated. Probably squat really well. If your hips are tight, like I'm guessing that they are, you're going to add a front rack weight in your forearms like this. This counterbalance— it's like 15 pounds— will help you to sit back in your squat and activate your glutes and hamstrings, which weren't activating in the first place. So as you descend into your squat, I want you to do a 5-5-5 tempo, nice and Slow and focus on stability. This will be the least amount of tension you've ever felt on your knees before, because this is how your body is actually supposed to function. Go 5 seconds down, 5 seconds up, and do this until complete failure. And make sure you keep that tempo. I don't want to see any fast humping-like reps that make you look like a rabbit of some sort. Make sure you're going slow. Focus on stability. We're trying to strengthen your knees, not create more tension. You got one more. For the last exercise, the shoes have to come off, even if they're barefoot shoes. You got to feel the ground. You got to grip it. Get it on these feet. You got to grip the ground. It's best if you do this last exercise for knee strengthening with a band and with a mat. That way you can really, really strengthen the feet and the ankle and the knee. Now, from here, I want you to focus on this tripod of stability for your foot. It looks like this triangle from here in your heel to the ball of your foot beneath your big toe and the ball of your foot beneath your pinky toe, creating a nice little stable triangle. You want all of these points of contact to make contact the entire time you're squatting. Now, as we go down, I want you to keep your spine in alignment. Only go down as far as you can with your spine in alignment. Put your arms in front for a counterbalance, and you're going to drive your knees out from your big toes like this. Now, the goal is to stabilize these glutes and get the ankles to open up and hold stable as you go. You're going to pause at different points as you go down into your squat. Holding stability and pushing your knees outside as you grip the ground. And the whole goal is just to maintain stability with whatever range of motion you have. You're going to do this one until fatigue. And this is a great warm-up for whatever kind of squat, um, leg press, lunge, or even just running in general. Just get those knees to drive over your toes and reprogram your feet to work correctly. Now guys, if this brought you value, make sure you share it. If you haven't commented already, let me know how your knees are feeling, and then subscribe. You're gonna miss out on all the other cool shit that we're doing at ResetU if you don't subscribe. See ya.
More from Glenn


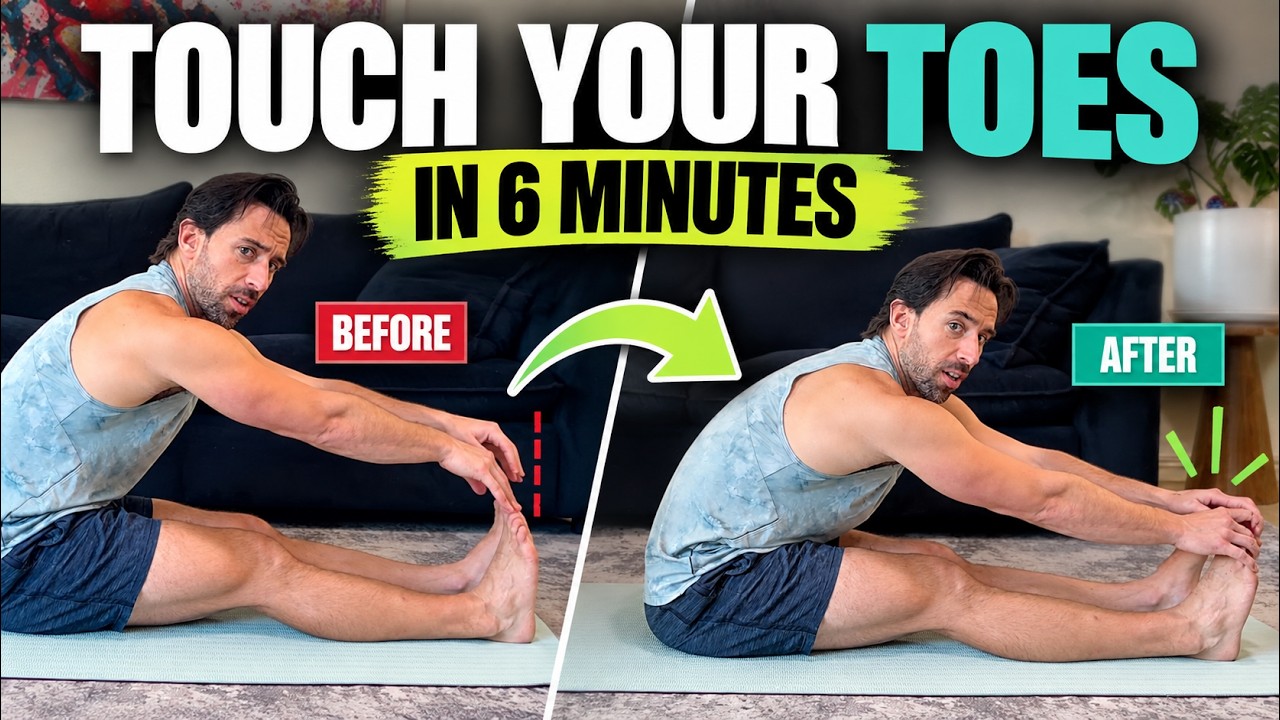
Touch Your Toes in 6 Minutes | Release Muscular Guarding for Better Flexibility