Part 1: Prevent Lower Back Pain From Coming Back
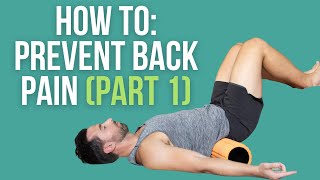
Glenn Dawson demonstrates a four-step foam-rolling protocol to prevent lower back pain by releasing tight hips and glutes. Spend 90 seconds to 2 minutes on each area: lower back, hip flexors, groin, and glutes. Pair the rolls with slow breathing (5-second inhale, 5-second hold, 8-second exhale) to calm your nervous system.
Chapters
Hi, I'm Glenn Dawson with Reset U Fitness, and today I'm going to show you how we use the foam roller like a lightsaber to cut away the spots that are causing pain in your lower back. So for most people, lower back pain starts at the hips. If your hips are out of alignment, it's going to cause more tension in the lower spine here as you carry the weight. Your glutes and hamstrings are supposed to hold your weight, but if they're not doing their job because of restrictions in the hips, tilting your hips forward and pushing everything out of alignment, there's more tension on every single vertebrae of the spine and all the muscles around your glutes, your hamstrings, everything gets out of alignment and causes tension. That tension is going to get reduced with this foam roller. Now, if you don't have a foam roller, every gym has one. They're like $20 on Amazon. They're super cheap. Get a foam roller. This is going to help reduce the nervous system. So when your back is flared up, it gets tight and starts to grab really, really, really tight. This is going to help reduce that. This is why this is our first step in our 3-part series. So follow along and we're going to go through 4 exercises to show you how to reduce it. Now, these are general steps. The first step actually should be get an assessment. So I'm going to drop a link below to get an assessment because everyone's pelvis is different and I want to make sure that you get the right treatment. But if you're too shy to get an assessment from one of our fitness professionals, our physical therapists, All I want you to do is just watch this video and follow along. All right. So the first step is to reduce the tension on the lower back itself, the muscles and the vertebrae. Now, if you see someone rolling their back in the, in the gym doing stuff like this or rolling around, that's way too aggressive. That's going to cause you to tighten up even more. That is not what you want to do. What we're going to do is a slow, easy way to reduce the tension in those lower back muscles. And the vertebrae so we can actually shift things into place. So what I want you to do is get in front of a bench. If you're at home, a couch, and put your legs propped up on top of it. Make 90-degree angles with your legs. Make sure you have your foam roller close. Then you're going to bridge and slide the foam roller right to where your lower back is. Now, from here, I want you to breathe from your diaphragm. So if you can use more like— focus on like your stomach doing the work, filling up like a big, big, big bag of air there. And I want you to inhale for 5 seconds, hold for 5 seconds, and exhale for 8. Whenever you exhale longer than your inhale, it slows down your heart rate and it changes your blood from O— from NO2 to O2. That way you're basically reducing stress. Now, when you are in chronic pain or your back is flared up, you are in stress. You're in fight or flight right then and there. Your body's ramped up almost like you had 8 cups of coffee and you're super tight. This first move is to reduce that stress and relax you. So dim your lights, close your eyes, and breathe with me. Inhale 5 seconds. Hold 5 seconds. Exhale 8 seconds. Again, inhale 5 seconds, hold 5 seconds, exhale 8 seconds. Now I want you to continue step 1 for a minimum of 90 seconds. At the end, if one side of the hips feels really tight, you can shift your knees to that side and get more pressure on that side and reduce that tightness in that QL, which is like a muscle that connects your rib cage to your, your hips, or shift to the other side and get the other side. It all depends on you. Once you finish your 90 seconds to 2 minutes, bridge, pull the foam roller out, come back down, and then roll over back onto your stomach for step 2. Now the next move we're going to do is a hip flexor and quad foam roll. Most people, because of sitting at a desk or sitting at the computer, have really, really, really tight hip flexors, like a band that goes from the, the core down to your leg and gets tight from just all this you know, hours of sitting. We need to lengthen that and stretch it out. So we're going to start with the foam roller here. Now I'm going to line it up just using the corner. Make sure you don't roll over your reproductive organ. That's going to hurt really bad. Wouldn't recommend it. You want to steamroll your penis or your vagina. It's not fun. Go to the side and just make sure that your corner is lined up with your pelvis. Now from here, I'm going to army crawl just like this. And use this opposite leg like a kickstand. And I'll show you both sides. But you're basically going to want to go real slow, at least 10 seconds per pass, and foam roll the entire hip and the quad, those tight dominant muscles. Most people are tight there. So if this is painful to you, it makes sense because that's tight tissue. And most people that have lower back pain have tight tissue here. So this is good for you, even though it's going to hurt a little bit. So line up your hip with the foam roller, go onto your elbows like an army crawl. Keep your spine neutral, don't hyperextend, don't round, and you're gonna pull yourself forward to the top of your knee and then back nice and slow. You're gonna do 3 passes, about 10 seconds each. And then switch and do the other side. And I want you to do both sides, so I'll show you the opposite side. So as I'm moving, what this opposite trail leg is doing, and see how I keep my spine neutral. I'm not rounding. You want to practice that neutral spine as much as possible. Because you don't want your spine to learn patterns that are going to hurt it. If it's neutral, you have way less chance of it getting hurt. All right, now move on to the third place to foam roll. The third place that you want to foam roll is your groin. So this area here, it's very similar to what we just did. So we just did this. We're going to flip it over here. Now, again, follow Glenn's rules of not rolling over your reproductive organ. It's not fun. Don't do it. You're going to take the foam roller here and out and line it up at your side, and you're going to sideways army crawl. This way you can open up the inner part of your hip. So it looks like this. Start close to your reproductive organ and pull away again, maintaining that neutral spine and using your elbows to move. Same thing as the last one. You want to go 10 seconds per pass, 3 passes at minimum. If there's a knot in there, you can flex the leg out a little bit and kind of work the knot. It's not required. If this is your first time foam rolling, honestly, just get through it for the next 3 days because it's going to hurt. And then after 3 days, it'll become enjoyable. And I'll show you the other side so you can see the trail leg work. And just maintain stability throughout the whole motion. If we can keep your spine straight this whole time, chances are you're not going to have an issue or a flare-up. Whole goal of the foam rolling is to reduce all that tension in your nervous system, all the guarding. So the last thing we want to do is flare you up. All right, we got one more. This next foam roll is for your glutes. So your glutes wrap around the hip capsule. The hip capsule is tight. It's going to throw off your lower back. So we want to reduce the friction there. Now, this is your first time foam rolling. Just simply doing this with a roller back and forth, nice and slow. You might feel tension. So this would be you. Stay in this zone right here. This is your happy place. You don't need to go any further or any harder than this. If you want to kick it up a notch because you don't feel it well enough, we're going to isolate that hip capsule. So let's hypothetically say I want to hit this right leg here. I would cross my right leg over my left and then just keep rolling. And let's say I still don't feel it. I'll bring the left knee up and then start rolling. And in this hypothetical, let's say I still don't feel it and I want to go hard. What I'm going to do is then shift my weight to this right side. And put all the weight that I can on this one right glute. Now, if this doesn't hurt you, I don't know what will. You could use a smaller ball, maybe, but this is a pretty intense glute foam roll. Now, if you could do this both sides for 90 seconds, a lot of that piriformis pain, sciatic pain is going to go down because a lot of that comes from tight glutes flaring up the hamstrings and lower back. Now, once you've completed these 4, we would start our stretches, and that's in our next video. So if you haven't subscribed, make sure you do that now. And if you feel better after these stretches, let us know below. Or maybe you have an idea for the video that you need to relieve pain, and we want your ideas so we can just create cool content and help you out. Comment below, let us know, and I'll see you on video 2 where we go over the stretches to prevent lower back pain.
More from Glenn


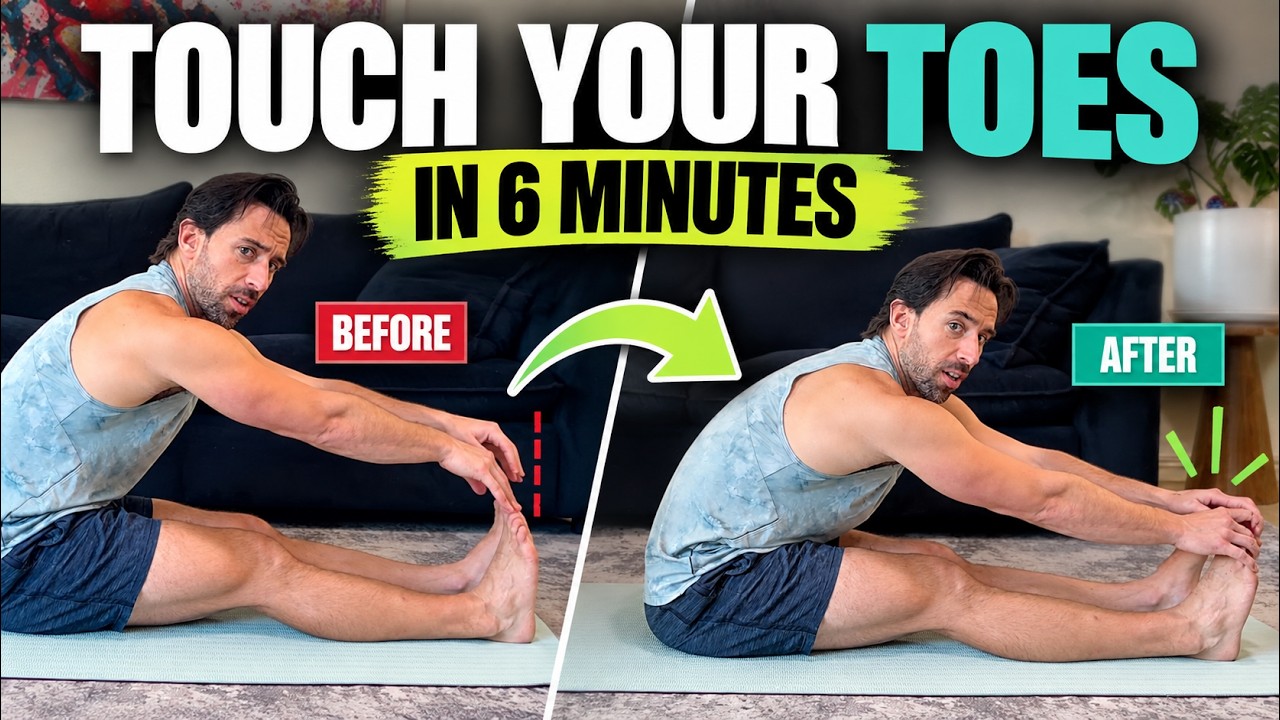
Touch Your Toes in 6 Minutes | Release Muscular Guarding for Better Flexibility