Part 3: Prevent Lower Back Pain From Coming Back
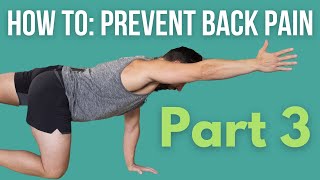
Glenn Dawson demonstrates three strengthening exercises to prevent lower back pain: a banded glute bridge hold, a bird-dog for spinal stability, and an assisted reverse lunge. He emphasizes glute strength to protect your lumbar spine and offers modifications for beginners.
Chapters
In this video, we're going to go over the strengthening exercises you need to do to strengthen the muscles around your pelvis and core so that your lower back never has to return. Now, first, if you were in lower back pain and you didn't fix it already in video 1 or video 2, this is a 3-part series. We foam rolled first to reduce the tension of our nervous system. Then we lengthen the tissue with the stretching in the second video. Now, this third video, when everything's moving correctly and you don't feel pain, is to make sure the pain doesn't return. The only equipment you'll need— you don't actually need it, it's just helpful— is a band like this. Let's get started. Glenn Dawson here with Reset U Fitness, and the first move we're going to do to strengthen the glutes is a banded glute bridge. Now, if you are a manly man and you don't want to do this because you feel embarrassed in the gym, do it in the private comfort of your own home, but do it. This is extremely important. And think about any sport. If you're a manly man, the guys that you like have powerful hips, which means they have powerful glutes. And those are the guys that you want to draft to your fantasy team. If you want to be like them and not have lower back pain, follow this. I'm going to use a band and we're going to do this banded glute bridge. If you don't have the band, it's okay. It'll still work. But I recommend buying a band, a light one. You don't need a lot of tension. Now put the band around the top of your knees where your quads start. From there, you're going to go lay on your back. We're going to do isometric holds. Now, what does that mean, Glenn? What's an isometric hold? It means you're just going to hold and flex in the air. Now, I want you to do this for at least 30 seconds. The goal isn't to do a bunch of reps, just hump the air. Those types of muscle fibers aren't going to hold stability. You want stable, so you're going to hold and push your pelvis as high as you can. Imagine driving through your heels as you're doing this motion. You should feel it in your glutes. If you don't feel it in your glutes, you're not pushing through your heels, so lift your toes a little bit. It'll help until you get adjusted to use your whole foot. And push that pelvis up as high as you can, like you're trying to hyperextend your pelvis. Hold for 30 seconds, and then slowly lower. Now, as you do this exercise, I want you to do it till complete failure. So exhaust your glutes and keep the knees apart. So this band is trying to pull them inward, you drive them out the entire time. This is the key for most lower back pain to get rid of it is strong, powerful glutes so that your lower back doesn't have to do any of the work. The glutes should be doing the work for you. If you don't have strong, powerful glutes, It's 2022. Get with the program. Glutes are in and you would want them. You don't want lower back pain. So do this glute bridge isometric holds. Once you've completed this and you're at complete exhaustion, move to the second exercise. Now that your glutes are turned on, we got to connect your glutes to your shoulders, your lower traps, and all of the, the T-spine, basically Your core isn't just your abs. Think of your core as your knees to your shoulders, and they all have to connect and move together, kind of like a puppet. If that's weak, knees to shoulders, the spot in the middle, your lower back, could create pain. So we're going to do a bird dog. Now we're going to deconstruct it first, so if it's too difficult for you, we're just going to do one section at a time. Again, firing the glutes, keeping the spine straight, and then we're going to progress it do the full bird dog. So the deconstructed bird dog starts here. From here, you're going to do one arm at a time, lifting the arm, stabilizing, holding your core tight. And I want you to look down with a straight neck. Don't look up. There's no reason for this. But as I'm doing it though, don't round your spine. Don't tuck your spine under like a dog pooping. You want to keep everything nice and flat Find your neutral spine. So the deconstructed bird dog would go one arm at a time, lift, hold, and then move to the legs. So just doing a glute kickback, this may be intense enough for you. The goal would be to master this and then move up to the next level. So once you've done that and you've rotated each limb with isometric holds so that we can create stability, then I want you to move to the actual bird dog. Now, the bird dog, you're going to go opposite arm, opposite leg, and lift up at the same time. Again, isometric holds. Go for 10 to 15 seconds. And then slowly switch. Notice I'm not tucking in. I see a lot of people in the gym tucking in, but look at what happens to my spine when I do this. I'm just rounded. You want to practice a neutral spine, so don't tuck in. Just go from here up. The whole point of this is stability. No one's getting jacked from doing a bird dog. You just don't want to have lower back pain, so do this. Once you've done this, we're going to move to our next exercise, which is going to open your hips and again activate your glutes again. The last exercise we're going to do today is a back lunge or reverse lunge. I like to call it back lunge because I'm not a nerd and I want short, easy, concise words. We're going to start with an assist, so I'm going to use my TV stand here. Anything you have that's around hip height to give you an assist. The reason for the assist isn't because I don't believe that you can't do this. I believe that you can't do it with proper form because you want a perfect 90-degree angle with the front leg and you don't want tension in the back hip. And for most people, that's a strain. So at least humor me and start with the assist. If you can do it without it and you have proper stability, because remember, stability is what we want. Then go ahead and advance to the next one. So the first thing I want you to do, place your hand on whatever you're going to use as the assist, whether it's a kitchen counter, it could be a wall. I'm going to use this here because it's around hip height. You're going to use the inside leg to step back and do your reverse lunge. Front leg is going to do all the work. So I'm going to step back, hold and pause. Notice how my back knee isn't touching. I'm holding most of the weight here with this front glute. Now from here, I'm going to go straight up. I'm not going to lean forward like most people do when they start and give yourself momentum and keep your hip flexors tight and not activate your glute. It shifts, literally shifts all the way to your quads. I'm going to step back, hold, and then go straight up. When you do go straight up, you're going to feel it through the heel and through the glute in the front leg. And that's exactly what we want. So here, hold, isometric hold, press and go straight up. Now, if you can do that without leaning forward and with proper stability, then I want you to advance to the regular back lunge. So here, hold and push straight up, just like so. Make sure the back knee isn't touching. Make sure you're going straight up and put most of the emphasis on the front leg. Let the front leg do all the work. You should feel it if you're doing it correctly in your glutes and hamstrings. All right. Now, you know, the foam rolling, the stretching, and the exercises to do to prevent lower back pain. If you want something more specific, like I said, we do assessments here with fitness professionals and physical therapists to identify your actual pain points. But if this helped you, please keep doing it every single day. These exercises are not so tough that they're tearing muscle fiber and creating deep, deep, deep muscle fiber tears that'll give you DOMS for 72 hours where you can't walk. This is just enough to solidify your pelvis, keep you in alignment so you don't have to worry about pain. And if this video brought you value, make sure you share it with your friends. I want to change as many lives as I can. I can't do that if you're selfish with the information, though. I'll see you on the next video.
More from Glenn


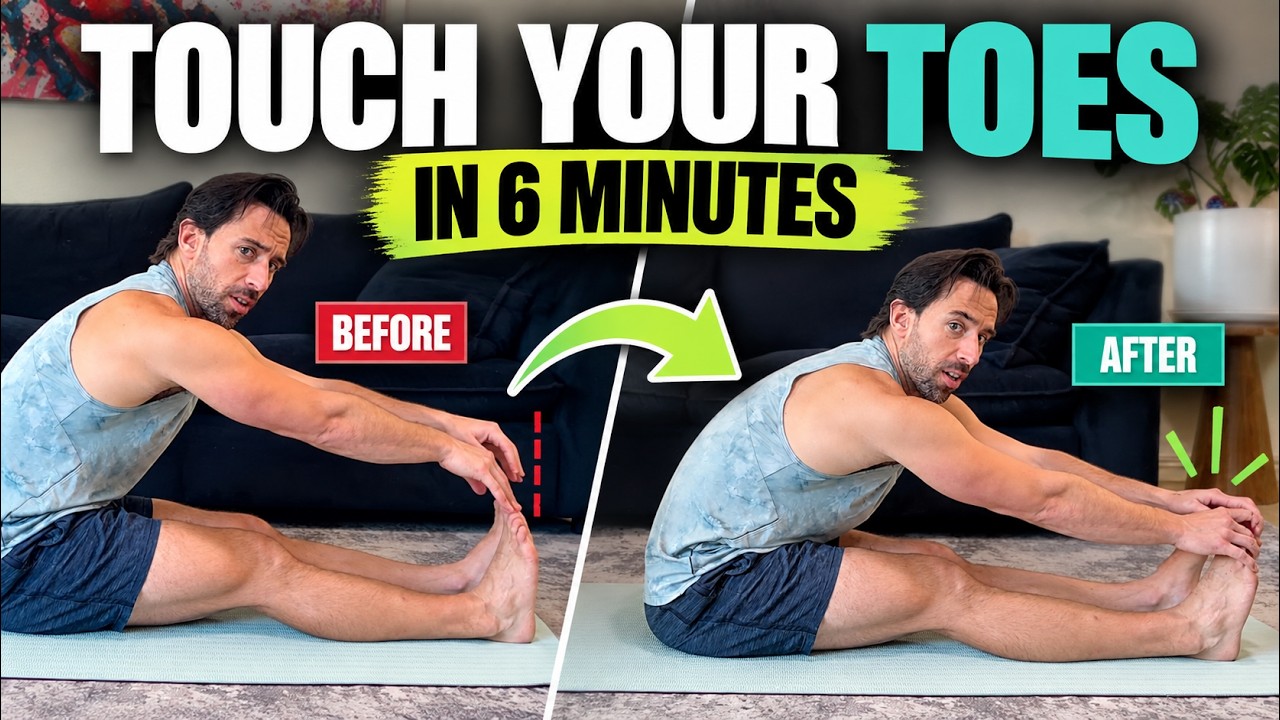
Touch Your Toes in 6 Minutes | Release Muscular Guarding for Better Flexibility