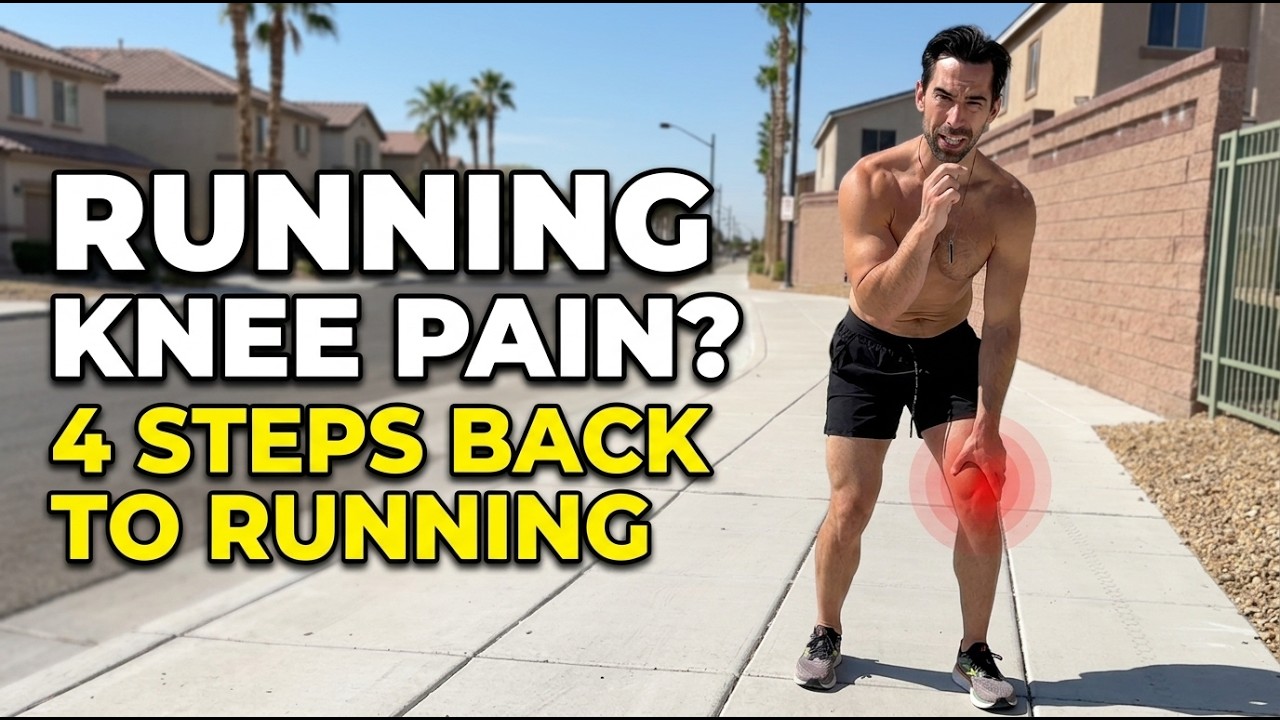
Glenn Dawson shows how to fix knee pain by addressing hip and ankle dysfunction first, then using tissue work and three isometric strengthening exercises. He emphasizes that tendons adapt slower than muscles, so return to running gradually with short, pain-free distances.
Chapters
If you're a parent who's struggling with knee pain and you can't run anymore, follow this video. I'm going to show you how to go from knee pain when you run to feeling great and getting back out there and be able to run freely again. So step 1 is a proper assessment. Most people that come to Reset U Fitness have something wrong with their hips or their ankles before they even come to the knee. The knee is a hinge joint like your elbow. It doesn't rotate. So if as you squat you're rotating to one side or the other, That means every single time you run, your body's literally putting more and more pressure on those knee joints. Imagine every single step is like this. One side is moving like an egg beater, the other side's all over the place. That's going to cause more pressure. No matter what we do to fix your knees, not going to get fixed. So step number 1 is a proper assessment. After that, you want to work on tissue work. So with tissue work, you can either foam roll, the tissue around the knee joint, which takes forever, or you can use this Voodoo Floss Band, which is super simple. You just wrap it around the top of the kneecap all the way up your quad. Now, your quad, depending on what knee issue you have— remember, step 1 is assessment. We need to figure out the flexion, extension, whether it's pulling too tight on the outside, inside, or where the tightness is at. Once you've got this taken care of, the next step is to go through mobility. So I'm going to work on releasing my quad just like so. And as I'm doing this with the Voodoo Band, it's also releasing my hamstring, my IT band, all the stiffness there, and giving my body new blood flow and new synovial fluid. So it's healing the joint faster, and you're going to feel immediate relief afterwards. The next area you want to do tissue work on, obviously, is the calf and ankle joint. So So the calf and popliteus and all these interconnections in the back of the knee, you wanna release those too as well. Also release the tibialis in the front and work on your ankle mobility. Almost like 95% of people that come to reset, you have ankle mobility issues. So you probably have an ankle mobility issue. I would work this ankle mobilizer, moving the knee and shin back and forth. And then do a calf raise of some sort, downward dog, calf raise, hold, and then release and stretch to create an elongated Achilles tendon and floss the tissue in the back of the knee. Once you've done that, we got to focus on strengthening the actual knee joint. So there's 3 strengthening moves that you want to do for the knee joint without a proper assessment. Obviously, if your hips are out of alignment, you need to fix that first. This is just the knee joint itself. The first one we're going to do is go from flexion and extension. We're going to move the knee backwards that we're going to actually work on and do like a Michael Jackson moonwalk, if you will, pressing back against the band. You want to focus on isometric holds, so a 15-second hold with the band pulling you forward. Make sure when you do this, you're doing it against something that is strong and heavy enough to hold your body weight. So I use my children's trampoline because it's humongous. If you don't have stairs or something like that in your house, if you have a one-story, you need to find something that's that strong to hold you. After this, we're going to move to a Spanish squat and work on the quad and strengthen the quad. For this movement, you're going to bend both knees, get enough tension that you can feel the, the band allowing you to sit back into a squat. Squat. So I'm going to sit back into this squat, and this one is an isometric hold. You would hold this for as long as you possibly can, like a wall sit. So we're talking 60 seconds, 90 seconds, whatever you can hold it there. And then lastly, we need to work on hip strengthening. So in other videos, you might see a hip airplane. What we're going to do is just a simple hip hinge because most people can't do a hip airplane without the wall. We're going to focus on that. So I'm going to put all my weight shifted on the knee that I'm working, my right knee. Slightly bend the knee, hinge down, hold. Another isometric hold. Come down to the knee, then come up. You want to focus on the pressure you're putting through your foot. If your foot is wobbling all over the place, you're not strengthening properly. But you want to make sure your big toe is pushing, your pinky toe and your heel. So you have this tripod of stability. Once you've done that, then we focus on last but not least, getting you back out there and running. Now, remember, the last step is to go out and actually run, but your endurance will increase faster. Your muscle strength will increase faster than your actual tendon strength. So whatever is going on in your knee, whether it's meniscus pain, patella tendonitis, whatever it is, it will take longer to get back on track than your muscles and your endurance. So start slowly, maybe a half mile to begin with, then a mile, then you can finally go on your long runs if there's no pain.