In this instructional fitness video, the presenter— a muscular‑imbalance specialist— explains how foot and ankle restrictions can cause knee, hip, lower‑back, and ankle pain. He first teaches two quick assessments: a squat test (with heels elevated to reveal ankle mobility limits) and an ankle‑to‑wall mobilizer test (identifying front‑ankle impingement versus tight Achilles). Based on the assessment, he demonstrates a series of corrective movements: a front‑ankle stretch performed with toes together and knees apart; a calf/Achilles stretch using a Voodoo Floss band combined with a downward‑dog calf raise; a foot‑tripod stability drill that restores contact under the big toe, little toe, and heel, reinforced with a banded lunge; an isometric “collapsing‑ankle” squat with a band around the ankles to strengthen the foot arch and glutes. He concludes with a footwear recommendation, urging viewers to avoid elevated‑heel, cushioned shoes and instead use thin, flexible minimalist shoes (e.g., Vivobarefoot) to improve sensory feedback and overall lower‑body mechanics. The video ends with a call‑to‑action to like and subscribe.
Chapters
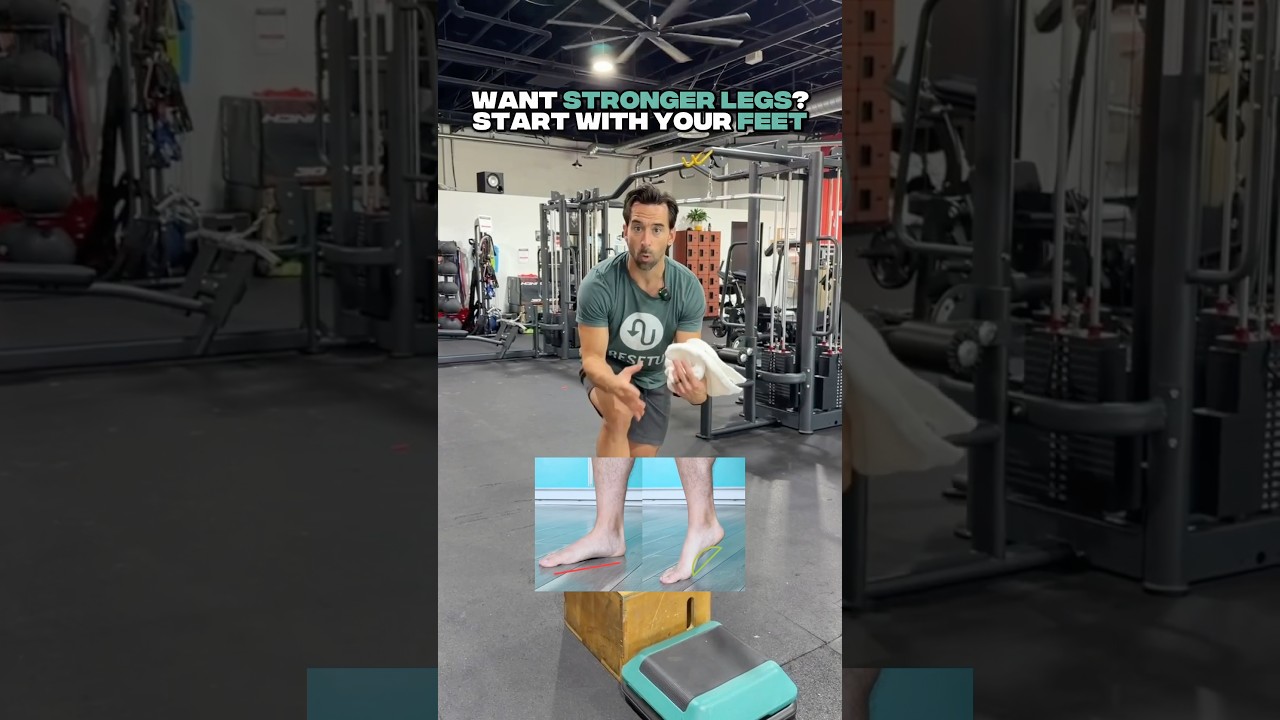
Knee pain, ankle pain, lower back pain, hip pain— it could be coming from your feet. Now in this video, I'm going to show you how to mobilize your feet and strengthen them so you don't have to worry about that. Well, at least not your feet. Stick around. Let's talk about assessment. So first, we have to figure out if your foot and ankle are impinged or tight. There's two basic assessments I want you to do. The first one is just a simple squat test. Put your hands over your head and you squat. Now, a lot of people, they're going to squat and lunge forward. If that happens to you and you're trying to squat and you lean forward at the hips, what I want you to do is elevate your heels and test it out. Put your heels just on top of the weights and you can do this with shoes on too. And then you squat. Now, if this is deeper and it's easier and you don't lean forward as much, you have an ankle problem. The next one we're going to do is an ankle mobilizer test. So I'm going to lay my foot flat. I'm going to try to drive my knee as far over my toes as I can and try to touch the wall. Now, if I can not touch the wall, we're at the right distance. If I touch the wall like this, I'm going to scoot my foot back. All you care about is the front foot and making sure the heel stays down. Now, as you drive this knee forward, something's going to stop you. You're either going to have an impingement point in the front or the Achilles in the back is going to be really tight. So if you have that happen and you feel it in the front, well, we got a move for you to fix it. If it happens in the back, well, you guessed it, we have a move for you to fix that. But it's important to know which one's best for you. Is it an impingement in the front of the ankle or the Achilles tight? Test both ankles because they're probably different and just see where you're tight at. All right. So the first thing we're going to do is we're going to stretch out the front of the ankle. So what I want you to do, if you had that front impingement, this is the first movement you're going to do. You're going to put your toes together like a heart shape and knees apart. Now, from here, you can put the pressure back onto your ankles or you can put a lot of pressure and just leave your arms up. Then you're going to sit up and sit back down, stretching the front of the ankles nice and easy. Stay within your range of motion. If all you could do is this because your ankles are so tight, then just stay here. But do 5 to 10 reps and just stretch out the front of those ankles. I've padded the front of my knees to give it a little bit more pressure here. If you have a pillow at home or even a knee pad, this is an easy, easy movement to really stretch out the back of those ankles or the front of those ankles. The next move is for a tight calf or Achilles. Now, if that's you, I would recommend getting a Voodoo Floss band. This is like foam rolling every single angle at the same time. It's amazing. And with this band, you just wrap it around your ankle starting from the bottom. Don't let any of your meat show through. So no white strips of skin seen through. You just want all red from the Voodoo Band and then tied into itself like that. Once you've got that done, you've got an awesome floss. Now from here, I'm going to do a downward dog type of calf stretch. So I'm going to do a calf raise for 5 seconds, lifting my heel off the ground, flexing my calf. 5, 4, 3, 2, 1. And I'm going to stretch that calf and ankle for 30 seconds. Now, during this 30 seconds, your actual ankle may not be on the ground. It's okay. It's not that flexible. I'm a fitness professional who specializes in muscular imbalances. If my ankle didn't touch the ground, why would you follow me? Right, right. Then 5 seconds of pressure again and then 30 seconds of stretching. Now, I would do this 3 times around. To save you from boredom, we're only going to do it twice, but make sure you do both ankles if they're both tight. Next, you should have a tripod of stability with your foot. You should feel this point right here beneath your big toe, this point right here beneath your little baby toe, and ankle creating a tripod of stability, all making contact with the ground. Now, if you look at your shoe and your shoe pattern, maybe it's just the outside. If that's the case, you want to put the Voodoo Band, which we're going to do in this next exercise, right here underneath this big toe and make sure it makes contact. So wherever you're not making contact, that's the next move. We want to strengthen that area and make contact. So hypothetically, say I'm going to take my Voodoo Band, I'm going to stick it right here because this point isn't making contact. Then I'm going to go into a lunge and stick that right underneath the big toe. From here in this lunge, I'm going to pull away so that I have to keep contact with this the whole entire time. Otherwise, it's going to pull out. Now from here, I'm going to take my knee from neutral, so straight to out away from center. This is going to help me grip. It should activate my glute. It's going to strengthen all the muscles in my foot. And I recommend doing at least 10 reps. Nice and slow each side. And remember, make sure you're checking the pressure point on your foot where you're not making contact in your squat, or just look at your shoes and see where the wear pattern is at. This last move is something I learned from Squat University for collapsing ankles. It's an amazing exercise. I've been using it ever since. So thank you guys. This one, you place the band around the ankles at the very base. It's going to try to collapse the ankles in. You want to keep your toes as straight as possible. If you have to outside shape them a little bit, it's okay. And you want to pause, do isometric holds in your squat. If you do have a bad squat, you're probably going to want to counterbalance. So put your arms out straight and then squat and drive your knees away from center like this so your knees can go outside the big toes and you're overexaggerating this motion to activate your glute med or the outer, outer butt. And then squat and pause 2 to 3 times. Make sure you're not compromising your spine. So if you're leaning forward a lot, just come back up. That's not where you want to pause. You don't want to learn and recreate that pattern, but go until fatigue, not failure. And you should feel your feet grip the ground as you do this. This is really important for people with collapsed ankles or flat arches to help you build and strengthen those feet. One more tip, bonus tip for you to strengthen your feet. Now, if you have tight ankles and you have an elevated heel here and it's small and tight in the front and you've got all this cushion, all this puffy, puffy cushion that makes you look so cool, what that's going to do is delay all the sensory neurological feedback that you're going to get from your foot. It's not going to make your foot strong. It's also going to shorten your Achilles tendon and cause imbalances to your knee, your hip, your lower back, everything. So if I was you, I would just never wear these. Now, this type of shoe, a not so attractive shoe, but is also extremely flexible, very thin, and has no elevated heel. Like, literally, it's the same exact thing. It's very thin. You can feel the ground from it. Now, as hunter-gatherers, we didn't— we weren't designed to wear shoes. We're designed to walk barefoot and grip the ground like a monkey paw. This will allow you to do that, give you more strength on your squat, deadlift, and help correct any imbalances. This is a Vivobarefoot shoe. I love this thing. It's amazing. It's durable, flexible. You can feel the ground. That's your last tip. And there you have it. That's how you're going to strengthen your feet. So if you follow these steps, you should have good ankle mobility, strong feet, and get rid of any kind of neurological damage and Stop wearing dumb shoes that don't make you any stronger and give you lower back pain. Thanks, guys. Make sure you like and subscribe.