How to Make $30,000/Year Blogging Using AI & Automation (step-by-step course)
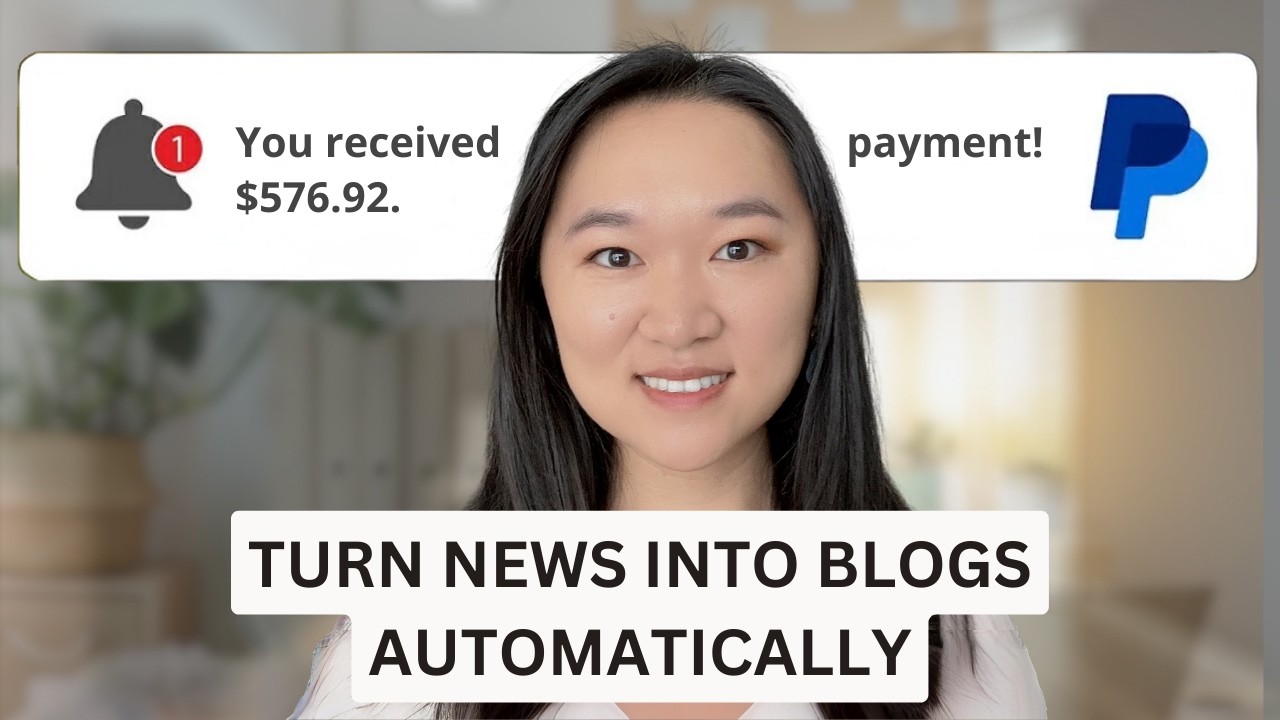
Helena Liu shows how to build a fully automated blogging pipeline using Make.com, GPT-4o, and DALL-E 3 that publishes niche news articles to WordPress without human intervention. The system watches RSS feeds, generates SEO titles and images, writes full posts, and publishes them in under a minute. She outlines four ways to monetize: Google AdSense, sponsorships ($416/month per advertiser), affiliate marketing, or selling products like ebooks.
Chapters
Ready to make money and grow your business even while you sleep? Today I'm going to show you how you can set up your own AI automated blogging system. What this system will do is that it will take the latest news article in your niche, turn it into a blog post, and then automatically post it onto your blog. I know it's absolutely incredible. Only a couple years ago, I had to do this whole process manually. I had to hire a writer, wait for them to finish the article, and then I can post them to my blog. This whole process used to cost me hundreds of dollars per article, and it would take weeks to complete. Now AI can do it for pennies on the dollar, and the process is almost instantaneous. And I'm going to show you how to set everything up today. The best part, you can make up to $30,000 with this AI automation, or $576 per month. So make sure you stick around until the end because I'm going to show you 4 strategies that you can use to monetize your blog. Also, if you're new here, hi, my name is Helena. I am an AI optimization expert, and I would really appreciate it if you got any value out today's video to please like and subscribe. With that being said, let's dive in. So the first thing that we're going to do is we're going to go on to Google News and we're going to put in the topic that we want to write our blog post on. So if I want to start a new blog on artificial intelligence, I'm going to put artificial intelligence here in the search bar. And then what I'm going to do is I'm going to copy this URL right over here for the news articles. Oh, and by the way, just to backtrack here, I went to news.google.com After I got my news article here, the next thing I want to do is to create an RSS feed. And in order to create my RSS feed, I'm going to go to a website called rss.app. And once you register for a free account, you'll be taken to a dashboard that looks like this, and you want to create a new feed. I'm just going to put in the URL that we just copied from Google News and then press Generate. After a couple of seconds, we will have our RSS feed. Okay, so once our feed has been created, I'm going to press Save Feed, and I'm going to copy this URL right over here. The next thing that I'm going to do is I'm going to go into make.com. So make.com is an RPA, or robotic processing automation, tool that allows us to create these automations, and it is completely no-code. So you can see visually which module comes first, which is the second step, which is a third step, all in a visual way. So once we log into make.com and we start a new scenario, we'll see something like this. Basically, this is a blank canvas that will actually allow us to put in all our modules so we can see what is the first step of the automation, and then what's the second step, what's the third step, etc. So the first thing that needs to happen is we get a new news article that comes out through that RSS feed. So naturally, this tells us trigger here should be RSS. And when we select RSS, we want to watch for new RSS articles that come out. So we're going to select this, and then it's going to prompt us to enter in the RSS URL. So I'm going to put in the URL that was just generated. And because we want to write one article at a time, I'm going to leave this at 1, and then I'm going to press OK. And from here, we can select what point in time do we want the articles to start writing. If we want new articles from now on. We'll just leave it at the default setting. After we have set up our trigger, the next step is we need a title for our article. So we're going to press the Add button here. I'm going to search for OpenAI, but just know that you can use things like Claude, you can use Perplexity, any large language model will work. I'm going to select OpenAI, and then I'm going to select Create a Completion here. And for my model, I'm going to select GPT-4.5. 4o because GPT-4o is the only model currently from OpenAI that can actually access the web and has the latest information. If this is your first time logging into OpenAI though, you want to press the Add button here, and then you will need to get your API key. In order to get your API key, you want to go to platform.openai.com/api-key. From here in your account, you'll be able to create a new secret key. Give it a name that will remind you where you put this key. For example, if you're just putting it into make.com, you can call it something like make.com. Then create this key, and then you only get to view this key once, so make sure you copy it and then go back to Make, paste it in right here, and then press save. A question I get asked very often as well is how much does OpenAI charge for their API usage? Well, it totally depends on how much you use it and which model you're using it. So OpenAI is pretty transparent about their pricing. If you go to openai.com/api/pricing, and if you scroll down, you'll be able to see how much these various models do cost. The model that we're going to be using today is GPT-4o. As we can see from the pricing here, it's $5 for 1 million tokens of input and $15 for 1 million tokens of output. I just want to quickly explain what a token it means here. There is a complicated math equation that converts the number of characters or words into number of tokens, and we're not going to get into that here. A good general rule of thumb is that generally about 4 to 5 characters equals 1 token. So you can just use that rough math. It won't be exact, but it'll give you a rough ballpark of how many tokens you will need for each article. Token costs have been coming down significantly, and it's only going to get cheaper and cheaper. Okay, now that we have our OpenAI connected. Now we're going to select our model here, and of course we're going to select GPT-4o. And then I'm going to press on Add a Message. After I do so, for the role, I'm going to select User. And in the message content, this is where I'm going to put in my prompt. Here is the prompt that I have written: You are a blog writer and your job is to turn the following news article into a unique SEO-optimized blog post. Here is the title, of the article. And then what I did here was I basically just entered the variable title from the RSS feed module. The reason I want to do this is because when a new article comes in, I want the new title to be inserted. So this is a dynamic variable here. And I did the same for the URL. So I told GPT-4o, here is the URL that you can go and read. And the parameters here I gave it was maximum 10 words, one sentence flow, and do not put quotes around the title. And then I just just to press OK down here at the bottom. Now I actually like to rename my modules so that I know which module does what. To rename your module, just right-click on the module and then go to Rename, and I'm just going to call this Blog Title. Now the next thing we want to do is to generate an image, a feature image that can go along on our blog. I'm going to press the Add button here again. I'm going to select OpenAI, and I'm going to go to create a completion again. It's the same that process for the model. I'm going to select GPT-4o, add a message, select the role as user, and in the message content, I'm going to put in my prompt and tell it to please return a DALL-E 3 image prompt to generate this image. After I've done so, again, I had to give it a maximum tokens. I'm going to put 1,000 again and then press OK. I'm going to rename this and call it image generation prompt. After I have my prompt ready for this image, then the next thing I'm going to do is actually generate that image. So I'm going to press the Add button here again, select OpenAI. This time I'm going to scroll down until I find Generate an Image right here. I'm going to select DALL-E 3 because that's the latest model for image generation, and then I'm going to insert in the prompt that we have just generated. So I'm going to click on the prompt field And then I'm going to locate the image generation prompt module that we just did. So this is why renaming it will make it easier for you to find things on later steps. And then I'm going to expand on choices. I'm going to expand on message. I'm going to select content here. So what this is going to do is that it's actually going to paste in the, the prompt that was just generated. Now we're ready to actually write our blog post. So it's the same process again. I'm going to press the add button. I'm going to select OpenAI, going to select Create a Chat Completion, and then for the model, I'm going to do GPT-4o again. The role will be user, and then the prompt is going to be as follows: please generate an article on this topic. I gave it the URL so GPT-4o can take a look at the article. Here is the title of the article, then I insert it in the title that was generated from the blog title module, and Following that, I gave it some additional instructions. Okay, so I just want to say here that you can mod— please modify the prompt as you see fit. You can add in more instructions. The more specific that you get, usually the better result that you will get. Here for the maximum token, here I'm going to put 4,096, which is the maximum number of tokens that is available right now. After I finish this module, I'm going to press OK again. The next step is to actually post it onto my WordPress blog. So if your brand new to WordPress and you don't have a WordPress blog, I'm going to quickly show you how you can start with your own WordPress blog. So you will need some sort of hosting service to host your domain and your website. The one that I use is SiteGround.com. After you log in, you'll be able to purchase a domain here, and I have already done so. To purchase a domain, go to Marketplace go over to Domains, type in your domain here, and if this domain is available, then you can select to add and then just put in your credit card number and you'll be able to purchase that. After you have purchased your domains, you will go over to Websites and then select the website where you want to install your, your WordPress blog. Then hover over and go over to Site Tools. After you go over to Site Tools, you'll be taken to this dashboard and you want to select WordPress from the left-hand side menu and then select Install and Manage. Oh, and by the way, if you use any other hosting provider, the process is pretty much identical. Just basically where things are laid out may be slightly different. So after you have done so, select to install WordPress here, put in your domain, and then put in a username, a password, and an email for signing in, then press Install, and then you'll be all set to go. So I have already done so, and I'll show you what it looks like. What you want to do is go down to Plugins and then select Add New. From here, you want to actually search for the Make plugin. The thing is that Make hasn't changed the name of their plugin yet, so Make used to be called Integromat, and that's what you need to search for in the search bar right here to find the Make connector. After search for Make, the Integromat connector, you'll see this particular plugin. Because I already have mine installed, it says active. But if it's your first time installing it, make sure you press on Install and then press Activate. And then you'll see this Make tab right here on the side. So once you press here, you'll be given your API key. And this is the API key that we actually need to copy over into Make in order for Make to be able to automatically post onto your blog. So we're going to go back into Make now, and we're going to add a new module. And this time we want it to post onto our WordPress site. I'm going to search for WordPress right here, click on WordPress. And because we want to create a new post, this is the action that we wanted to take. And if this is your first time connecting to WordPress, You're going to go up here at the top, press Add, and then simply put in the API key that you just put in. Then put in your domain of your WordPress site right here, followed by wp-json-. I just need to add in this little part to append to the, the domain, which is again wp-json-. If you don't add that, it's not going to work. From here, I just fill out the details that I want to be posted. Onto my blog. So for the title, I'm going to click on the title, going to scroll down until I find the blog title module that we have just created. And then I'm going to expand on choices, expand on message, and click on the content, which is the output of the blog module, which will return the title to me. The content is all of the content within my blog post. So I'm going to go to the Blog Content module, do the same thing. Expand on Choices, expand on Message, and then select the content. For the type, I'm going to select that it's going to be a blog post. So there are a couple other things you can configure. You can add tags, you can add the author. I'm going to add myself here. So after you have filled in everything that you want in your WordPress blog post, just click OK here at the bottom. Save. Make sure you always save because Make doesn't do that for you automatically. Let's just do a test run to see what we get, and then if everything's working, let's add in our image and we will be done. Okay, it's been about a minute and our article is done. So basically, here is the article that was just posted onto our WordPress blog, and if we look back at the integration that was just set up, we can actually expand on the one little pop-up bubble here, we can actually read the URL that it just spun into a blog post. Here's the original article here. And this is the article that OpenAI has written for us in less than a minute. So this is absolutely mind-blowing, incredible. So there's actually 2 more things that you can change to this automation right here. One thing that I forgot to mention earlier, is that down here in the status, you can actually choose whether you want to publish it immediately or leave it in draft. So you can leave it in draft if you want to review it and make any modifications before it's published, or you can just put it in publish and it will just automatically go out whenever there is a new news article. So once you have set this up, the last thing is to actually add in our image. So there is actually 2 things that we need to modify if we want to add this image in. The first thing is we actually need to save the image that we just generated because the OpenAI server actually just keeps that image stored for a few minutes and then it's gone. Just imagine how much storage they would need if they, they're saving all the image generation from DALL-E 3, right? We need to actually save it into our own server. I'm going to unlink this here and then create another module. Again, here we're going going to select WordPress. After we select WordPress, we're going to select Create a Media Item, and we want to add in the output from the DALL-E 3 image generation. And then you can just press OK down here. We're going to connect it back into WordPress. Oh, another side note here, when you click on Generate an Image module that you have here, Sometimes you have to toggle on the Show Advanced Settings and make sure your response format is in image file and not URL, because it's not going to work if you have the URL selected. So now that you have your image item saved, and now you can just add it where you want it to appear on your blog post. So if I want it to be in between the title, and the content, I'm just going to add it in right here. There is a little bit of code involved to add in this image, but don't worry, I'm going to give you the code and this whole automation is going to be in my school community. And the link to join is below as well. And here is what basically telling it the image source is from the WordPress media item that we just created. And we want it to be centered, the width is 650 pixels. And that's pretty much it. So once we do this, when we save and press OK, we can run it again. And now this time, we will have an image on the top of our blog post. Let's do it. Let's try this again. Okay, so it's been about a minute and our blog post is finished. This is what it looks like. We have the image here at the top followed by the article that was just spawned from a new news article. And I hope you guys are just as mind-blown as I am here, even though I make these automations, but it still never fails to amaze me how much you could do with this technology and what kind of competitive edge this can give you with your business to know how to set up systems like this. I also have a free course, by the way, on AI and automations that you can sign up for below as well. Now with that being said, I know in the beginning of today's video, I promised to you 4 ways that you can actually monetize and make money with your blog. So let's get into that now. So the first way that you can make money with your blog is to sign up for CPC or CPM ads, and you can do so by signing up for Google AdSense. Basically, whenever someone views your blog or clicks on an ad on the sidebar of your blog, Google will actually pay you for those display ads. The second way that you can make money through your blog is through monthly sponsorship. Basically, you can sell ads directly to advertisers on your blog. And let's say we want to make $30,000 a year from our blog. That means that we need to sell $2,500 of ads every single month. Now, this could be a lot for one advertiser, but what if you had 6? If you had 6 different advertisers you only have to charge them about $416 per month, which is a lot more doable. Another way that you can make money from your blog is to sell affiliate products. 2 really good sites to find affiliate products to sell are Amazon Affiliates or clickbank.com. So on Amazon, you can actually sign up to be an affiliate, and after you sign up to be an affiliate, you will have your own affiliate link for all of the products that you want to promote. You just need to put in that link into your blog post, and whenever someone clicks on that Amazon link and buys the product, you will get a percentage of those sales. You can look at what products may resonate with the audience of your niche. For example, if you're starting a blog on personal finance, maybe it's books like Think and Grow Rich. If you have a blog on interior design, it could be the new trendiest furniture that everyone wants to get. ClickBank is also a great way to look for affiliate products. ClickBank is generally really good for digital products like courses. And if you just don't want to create your own course about your niche yet, it could be a good idea to test out the waters, see if other people's courses resonate with your audience before you create your own as well. And then the last way that you can monetize your blog is actually to create your own products like ebooks or courses that you can sell directly to your audience. Another way that you can actually monetize this AI blogging system is actually to write for others. There are many different publications that will actually pay you anywhere $100 to $300 per article, and this is in all various different industries. I'm going to give you 15 of them right now. The first one is Smashing Magazine. They pay between $200 to $250 per article. They write about web design and development. The second one is Copy Hacker. Copy Hacker will pay you between $300 to $1,000 per article. They publish about copywriting and content marketing. Just think how easy it is to set up this system and then make a Google alert about these different topics, and these articles will be turned out for you. You can just submit it to the publisher and get paid $100 to $300. I mean, that's like minting money basically, right? Okay. The next one is Income Diary, and Income Diary posts about making money online, SEO, and digital marketing. They pay between $150 to $300 per article. A List Apart will pay you $100 to $200 per article. They publish about web design, web development, and best practices. Make a Living Writing will pay between $150 to $230 per article. They write and publish articles on freelance writing, how to find high-paying gigs, how to improve your writing skills. Also, if you guys are liking this content right now and appreciate all the work I've done to compile all this research for you, I would really appreciate if you can just hit that like and subscribe button. Okay, let's keep going here. We also have SitePoint. SitePoint will pay about $150 per article, and they publish about web development and design. The next one is Toot+. They will pay between $100 to $250 per article and the topics that they will cover include creative skills such as coding, design, and photography. The next one is Cracked, and Cracked will pay between $100 to $200 per article. They will publish articles about humorous content, generally something funny and witty. Next one is called Skyward, and Skyward, their pricing will differ. They are basically an intermediary where publishers looking for writers will be able to connect with them. The next one is called ProBlogger. ProBlogger will pay between $50 to $300 per article. ProBlogger again is a job board where businesses looking for content creators will go and post a job. The next one is The Sun magazine, and The Sun magazine will pay between $300 to $2,000 for essays, fiction, fiction and poetry. After that, we have The Writer's Weekly. The Writer's Weekly will pay $60 per 600-word article. They publish about writing, marketing, and self-publishing. And then we have The Dollar Stretcher. The Dollar Stretcher pays 10 cents per word, and they publish about personal finance as well as tips to save and manage your money. Strong Whispers will pay $50 to $150 per article. And they will post articles about lifestyle, environment, and social issues. And lastly, we have International Living, and International Living will pay between $75 to $400 per article. The topics that they cover will include living overseas, sharing insights and advice to expats. I'm going to include all of the links here as well as the make automation, so you don't even need to make it from scratch. It's all going to be inside of my school community. So please make sure you use the link below to sign up. I hope again, you got a lot of value out of today's tutorial. Please make sure you like and subscribe and sign up for my free AI automation training. And thank you so much. I'll see you next time.
More from Helena

How to Use Claude Code to Get UNLIMITED Leads in 6 Mins | Best Lead Scraping Tool

These AI Videos Has 21.5M Views — Here's the Exact System (Fable 5 + Higgsfield)


NotebookLM 2.0 Update: Analyze Your Entire Business in Minutes! (Full Tutorial)