Make 1,000 YouTube Shorts with THIS AI Automation in 19 Mins! 🤯 (ChatGPT + Canva + Make)
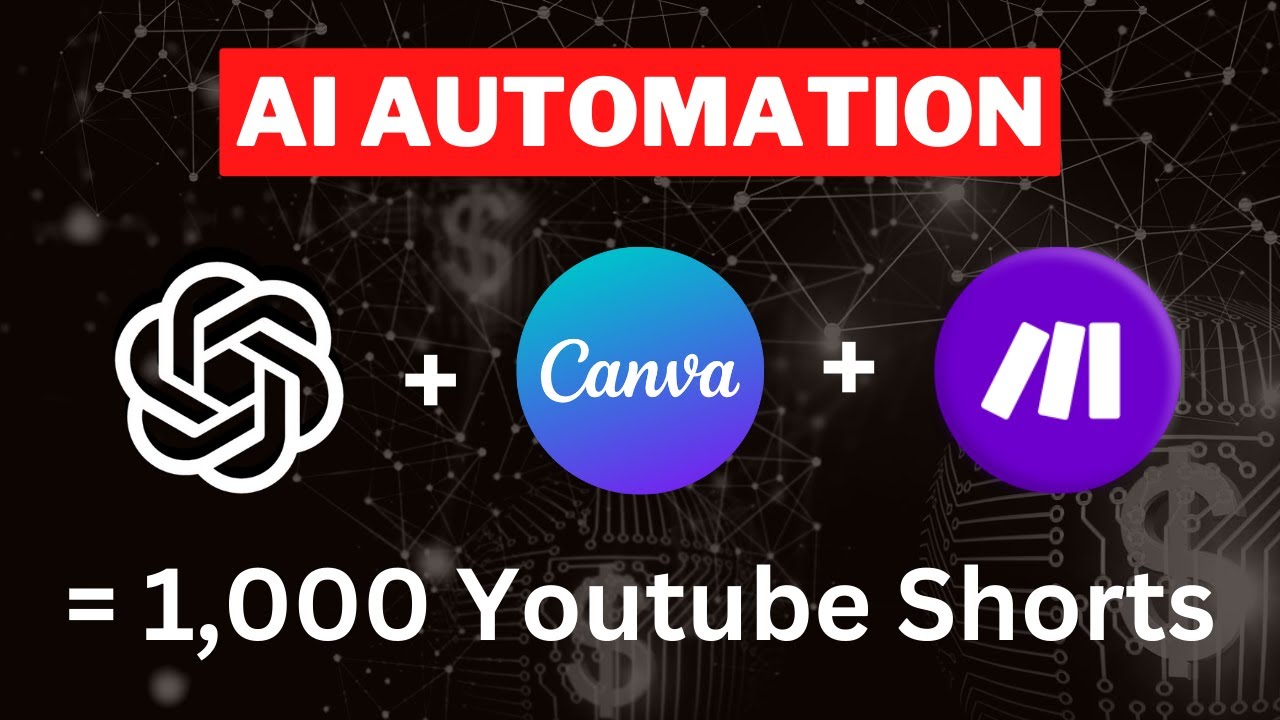
Helena Liu shows how to generate 1,000 YouTube Shorts in under 30 minutes using ChatGPT to write scripts, Canva's Bulk Create to pair them with video clips, and Make.com to automate uploads with staggered publish dates. The workflow batches scripts in Google Sheets, applies timed text and music in Canva, then uses a repeater module to schedule each video days apart.
Chapters
I don't know about you, but lately whenever I log into my social media accounts, I see a lot of these vertical videos that are less than 60 seconds long. YouTube have been really pushing their Shorts and the end users are really enjoying this type of content. And this means for you as the business owner, you need to deliver this type of content to your audience because that is what they want. Also, if you take a look at these reels that I have here on the screen right now, they may not look like they have much in common, but they all have one thing in common, and that is that they all have tens of thousands of views and likes as well. I'm going to teach you how you can do this on automation and add a personalized touch so that they don't look like they were made on automation. Hi, I'm Helena, and I am an AI and automations expert. I would really appreciate if you can like and subscribe to my channel because that's going to help me out a lot. Now, with that being said, there is a 3-step process to creating these type of reels on automation. The first step is that we're going to to use ChatGPT to write our script for us. The second step is we're going to bulk create these videos using a tool called Canva. And then finally, the third step is we're going to use an RPA tool called make.com to schedule and post all of these videos in for us. In fact, we can actually make up to 1,000 of these YouTube Shorts in less than half an hour. So Let's go. Okay, diving into step number 1, we need to write our prompt. A prompt is an instruction that we give to an AI tool. In this case, we want to tell ChatGPT to write YouTube scripts for us. Now, if we just say something generic like write me a YouTube script, you're going to also get something very generic back. The better your prompt, the more specific that you can get, the better the results that you can get. Let's take a look at the prompt I have written. I'm going to point out the different components that you want to think about and include in your own prompts as well. In my example here, I gave ChatGPT a role. Next, I told it the task that I wanted to do. In this case, it's to write the script for my YouTube Shorts. In our example, we're going to write YouTube Shorts for the artificial intelligence niche. I want to generate some different YouTube Shorts that give exact prompts for different use cases that will be helpful to my audience. After I explained the exact task that I want ChatGPT to do, I gave it the structure to follow. After that, I gave ChatGPT the exact example of what I want the output to look like, and finally I told it the format that I want the output to take in. In this case, I want it to be in a table where I have 10 of these YouTube scripts all in the one place. After I generated 10, I can generate 10 more and 10 more after that. Now you may be wondering, why can't I generate 100 at once? Because currently ChatGPT has a context window. This means it can only generate a certain amount of text at one time. I'm going to copy this prompt right here and then put it into ChatGPT. It's just been over a minute and ChatGPT went to work for us. After we put in the prompt, it has generated all of these prompts that I can use as my YouTube Short scripts. It has generated 10 at a time, and after I generated 10, all I needed to do was to tell it to generate 10 more without repeating the ones that it has already done and just repeat this process over and over again until I have all of the scripts that I want. I'm just going to copy this table right here and then paste it right inside of my YouTube Shorts script that is stored in my Google Sheets. After you have finished this step, you can move on to step number 2. We want to bulk create our videos and we're going to use a tool called Canva to do this. We're going to create a new design and we're going to search for YouTube Shorts. Once we have clicked on this, we'll be taken to the dashboard that looks like this. You can be as creative as you want with your YouTube Shorts, so if you need some inspiration, just click on Design and scroll through these templates that are already pre-made by Canva. There are hundreds of them to choose from, but what I find is that for my content, I like to add a bit of a personal touch. I pre-recorded a couple of videos that are just a couple seconds long of myself that I'm going to use. Now, to upload your own videos, simply click on Upload and then click on the Upload File button to upload your videos. I have already done so. I can see my videos here. Let me show you what they look like. Now I'm sure you have seen this style of video before where the person is pointing to different parts of the screen and different text will appear as they are pointing. Now all that's left to do is to actually put in all of our text. To do so, we're going to scroll down the left navigation here until we hit Bulk Create. I believe this is a premium feature, but I think it's only $10, $20 per month. Now we can choose enter the data manually or upload the data. I'm going to click on Enter Data Manually and then paste all of this in and then press Done at the bottom. Great. After I've done so, I'm going to go up here to Text and then actually add in where these texts are supposed to be. I want the heading to be at the top. This is what the prompt is going to be about. I'm going to call it Prompt right here, and I can modify this text by clicking on Effect. This where I can add a background to it. I want this background to be white. I can also modify the font size as well as the font style, but in this case, I like the default font. Now I'm going to repeat the process for my Part 1 text, Part 2 text, and then Part 3 text. I'm going to drag it over the first part. Now I don't want this text to show up for the whole video, so what I'll need to do is to click on this text and then go to Show Timing. This is where I can see see how long this specific text is going to show up for. I'm going to call it Part 1 to remind myself, and then I need to match it with the video so that it shows up when it's supposed to. Okay, I have fixed my video durations. Now let me show you what this looks like. You have the prompt at the top, then the first part of the prompt will show up, followed by the second, followed by the third. Now all we need to do is to connect the data so that the right text shows up at the right time. We're going to go back to Bulk Create, and this time we're going to connect the data. It's very simple to do so. For the prompt, I'm just going to click on this text and I'm going to click on Connect Data. Now all I need to do is to select the column that this text is supposed to match with. In this case, it will be the Big Idea column. I'm going to do the exact same thing for Part 1. Click on Part 1, then click on Connect Data, and then click on Part 1. And I'm going to repeat the process for Part 2 and Part 3. Now we can click Continue. All we need to do is to click Create. Just with one click, within a second, we have all of our YouTube Shorts created. Now, to make my YouTube Shorts even more engaging, I can choose to add in some music. So to add in some music, all I need to do is to click on the Elements tab, go over to Music, and scroll down to Audio. Click See All, and this is where I can find all of the music that I can use. After listening to a couple, I like this one the best, and I'm just going to drag it onto my canvas. Now let me show you what this YouTube Shorts now look like. Let me play couple for you. You can see that now we're writing ChatGPT prompt for, for crafting high-converting SEO titles. The first part of the prompt shows up, followed by the second, followed by the third. Okay, now let's go on to the next ChatGPT prompt for engaging tech blogging. Part 1 shows up, part 2 shows up, followed by part 3, and we have the music. Here's another example here. ChatGPT prompt for Instagram brand storytelling. You can see part 1 of the prompt, followed by part 2, and then followed by part 3. So our Shorts are looking pretty good. Before we can move on to step number 3, we actually want to download and save all of the YouTube Shorts that we have just created. In order to do so, we're going to go up here, click Share, and then click on Download. It's very important that you check this box right here to download every single one of these files as their own separate file. Now I'm going to click Download. Now before we move on, let me show you a different style of Shorts that you can create as well. So I'm back onto the canvas, and this time I'm going to upload a different video of myself. Here's this one right here. In this case, I'm just going to put one ChatGPT tip in here. I went back into ChatGPT and I asked it to give ChatGPT tips that I can use, and I'm going to copy these tips right here and go back into Canva, go down to Bulk Create, and enter in all of this data right here. And all I wanted to do is for this text to show up after about maybe 0.5 seconds after this video starts playing. Okay, I added a title that says ChatGPT Tip, and I also added a white background because it just stood out more. After I made the changes that I wanted, I'm just going to press on Generate All of the Designs. And just like that, we have all of our YouTube Shorts made. Let me show you what this looks like. So I'm going to turn around and you can see the ChatGPT Tip right here. And then this is the next tip. And then after a couple of seconds, we see the next tip right over here. I just wanted to show you this different style just to show you that you can really play play around with this and be as creative as you want. You can make the prompt into, you know, 6 different parts, 1 different part, or just have a tip just like this with you in the background smiling or running or doing some sort of action. And these YouTube Shorts are so easy to make and they get so much engagement. So we are now ready for step number 3. Now we want to post all of these Shorts on automation. It's simply just going to take too long to do everything manually. Imagine we have a of these Shorts, it's going to take us hours to upload all of them onto YouTube. I am going to upload all of my videos into my Dropbox folder. I'm going to click on upload, and then I'm going to upload the entire folder that we just downloaded from Canva. Now that we have our folder ready with all of our videos inside, we are now ready to use Make and schedule all of these videos to go out on automation. Now that we are in our Make account, we are now ready to create our automation. So you want to click on create a new scenario. This will get us to a blank canvas where we can start creating this automation. The first step of this automation is we want to create a repeater. We want to create a loop of uploading a video, and after the first video has been uploaded, then it's going to upload the second video, followed by the third, followed by the fourth, etc. In order to do this, the module that we will need is the repeater module, and the initial value is going to be 1, and we want this to repeat for as many times times as the number of videos that we just created. So if we created 1,000 videos, we want to put 1,000 here. After we have a repeater down, then the next node that we need to add is Dropbox. In our example, if you have uploaded all of your video shorts into Google Drive, then your module would be Google Drive. In this case, we're going to select Dropbox, and then here we want to select download a video. We need to connect this to our Dropbox account if this is the first time that we're logging simply click Add and then press Save, and then log into your Dropbox account right here and give Make the ability to access all the files in it. After we have created our Dropbox connection, the next thing is to actually select the first video, then post it onto YouTube, then the second, then the third, etc. So we need to connect it to the right video to be posted at the right time. The good thing about Canva is that it actually numbers these videos in sequence, so the first video that we created is called 1.mp4, the second one is called 2.mp4, etc. This actually makes our scheduling so much easier. Now we need to select the file that we now want to upload. We're going to select from the dropdown, select a file, and then I'm going to click on the blue button right here where it says click here to choose a file. I'm going to select the folder that we just created, and then you can see if I press the plus button again, I have to select the specific video that we have just created. I'm just going to select the first one. The next thing I'm going to do is actually turn on the map. The reason I do this is because if I don't, what this repeater is going to do is that it's going to select video 6 every single time and upload it into my social media accounts, which is not what I want. I wanted to upload the first one, then the second one, third one, etc., right? So how I'm going to change this is I'm going to toggle on the map option and I'm going to erase out the 6 And I'm going to fill it with i. The i is going to equal 1 on the first iteration, it's going to equal 2 on the second run, it's going to equal 3 on the third run, etc., right? And it's only going to get as high as what we set in the repeater. In this example, what this is going to fill in is, is that it's telling Dropbox, go into this folder, find this file called— in this case, i would be 1— 1.mp4. And then on the second iteration, is going to find 2.mp4 followed by 3.mp4, and this is going to allow us to schedule all of the videos that we have just created in the right sequence. Okay, now that we have our Dropbox module configured, we're now ready to post everything automatically onto YouTube. So we're going to click up here to add a new module, and this time we're going to search for YouTube. And after we find YouTube, we're going to select upload a video. And if this is your first time connecting to your YouTube channel, you need to press Add right up here and enter in your username and password to your Google account so that Make has the permissions to be able to upload onto your YouTube channel. I have already done that. Then we need to have a title for our video. If you do want a unique title for every single one of your YouTube Shorts, what you would do is to right-click, unlink here, and add in a new module, probably adding in OpenAI or Claude and write in a prompt to generate a unique video title for every single one of your YouTube Shorts. In our example here though, because all of the videos are about ChatGPT prompts, I can just give it a generic title here called a ChatGPT prompt, but you can get as wild as you like. Remember that there's no script for creating these videos. It's part of the fun is just to be creative. So the, the file has already been selected. So the video file that was just downloaded from the Dropbox module is going to now be uploaded into YouTube. We also need to select a video category, and then from here we can choose the privacy status. So we want to choose private. Your video is going to be private, and at the date when it's going to be published, it's going to turn public. When we select the publish at date, this is where we have think about how far apart do we want to space out our videos. Do we want to post once a week? Do we want to post every day? Now, in order to determine the time frequency, we need to click on the Publish At field and go over to the Calendar tab. From the Calendar tab, at the bottom we can see a number of different functions, and the one we want is Add Days. What the Add Days function is going to do is it's that it's going to take the time now and add a number of days to the video so that they're spaced apart by that many days. The first part of the function is that we need to add in the time now, and thankfully Make already have this variable pre-programmed. You can see it's, it's literally just called now. So I'm going to click now. So what this function is going to do is that it's going to add days It's going to take the time now, and if I put two here, it's going to add two days. If it's if I put seven here, it's going to add seven days, etc. Except because we are running this in a loop, we want it to add by the number of days times the number of times this loop has been running. So what we need to do is actually go back to the star tab, click on the i, and then go over to the x tab here, and then. Go down to the operator, click on the multiply, and then put in our number. Okay, because if we don't do this, what this operation is going to do is going to take the time now, it's going to take the number of days that you want in between these videos, and it's going to schedule all of your videos 2 days from today or 7 days from today. But when you multiply it by the number of times this loop has been running, that's when you get the spacing, right? So So the second video is going to be 7 days apart from the third video, and the third video is going to be 7 days apart from the fourth video. That is what this is going, uh, to do now. Okay, so this is how we put in the publish at date. And after this, we're all done. We're going to save our work and then press run once. After this automation has finished running, you can see all of the YouTube Shorts that we have just created has been uploaded into my YouTube channel. And what I want you see here is that they are spaced perfectly 7 days apart. The first one will be uploaded on June 20th, followed by June 27th, July 4th, etc. I'm going to leave a link to this Make automation below. Once you get and download this file, simply go to your Make account, click on the 3 dots where it says More, then press on Import Blueprint to download this automation so that you don't need to make it from scratch. As always, thank you so much for joining me for today's tutorial. I hope you learned a lot out of this, and let me know it below in the comments if you tried it out and what your results are. And please make sure you like and subscribe. I've also got a free AI and automations training which you can access below as well. Thank you so much, and I'll see you again soon.
More from Helena

How to Use Claude Code to Get UNLIMITED Leads in 6 Mins | Best Lead Scraping Tool


These AI Videos Has 21.5M Views — Here's the Exact System (Fable 5 + Higgsfield)


NotebookLM 2.0 Update: Analyze Your Entire Business in Minutes! (Full Tutorial)