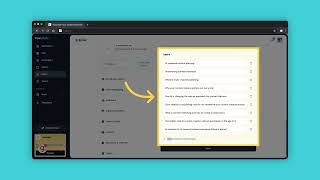
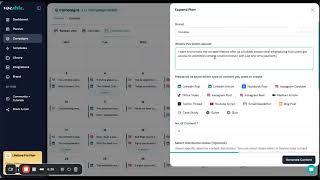
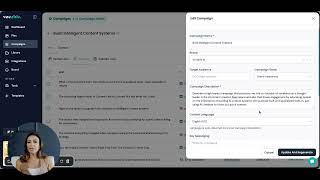
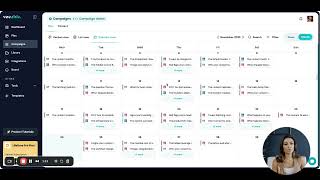
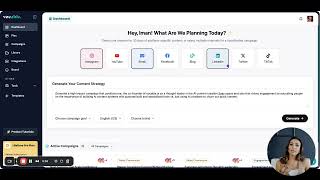
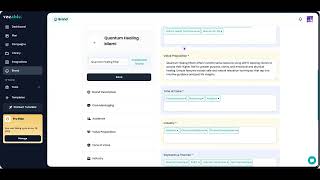
A short instructional YouTube tutorial showing how to access, create, edit, and manage brands in Vocable.ai so users can tailor content plans and campaigns to a brand identity. Covers creating a brand from a URL or by entering description/audience/topics, reviewing and editing scraped fields (description, core messaging, audience, keywords), managing topics, saving changes, creating additional brands, expanding existing content plans, and specifying brands when creating campaigns.
Chapters
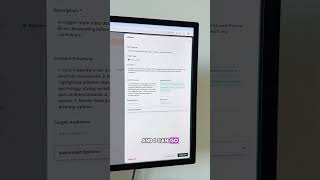
Explore the latest brand feature of Vocable. In this video tutorial, we will walk through how to set up, edit and manage your brands so you can tailor your content plan and campaigns to your brand identity. To access your brands, click on Brand on your left navigation bar. To add a new brand from a business URL, click on Create New Brand from URL. Don't have a business website yet? You can create a new brand by just inputting your brand description, audience and topics of interest and our AI will create a brand identity for you to view and manage your existing brands. Click on View Edit My Brand if you have signed up for Vocable and completed your onboarding by inputting your brand URL to create a content plan, then you should be able to view and edit that brand from here. So let's click on that. If you have multiple brands, you can choose the one to edit from this drop down which will show you all the brands you have created and stored. Pick the brand you'd like to review and edit Once you pick the brand you want to review and edit, you will see the different fields like Brand description, core Messaging, audience, keywords, etc. Already filled in. This is based on the information scraped from your website, so make sure you review and edit accordingly before saving your final brand. One of the most important sections to really spend time on is ensuring your topics are as accurate and diverse as possible so your content plan and campaigns can be properly tailored to your brand topics. You can delete, edit and add as many topics as you'd like. You can also be very specific or broad, but remember that with any AI, the more specific your input the better. Once you are done editing your brand sections, click Save to make sure you save all your new edits and input. If you want to create an additional brand, you can initiate a new brand creation process by selecting this option. It will take you back to this main screen where you can enter a URL for your new brand and you just follow the steps. Once you have your brands established and saved, here's how you can use this feature to tailor your content planning and campaigns moving forward. When you go to your plan, click on the plus button on the bottom right. You can now expand on your existing brand content plan so you never run out of content just by clicking Expand Existing Plan to generate your brand's next month's or next week's content plan. And now this is where you choose which brand you're generating a content plan for. We will cover this in more details in a separate tutorial. You can also specify your brand when creating a new campaign. You can now choose your brand from this drop down when setting up a new campaign. We will also go over how to set up new campaigns now using your brand in a dedicated tutorial. But for now, you know where to specify your brand for both campaigns and your ongoing content plan. This guide covered how to set up, edit and manage your brands on vocable. We hope this was helpful. Thank you for watching.