Learn how to use Vocable.ai's Entry Editor to refine your drafts. Check Document Health scores for correctness and readability, use magic-rewrite to shorten or humanize text, restore past versions, and invite collaborators to review before you export.
Chapters
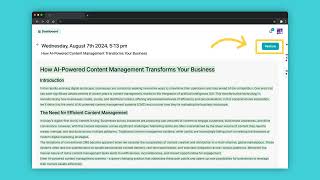
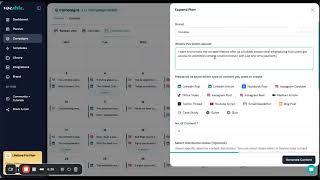
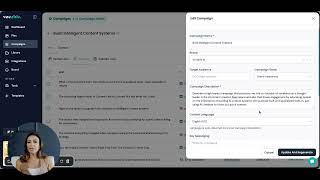
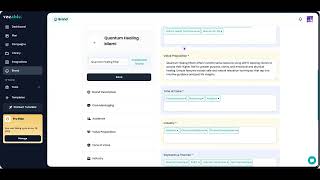
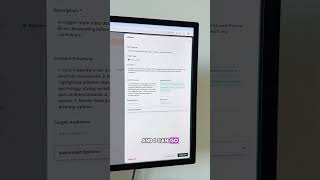
Welcome to Vocable AI Product Tutorials. In this video, we will explore our AI powered entry editor and its features and how to use it to edit and enhance your drafts. Once you've generated them, you can access, review and edit any existing draft from either your library or the Plan tab. Every document or draft created on Vocable is editable inside what we call the Entry Editor. Once you land here, you will see the text editor as the main screen. Then on the right side you can see your document health. This is an assessment tool which rates your draft according to different factors. The assessment tool gives scores according to factors like correctness, vocabulary, readability, accessibility styles, etc. And gives some general recommendations which you can use to edit your draft further. Now let's edit the draft with the Entry Editor. We're going to edit this small paragraph. Select the paragraph to edit and a toolkit will appear with two options as you can see on the screen. Hover over the magic icon and you will get a range of options. As you can see, these options are like magic wands and can rewrite your highlighted text accordingly. Whether you want to shorten or expand on it, humanize it, etc. Now let's talk about the Edit Brief feature. On the top right, say you are not satisfied with the draft that was generated and want to change the direction of the content or maybe even the topic completely. You can do that by editing the brief and regenerating the draft from scratch. The Content Brief will appear on the right side. Remember, treat your brief as your AI prompt, so edit the content brief accordingly, then click on Update Brief to save changes or Regenerate. In order to regenerate the draft, it's important to note the Regenerate or Update Brief button won't be clickable if you've not made any changes. Once you've made your edit, click Regenerate. The AI will then start regenerating the draft according to any changes you've made and replace your original draft with the updated one. Remember, the more accurate and detailed your brief is, the better the content generated. Also, another feature of the Entry Editor is that it has a version history which you can access by clicking on the saved notification as shown here. When you click on it, the version control allows you to track and restore any changes made to the draft. Whether you've regenerated a new draft or made just minor tweaks, any paragraphs removed will be marked in red and any paragraphs added will be in green. Once you click on an older version of your draft, you can also restore it by clicking Restore on the top right side, which will bring back your older version into the Entry Editor as your new main draft. Another way of using AI to enhance your content within our Entry editor is to use the AI Assistance feature, which pops up when you click on any white space or hit Enter to start a new paragraph. This allows you to prompt multiple AI models like GPT, Claude and Gemini directly from you text editor to generate more content or copy. We have a dedicated tutorial on how to use this AI Assistance feature in a separate video, so don't forget to check it out. Another feature worth pointing out is you can also change the status of your draft as the piece goes through the editing phase. The status is displayed here and is also displayed on your briefs to track your drafts like it's a task to be completed. This also helps in sorting drafts in your library or briefs in your plan so you can track what's been completed and what's in review. Also, you can invite people to edit the draft with you. Click on this icon on the top bar to be able to invite a person to edit the draft. There are a few more features of the Entry Editor you can access by clicking the three dots on the right hand side. Every draft is automatically saved in your library once it's generated, and any edits you make to the draft are also always saved automatically. However, you do have a Save as option as well. The Save as feature allows you to save the draft inside a specific campaign or within a new folder and you can change the document name too. This helps organizing your content better and have more structure so you don't have floating documents in your library. Next up is the Export as feature. This allows you to export your draft in your desired format. A range of options are available. This brings us to the end of the Entry Editor tour and tutorial. Remember, the editing process looks different for everyone, but it is one of the most important parts of content creation. Now that AI can take care of the initial drafting and heavy lifting, your main responsibility is to master the review and editing process to make your content stand out from the rest. We hope this tutorial helped guide you through all the features designed to make editing smoother and more intuitive, helping you produce polished, high quality content every time. Thanks for watching and be sure to check out our other tutorials.