A Deep Dive Into The New Planning Center Services Plans Page – 2020
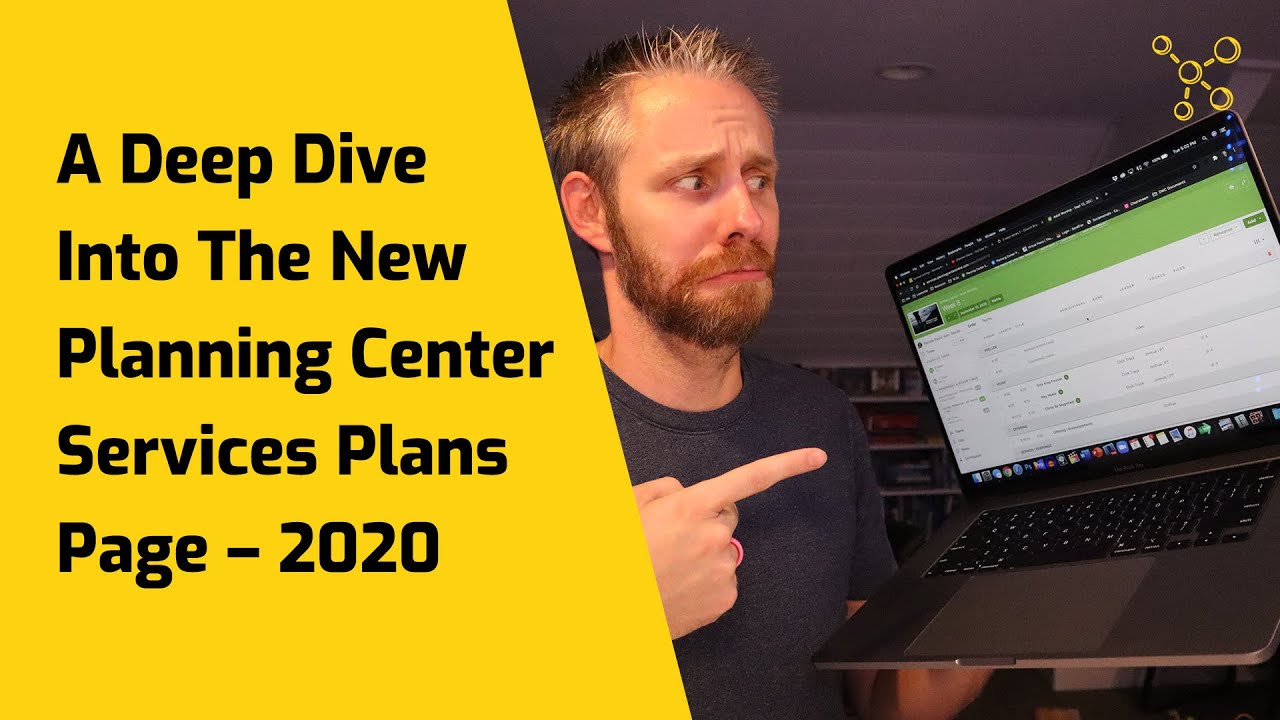
Joshua Riggs shows the new Planning Center Services Plans page, an admin-only beta. The revamped interface includes series graphics, volunteer scheduling, a song drawer with filtering and search, keyboard shortcuts, and a persistent media player. He walks through adding songs, managing team assignments, and printing or exporting plans.
Chapters
I'm a huge fan of PlanningCenter.com. I love using their apps to help our church get better at everything from checking in kids, scheduling volunteers, planning services, managing our giving, and so much more. One of the reasons I love to use their suite of apps is because they are constantly working to improve their systems, make things faster, easier to use, and just overall better for us, the everyday user. Planning Center Services recently released a new look to their plans page. In this video, we're going to take a deep dive into all the things that the new plans page has to offer. Here we go. Hey everybody, I'm Joshua. I'm the creator of worshipresources.church. We help you discover and learn how to use quality resources that will make your church better. If you haven't yet, be sure to subscribe to this channel, like this video, and click that little bell so you don't miss any of the new content we produce. Also, I would love to give you a free gift, a download of all the Planning Center shortcuts all in one place.. You can find a link to that download in the description below. Okay, I'm in Planning Center Services and I'm on the plans tab. I'm gonna go ahead and click on any of the plans. I'll click on this one, September 13th. And you can see this is the old plan. Uh, you've got the songs tab, media over here, people over here. And this, this probably looks familiar to you, but you see at the top, if you're watching this while it's still in beta, it says a new version of the plan page is ready for a sneak peek. So I'm gonna click try it now. Now before we jump in, I wanna mention one thing, and that is if you don't see the new plans page, it might be because you're not an administrator. I think they've only released the new plans page beta to administrators, but they, they have said on their training videos that if you want to get access to the new plans page, just send them a support request. Use the question mark at the top right, and they will give you access to the new plans page, and then you can test it out for yourself. That page loads, and all of a sudden we see some very different things happening. So I'm gonna walk you through the specifics of what's going on on this page. Up at the top, you've got your series graphic, and you also have the title of the sermon. You can click this little dropdown arrow. You can remove the plan title. You can detach the series or edit series art. So the series is going to be, for us, it's Standing Firm in Shaky Times. Remove the plan title, that's gonna be here, Week 8. Some people, you might use the sermon title, so you can click right there and edit, uh, just like that. Click Enter and it will save. Uh, you also can navigate to the next plan or the previous plan using these arrows. If you don't see these arrows, that means you don't have another plan already scheduled or already started. If you don't see that, or if that arrow is grayed out, you mouse over this and it says to change the date, edit individual service times, or reschedule the plan. So you can click here to update the date or reschedule the plan. And then you have a new Matrix button here. If you're familiar with Matrix, Matrix is an incredible way to plan your services, schedule volunteers. It's the fastest way to do it, and we're gonna have a video about, all about the matrix a little bit later on. So matrix, you can load a 1 previous plan or 2 previous plans or as many next plans as you want to. Okay, so over here on the left, I see times, and this probably looks familiar. You've got your service times.. And if you click on it, you can see the specifics about that time. They also have rehearsal times, and then if you wanted to add a new time, you can click on Time and let's say Other, and let's say call time. So you can do a call time, and then you can create that in future plans. And then you have to click to add which team has to show up at which time. So audiovisual team needs to show up at 9 AM, and then I click save, and then it'll show up. So here's the call time. So you see rehearsal and other times listed here. Okay, so then you have your teams. Um, you might have these little arrows where you have to drop down But you can see these are your teams. This probably looks similar to you. It's just a fresh look. And here you can email everybody on the team. You can bulk edit and you can manage your teams. You also can add people. You can schedule people, needed positions, auto schedule, and things like that. So when you drop down to the specific team, then you can see who has confirmed, who hasn't confirmed, if anybody's declined. Okay, so now I'm going to keep scrolling, and you can see files if you have any files. Now this area is for files that are specific only to this plan. These are not song files, um, they're not PDFs of music or anything like that. It's just files specific to that plan. So this might be sermon notes, it could be instructions for what to wear, that sort of thing. You can upload files there. In the notes section, you can add notes that are specific to this plan. And then they have a new section called contributors. So if you have multiple people who have access or editing privileges to your services, then you will see what changes they have made here under contributors. So if anybody makes changes to the times, you can— their profile will show up here. Or if they add files or add notes, if they adjust the order, or if they do anything generally, you'll see their pictures pop up under contributors. Now one of the cool things about this little sidebar that was not true in the old plan is that if you click and close all of these, you actually can close the entire sidebar and shrink it down, which gives you a lot of screen real estate here, which is a really nice feature. I really like this feature, especially because what you don't see over here are songs and media. That actually has moved all the way over to the right. So if I go here and I click on Song, now on the right side there's a little drawer that pops open and this lists all the library of all of our songs. You can use the filter, which is an incredible filter. Based on your tags, based on the history of the song, based on content to filter out the songs. You can also sort by title here. You also can sort by last scheduled. So, if you want to see the last scheduled. So, I use this part all the time because I want to know the most recent songs that I've done. So that we're not doing too many new songs over and over again. So you can see the last scheduled here. And of course you can search for a song. Let's see, Jesus Only Jesus, and it's gonna pull up any songs that have that title. And from here all you have to do is click on the song, click on the title, and it's going to add. There it is, it added the song Jesus Only Jesus to the bottom of the service. Here you can edit the title, you can edit the time, uh, if it's during the service or maybe it's before prelude music or maybe it's after the service. You can add a description here, change the key, and you can see all of your information here. What notes you have on it, if you have any files attached So you have PDFs or chord charts here. You can see the specifics about the song, the CCLI number, how many beats per minute it is, and also you have your CCLI reporting right here. Now that, again, in the old page, this was in a totally different place, so all this is gonna look new, but I think over time you're gonna get used to it. Now when I first started using the new plans page, I really wasn't crazy about it. It was taking me a while to get used to it, but after about a week and a half or 2 weeks now I've been using it and it's becoming, it's coming a lot more natural to me. And I think if you just force yourself to use it, you'll get used to this new page. Here's the deal. This is the new page. Even though it's in beta, they are going to go to this eventually for everybody. And so you might as well get used to it. Just start using it now. Force yourself to learn it, and that way you'll be ahead of the curve when they actually do release it in full. Okay, so also under this tab you can add items. You can add a header. You can add a song. You can add media. And one cool thing that I think is— they're still working on a little bit, but if you actually click Header and drag— see, it's not quite working yet. There it is. If you click Header and drag, you can actually place a new header right where you want it. So this could be whatever— you can title it whatever you want to, then press Enter, and there's your new header. And then of course, if you want to delete it, just mouse over it and click the little trash can. It will ask you to confirm. And yes, I want to delete that. Now the navigation here is a little bit different. Before, you, you could actually click here. You could click anywhere on a blank place, click and drag it up and down. Now they have reduced that. The only way you can move items up and down are with these 6 dots. So you can click on them and move them., and I think— there we go. Okay, let's look at this little section here. These are— this is your view, what is the columns that will show up in your view. So if you want your times to show up, you can check that. If you don't want— if you don't care about the length or you don't care about the time, you can actually get rid of that, which is nice if you don't have time to worry about. You also can add the song arrangements. You can have the sequence of songs here, and you can add the CCLI number. So depending on what you need to see, you can check or uncheck these. And the same thing is true with notes. If you're adding notes for your leader or your band or audiovisual, now these notes are going to be a little bit different because these, this This is how you have it set up when you first set up your account. Uh, you can always adjust your notes. Um, but if you don't see this in your account, there's nothing wrong. It's just how you set your notes up. And you can watch another video to see how to set up your notes. One new feature is this expanded or condensed view, which is pretty cool. Uh, so let's say you have a, a lot of stuff happening. Here you got a lot of notes going on. If you click condensed, it's actually gonna shrink everything a lot smaller so that you can easily see all the columns and have more room for your columns. Okay, so that's the views that you can look. Here you have a rehearse button, which you have the media player, and we'll click that and you'll see— 1, 2, 3. Okay, it started playing the song. You'll see that the media player is now new. Usually the media player would come up over here on the right side. Now it's on the left, and it kind of stays at the bottom, which is actually a really nice feature. So I'll show you what I mean. If you're playing the song Only King Forever and you actually move out of that page, you go to the plans view, And you can see the media player stays even though you navigated away from that plan. Really, really nice feature. So you can keep listening to a song, keep practicing, or keep testing out the songs as you're working within the system. If you want to see all your songs, click this little arrow here, and then you can go to the song that you want to, the file that you want to, and You could download those files or just play them right there in the media player. And then you'll have your play button, previous, next, and loop button as well. And of course you can skim through the track. And here's your volume. Then if you want to close the media player altogether, just click the X. Now one cool thing about the new plans page is the shortcuts that you have. So if you press Shift+? on your keyboard, a little popup will show up with all the available shortcuts. And I mentioned this in the beginning, but I have a free download of all these shortcuts already ready for you in a PDF so you could print it off and you could get used to using shortcuts. So I wanna encourage you to follow the link in the description to get the shortcuts for Planning Center. So a shortcut is mainly just one letter. If you press M, it will open up the media bin, or you can add media, sorry. If you press N, it's for needed positions, and et cetera. Okay, so now we have a little extra dropdown here, and this is where Services Live happens. If you're not using Services Live, it's a great resource. I would encourage you to look that up. You can enable the public view. So this is if you have somebody who needs to access the plan but you just want to send them a link so they can see the order of service, you would enable that and then you can copy the link and send them the order of service. You can also tweet your worship set or share it on Facebook if you have your accounts linked. Okay, I'm gonna close out this sequence because I don't want to see that. Another cool feature which was actually, you could do this in the old plan as well, but just click on any of the areas where you want to add a note, and then you can add a note just by typing. Now, one thing to get used to is that everything happens in this drawer now, almost everything. And so if you want to add a description, if you want to talk about the detail of the song, this is where you would put very specific information about the song or the item. Of course, you have your song files here, media, and your chord charts and PDFs and that sort of thing. You can change the key and you can change the arrangement, but instead of clicking to the next one, which you can do, all you actually have to do is just go to the next item. And you can see the shortcut for that is Option Tab, or the previous item is Shift Option Tab. So if you want to go to the next song, just click over and it will take you to the various items. Notice when you get to a header, there's nothing to change except just the text. I'm gonna close that now. Okay, we're almost done taking a look at the new page, but there's something that you might miss if you're not looking carefully, and that's this right here, Teams. Now this is a really nice feature, especially if you're using Planning Center just to schedule your volunteers. Maybe you're not using it on worship ministry, you're using it for kids ministry or for your welcome team or your greeters. You wanna see your teams, this is the tab to do it. So click on Teams and then you can see all the teams, all the needed positions, who's confirmed, who hasn't confirmed, and make adjustments right here. And now when you, when you go to the Teams tab, you actually have a little bit more different information on this dropdown where you can email everybody, you can bulk edit, and you can also manage your teams. Now I'm gonna go to a later service. I haven't sent these emails out, and you can see The envelopes indicate that they— I haven't emailed them yet. But if you want to email just the individual team, you can see it says very clearly 8 unsent emails. So you know they have not been communicated with yet to know that they're— they've been asked to serve. So you can email the individual team or you can click the dropdown and email everybody by clicking email. So you have 2 tabs. You've got your order and your teams. Don't miss the teams tab. It's a really nice feature. And of course you can collapse these as you want to. And you notice when teams is, is open here, you don't see the teams here. So there's no confusion. But when you go to order, then your teams will show up down here. So it really just depends on how you use Planning Center, what your favorite way to use it, or how you set up your looks. In top right, you can print and you can also export the plan. So if you want to print this plan, here's your standard, uh, report— reporting options. You click submit and it will download a PDF for you. Or if you want to export the plan, you can say which parts you want to export and you can export them into a new plan, or into a template, or to an existing plan. You'll notice that I don't have the series attached here. So if I want to add series, I can click Add Series and I can search for a series title, or I can— it'll show me some of the most recent ones. And there it adds the series art to the plan. Okay, so this may seem a little bit overwhelming to you. I would encourage you to Just play around with it. Get used to it. This is the new normal. So let's get used to it. I hope this video, this deep dive, has been helpful for you to understand how everything is laid out, how everything works. They're still working out a few bugs, but overall the plan page works great. And I would encourage you to start using it. And of course, send Planning Center some feedback if you have issues or things are not working the way that you're expecting them to. Hey, thanks again for watching this video. I would love for you to subscribe to this channel and like this video and let me know what you think in the comments. And if you haven't yet, be sure to go to worshipresources.church to discover all of the free and inexpensive resources that we direct you to. Thanks again for watching. Hope you guys have a great day. God bless.