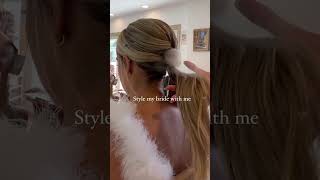
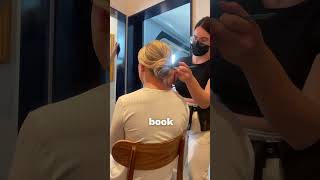
Marissa Brennan walks through a sleek low bun for bridal hair, starting with a consultation about tightness and face framing. She builds texture with a crimper and teasing, shapes the bun with padding, and secures it with elastic and pins.
Let's style my ride together. Before I get to styling, I always bring out the hair trial pictures and ask if there's anything they want to change. Adjust, add. Because it's totally normal to want to change something. We were going for a low sleek knot, which we were still going to do. She wanted to adjust the face frame and she wanted to do the bun a little bit tighter. So because it was a smooth style, I prepped her hair with a crimper and then started adding a base with teasing. Here I am adding some 3D texture. Now we're going to start creating the wait. The real star of a show is her dad in this apron we got ready at her parents house, which is always so fun for me. Once I secure the crown of the hair, I start adding in more 3D texture. Now I'm going to start creating the bun using some padding. Padding helps for shape and it also helps the pins not lay against your client's head so it's more comfortable for them. Creating a top section of our bun. Once I got to the second layer, I wasn't happy with it, so I kept taking it out and redoing it. I'll take it out until I like it. Once I liked it, I started adding in some bobby pin, securing the lengths with an elastic. And here's our final look. How pre Wait till you see her.